Overview
This integration allows your users to sign in to Fiddler using their existing Okta account, without needing a separate Fiddler password. Users are automatically provisioned on their first successful login — no manual invitations required.Prerequisites
Before starting, ensure you have:- Okta Administrator Access: Permissions to create and configure applications in your Okta organization.
- Fiddler AuthN Administrator Access: Org Owner role in Fiddler’s AuthN management console.
- Deployment Information: The hostname of your Fiddler deployment, e.g.
idpexample.dev.fiddler.ai.
Configuring Okta
Fiddler requires two redirect URIs on the Okta application. You will add both when creating the Okta application below:
https://authn-{base_url}/ui/login/login/externalidp/callbackhttps://authn-{base_url}/idps/callback
{base_url} with your Fiddler deployment host (e.g. idpexample.dev.fiddler.ai).1
Create New Okta Application Integration
-
In the Okta admin console, navigate to Applications and select the Create App Integration button. Select OIDC - OpenID Connect for the Sign-in method and Web Application for the Application type, then select Next.

-
Assign a name for your application integration in the App integration name text box, then configure the redirect URIs:
-
Enter both redirect URIs into the Sign-in redirect URIs field using the + Add URI button:
https://authn-idpexample.dev.fiddler.ai/ui/login/login/externalidp/callbackhttps://authn-idpexample.dev.fiddler.ai/idps/callback
-
Enter your Fiddler deployment URL (without the
authn-prefix) into the Sign-out redirect URIs text box, e.g.https://idpexample.dev.fiddler.ai.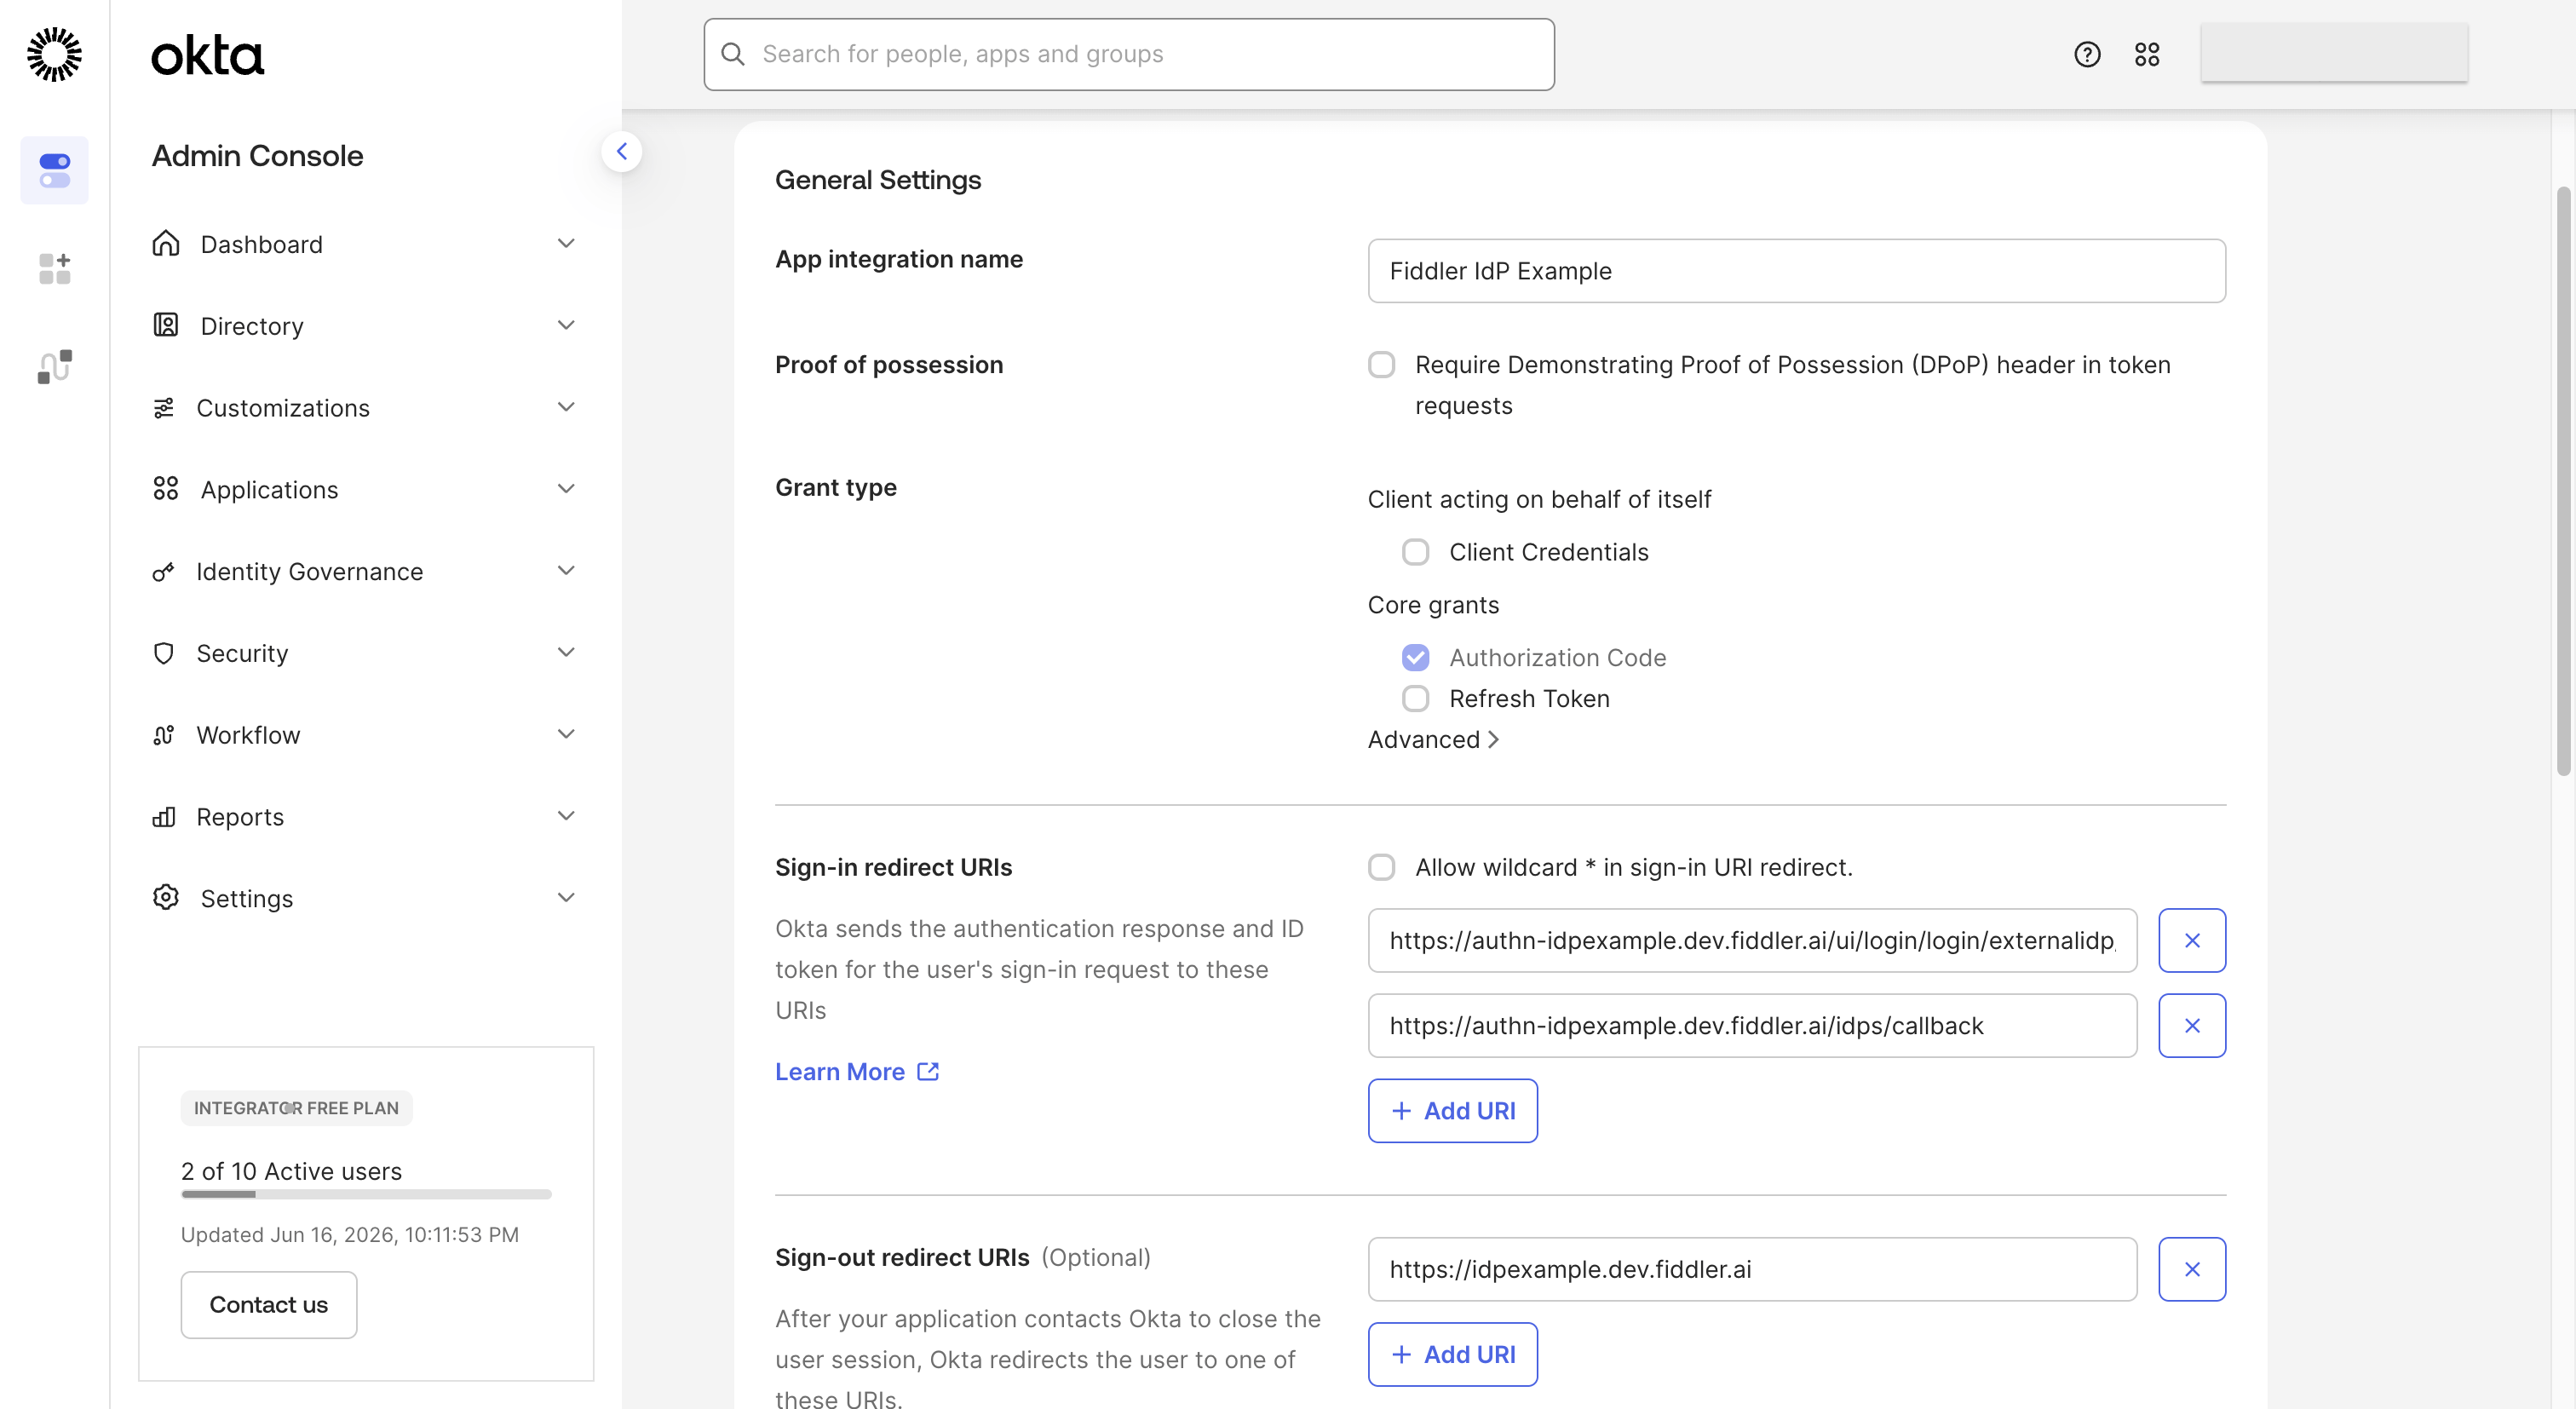
-
Enter both redirect URIs into the Sign-in redirect URIs field using the + Add URI button:
- Select the Save button to create the application.
-
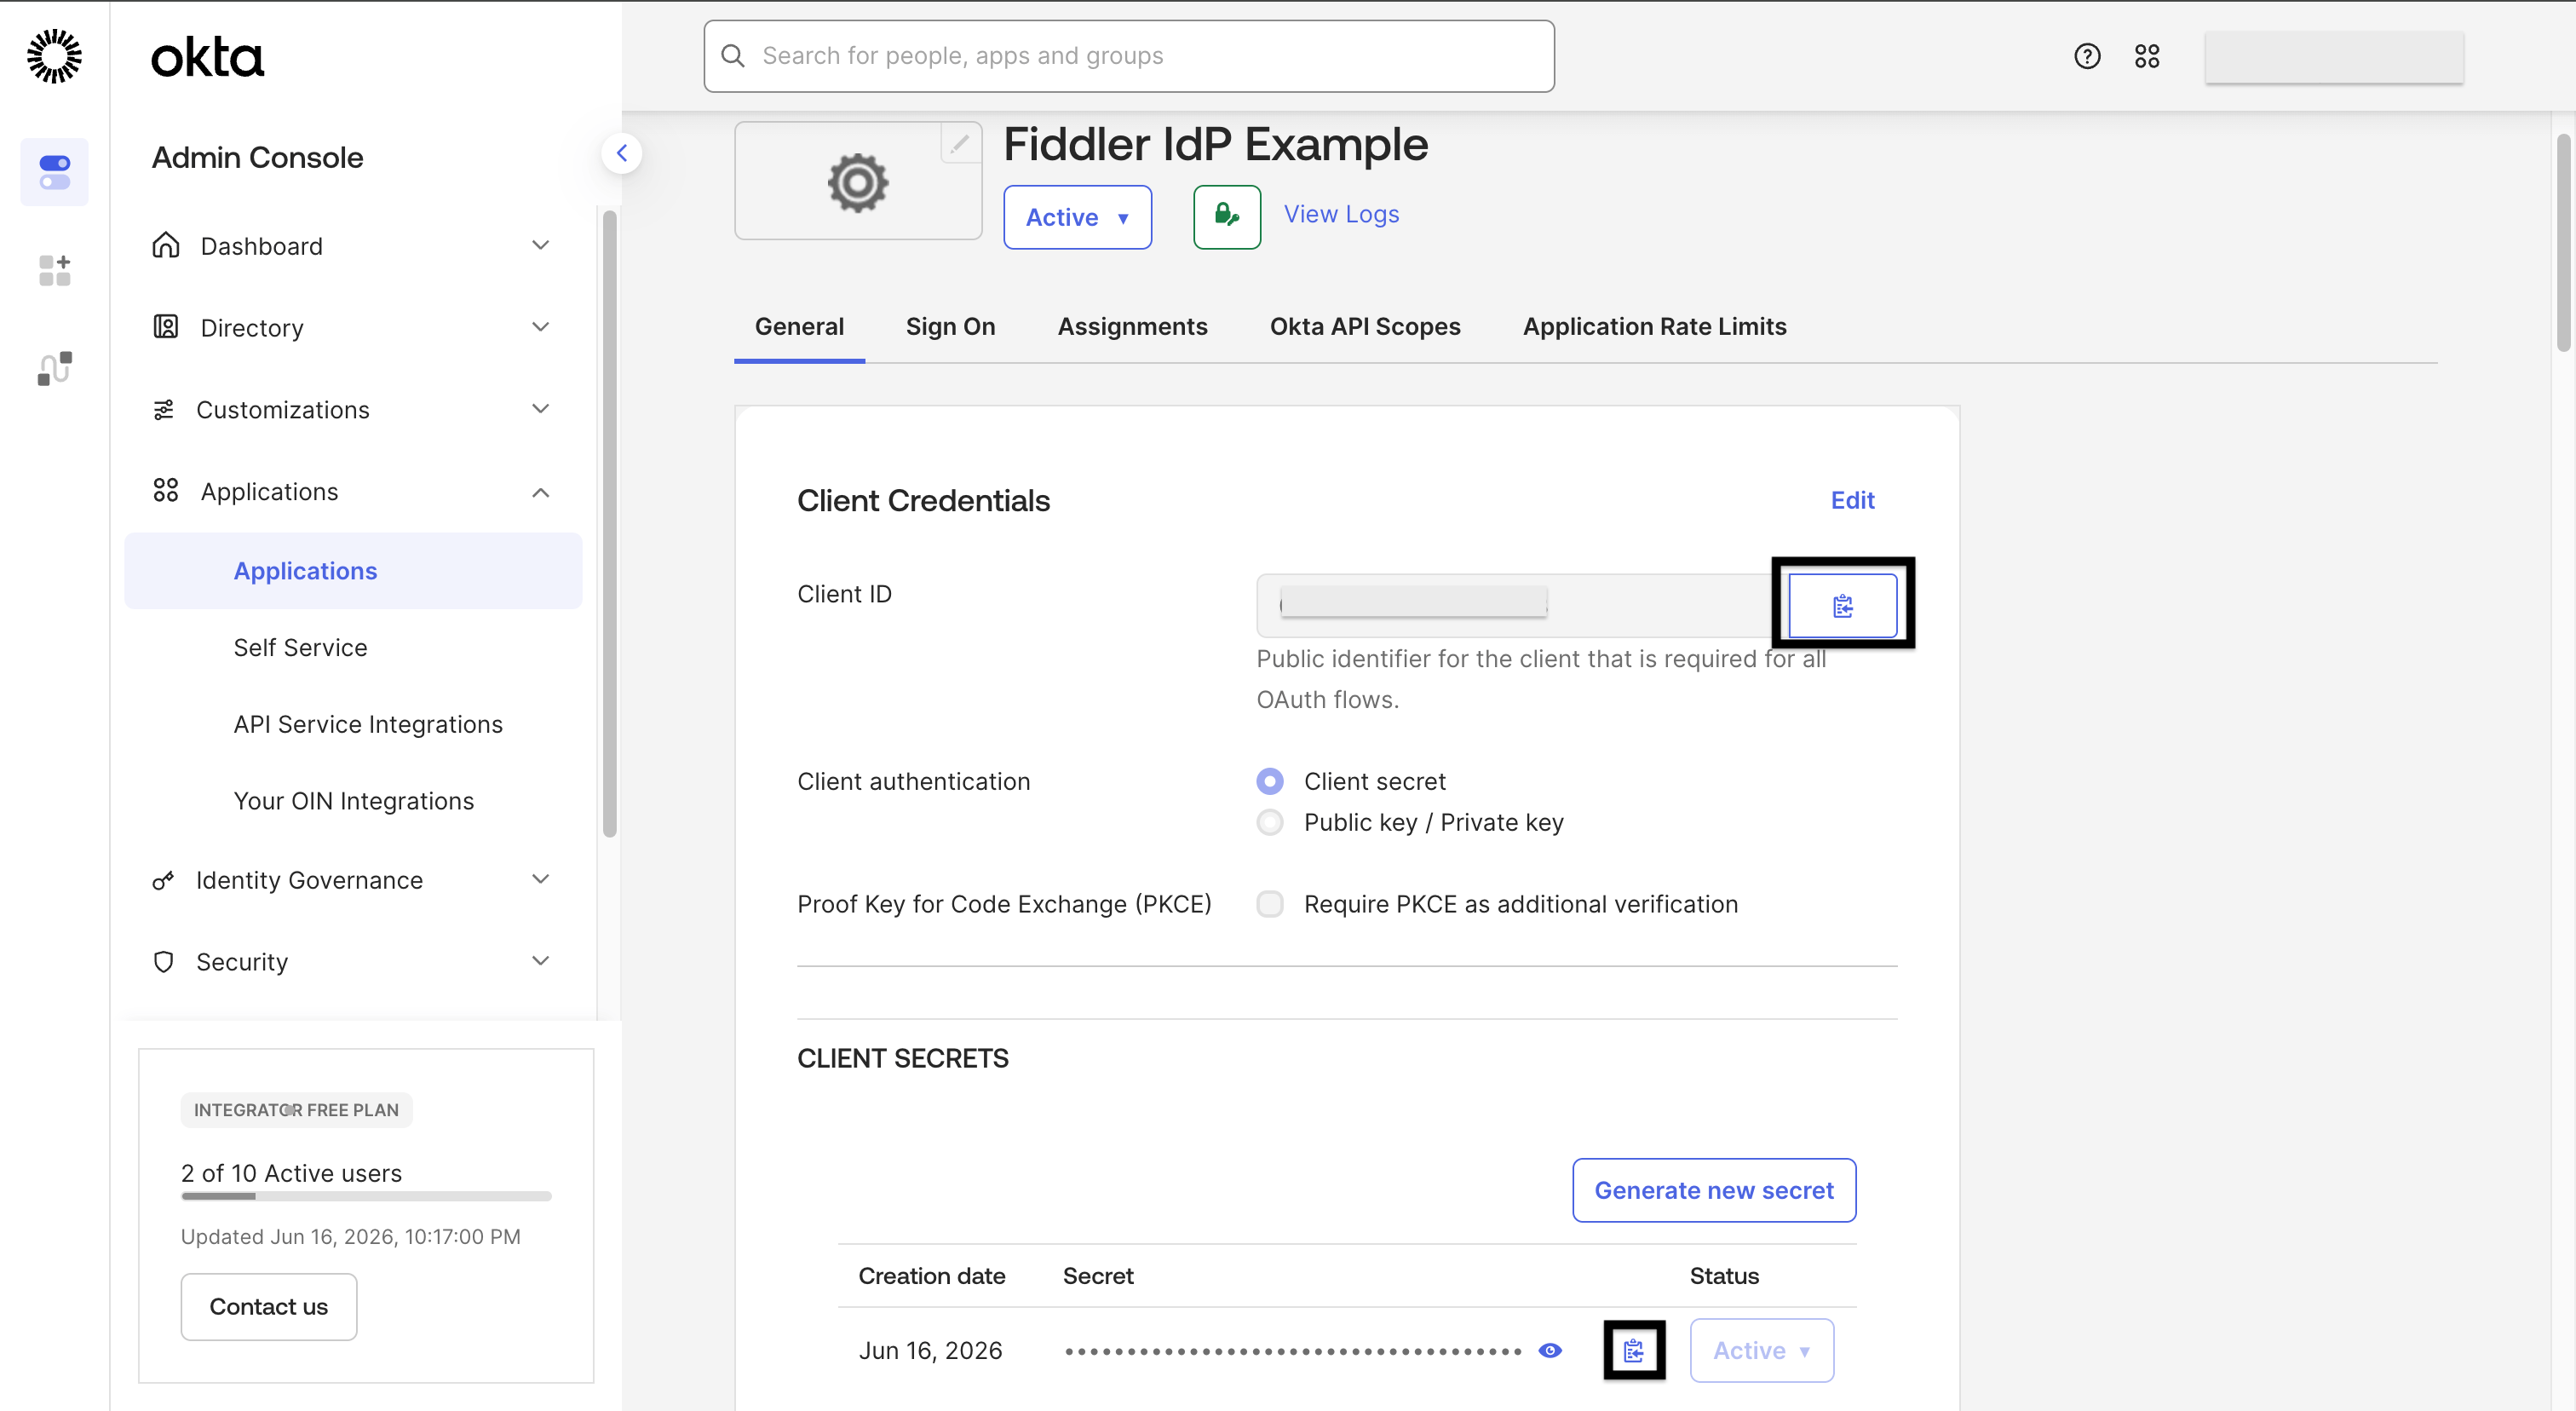
Copy the following values — you will need them when configuring Fiddler:
-
On the General tab, copy the Client ID and Client Secret values.
-
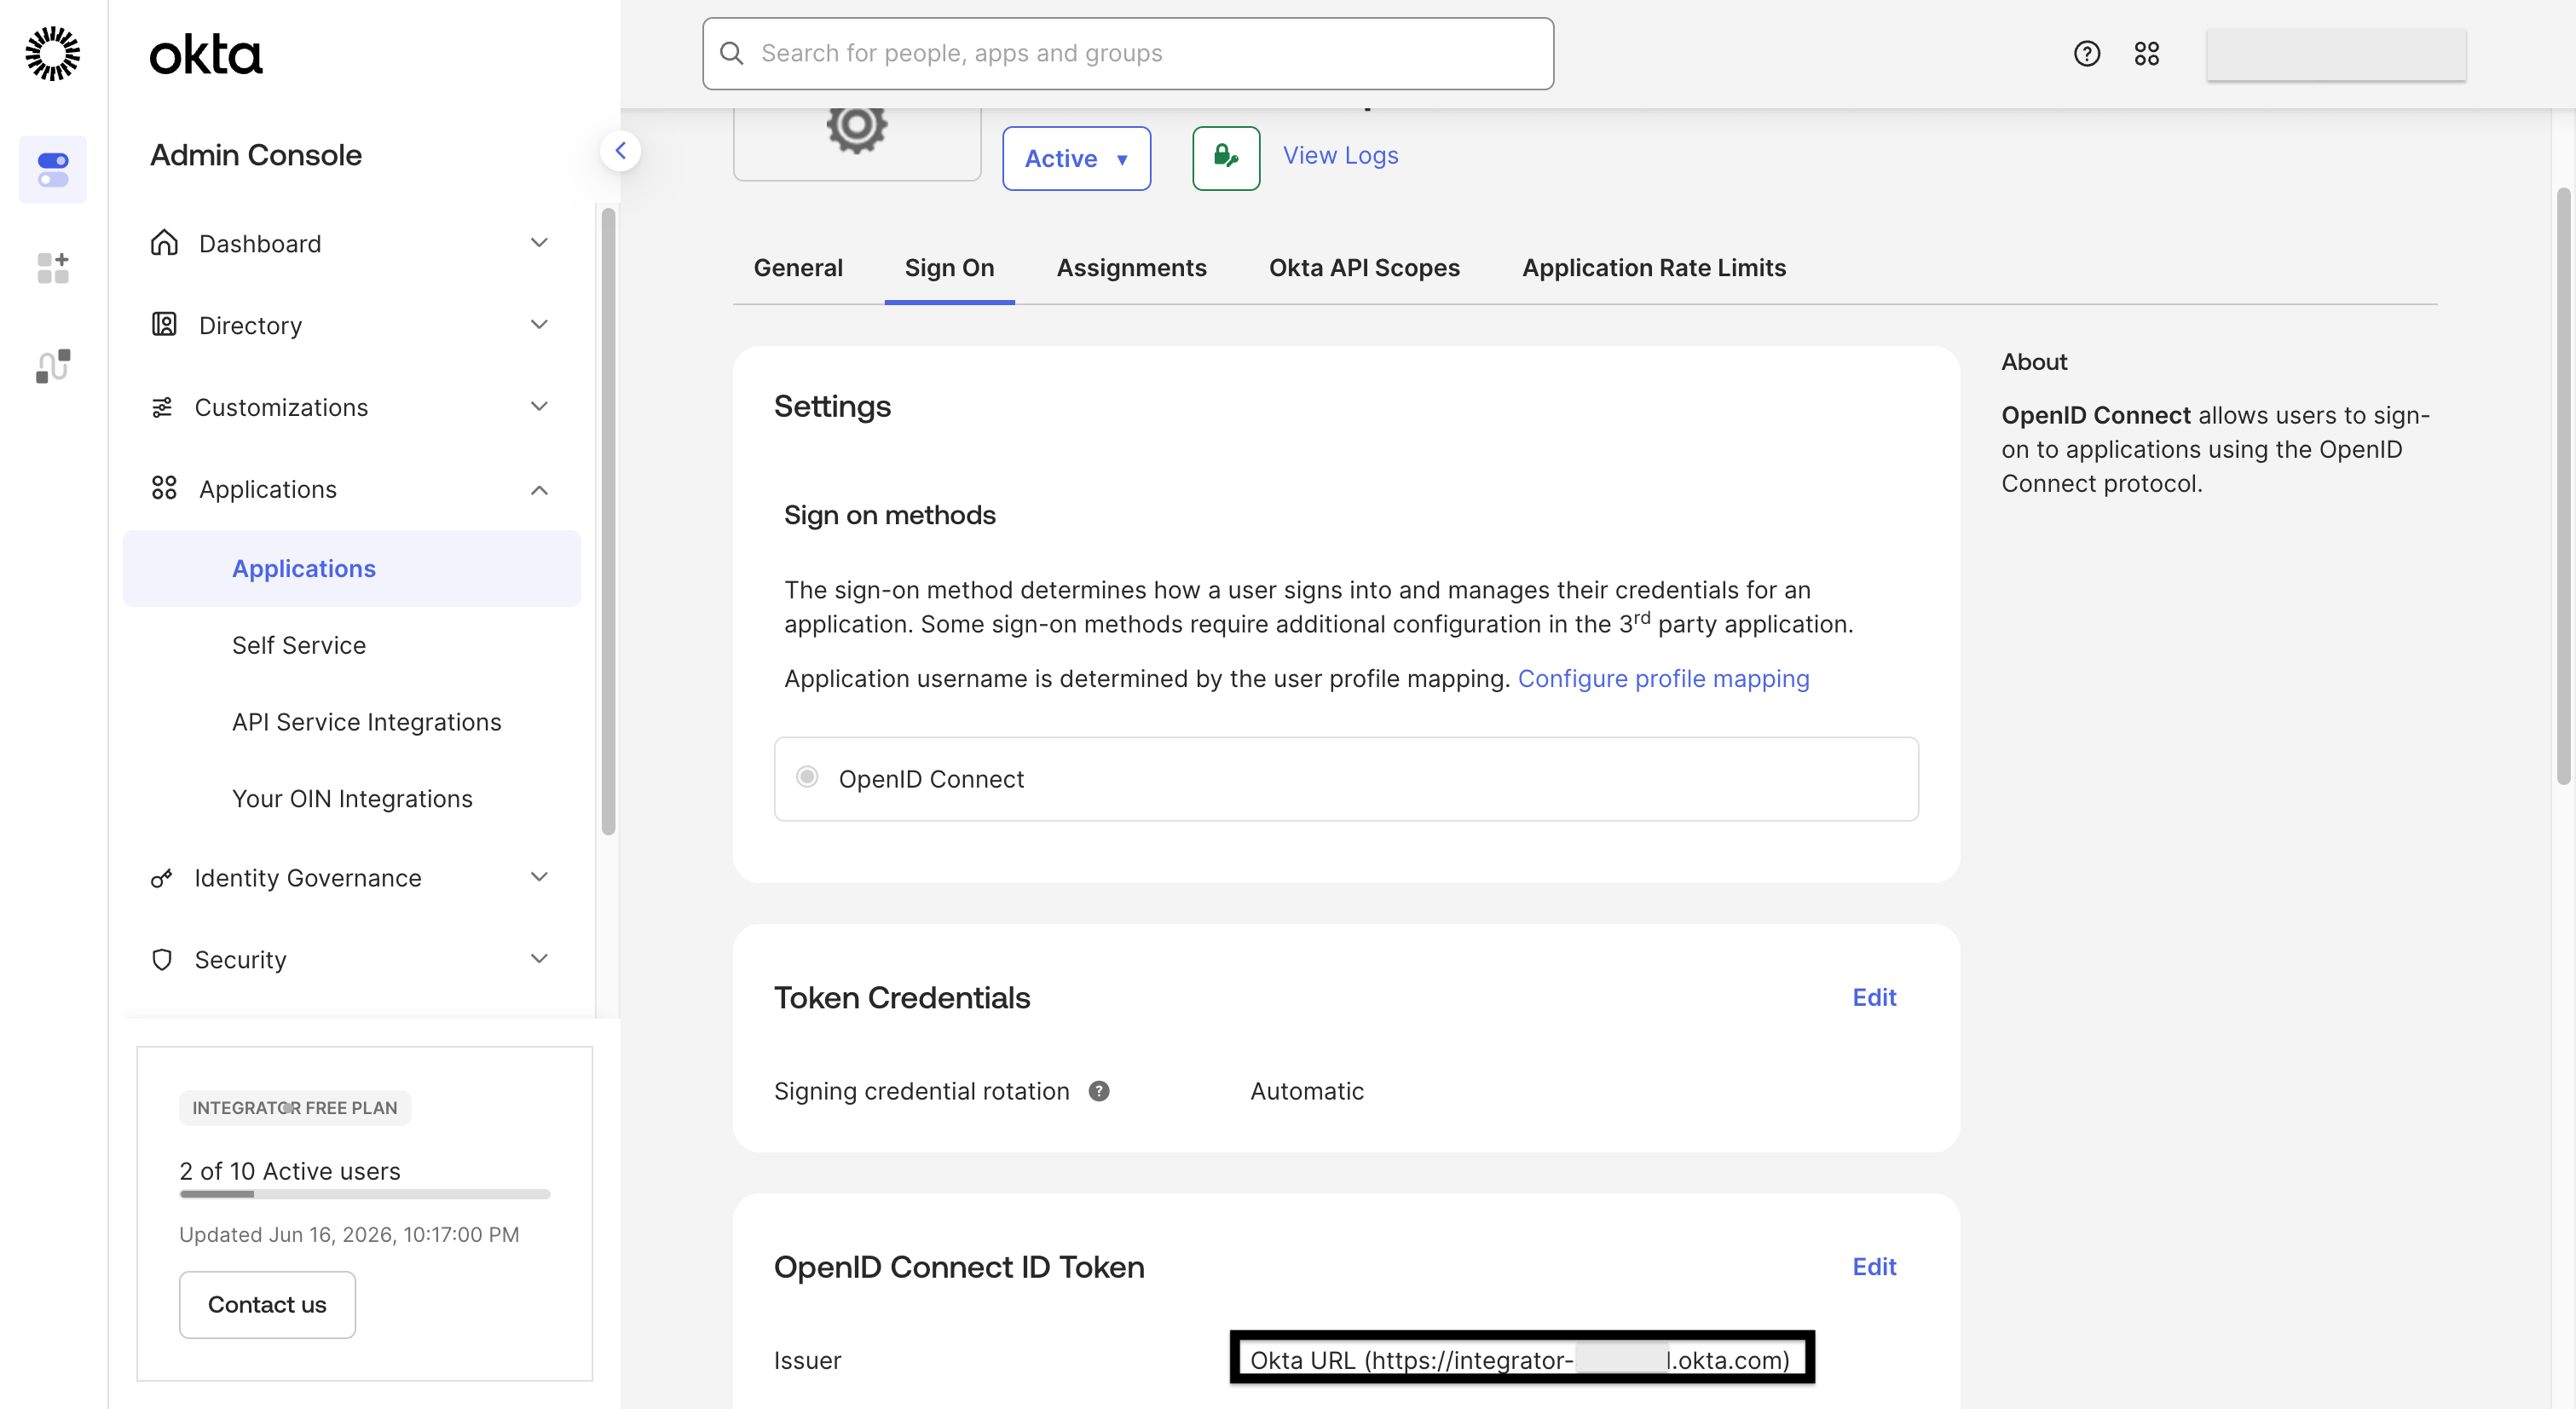
On the Sign On tab, copy the Issuer URL.
-
On the General tab, copy the Client ID and Client Secret values.
Configuring Fiddler
1
Fiddler AuthN Console Sign-in
The URL to the Fiddler AuthN management console is your Fiddler instance base URL prepended with
authn-. For example, if your Fiddler base URL is https://idpexample.dev.fiddler.ai then you will access the AuthN management console at https://authn-idpexample.dev.fiddler.ai.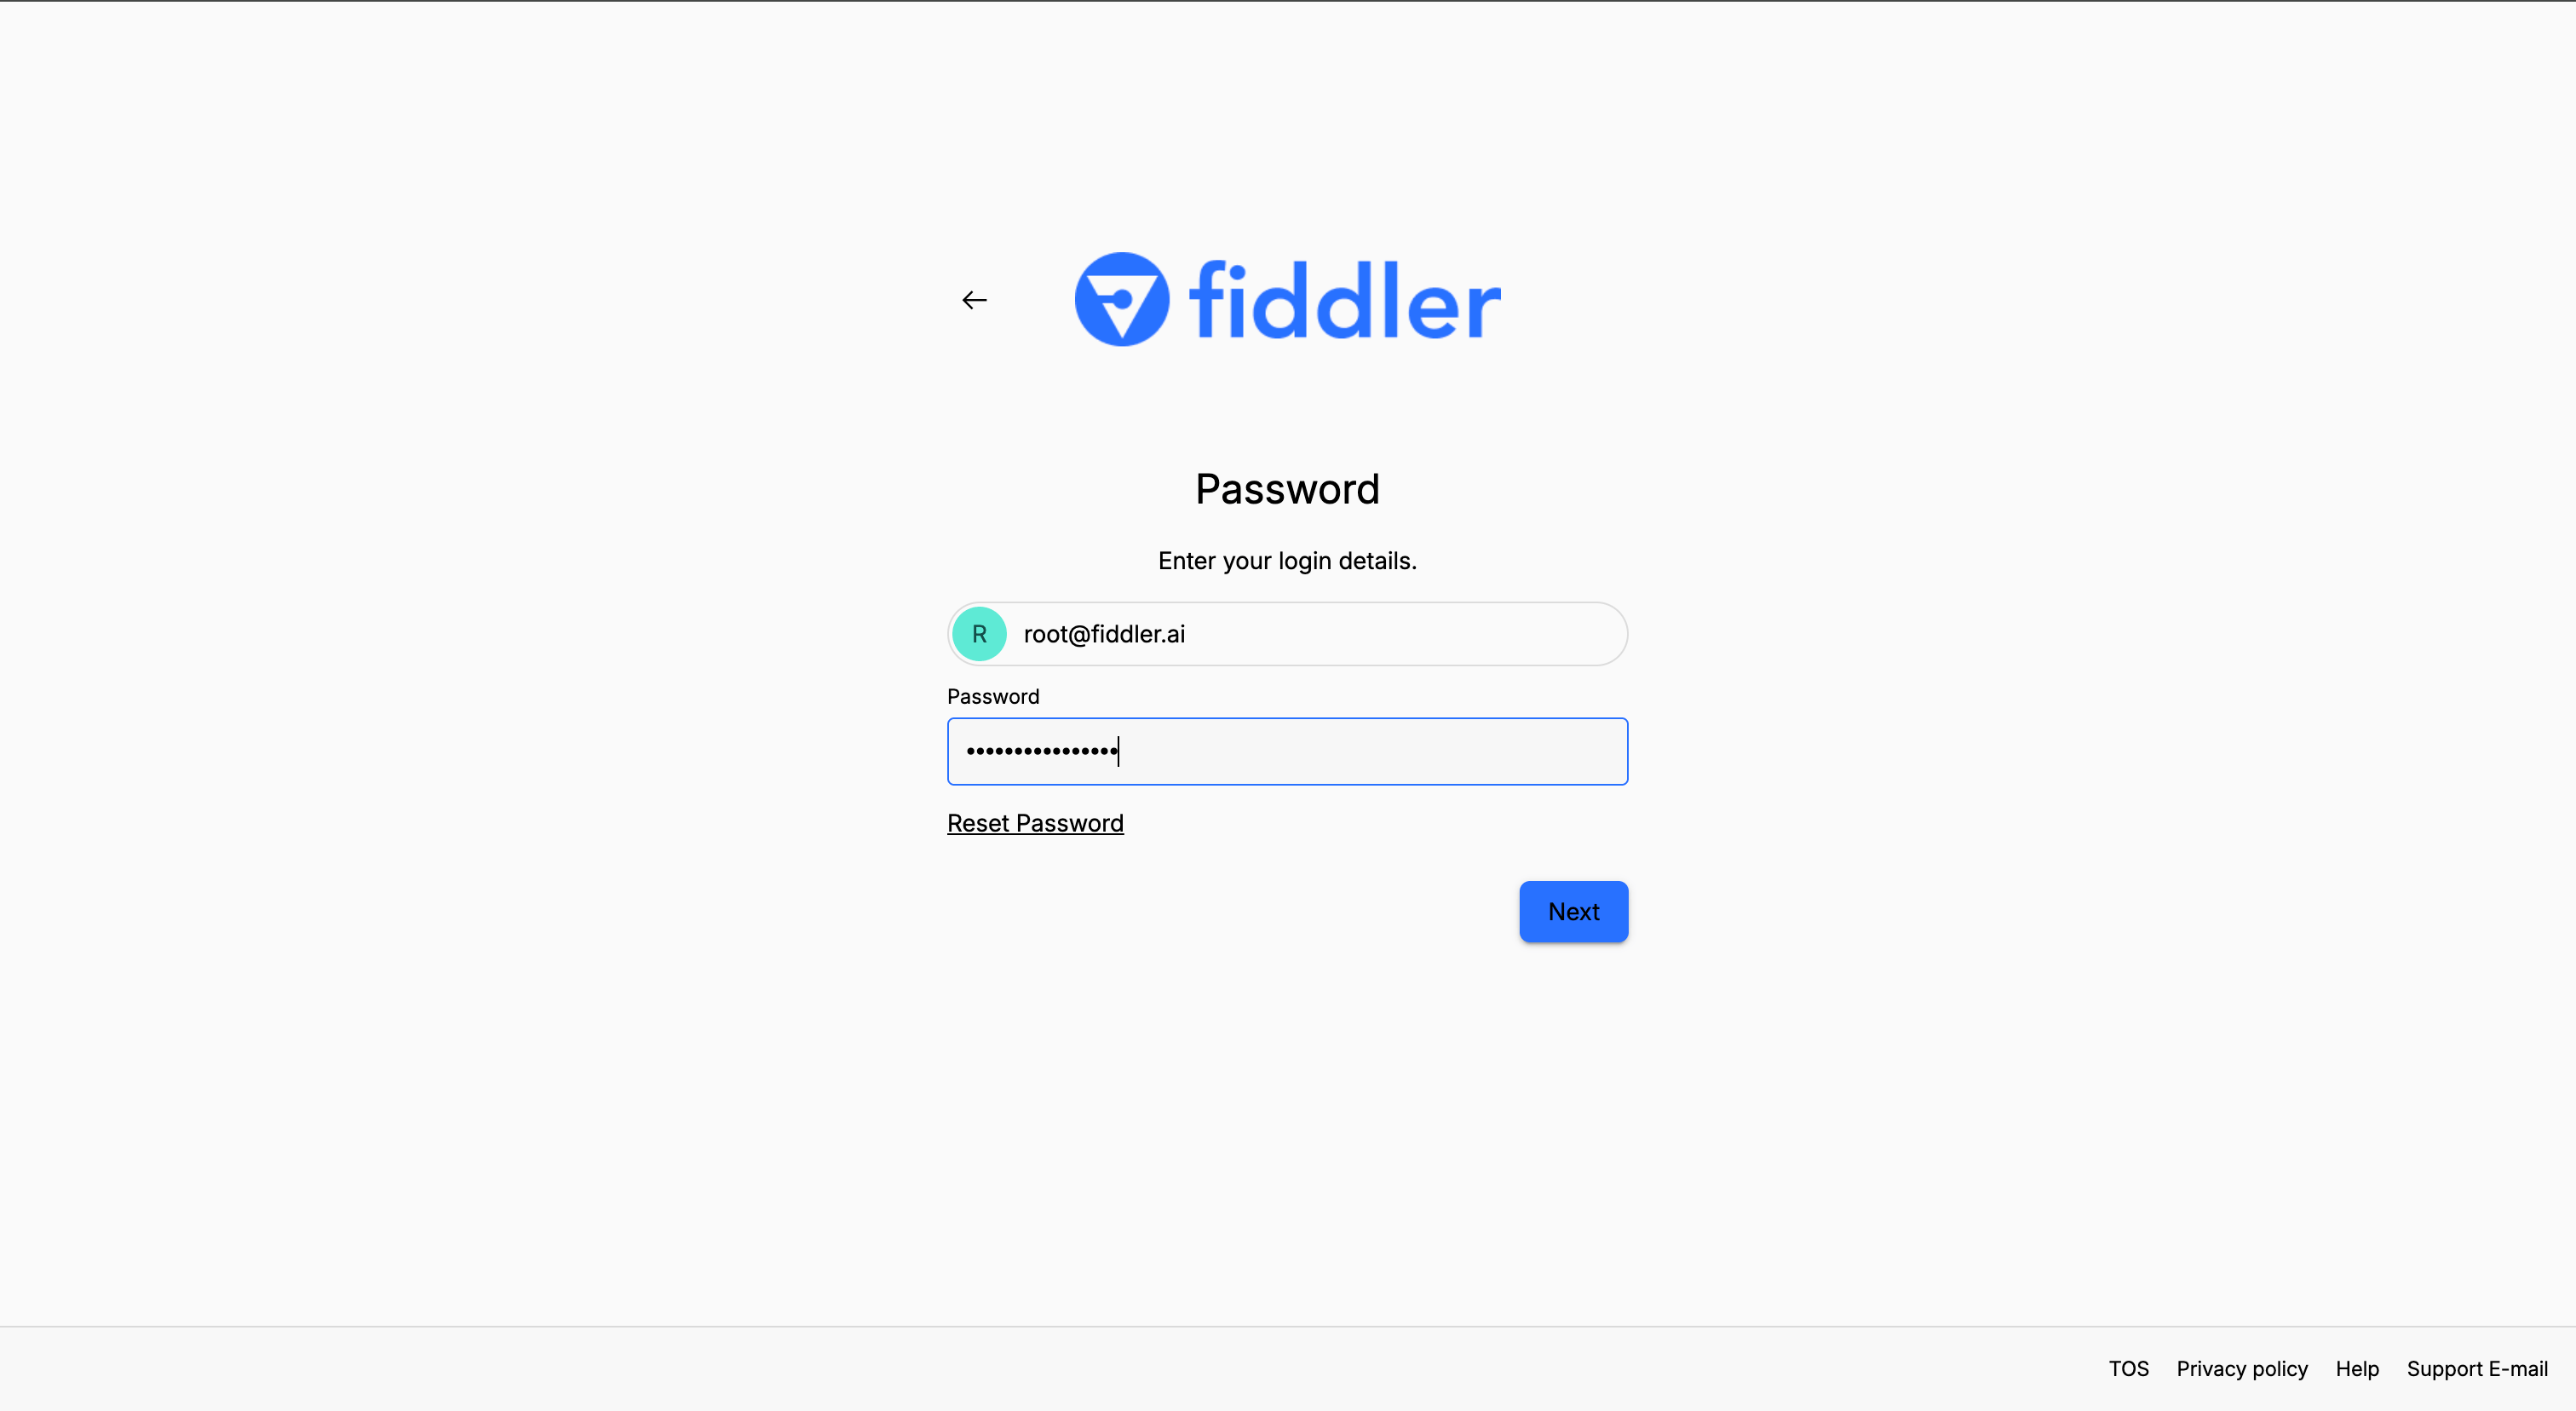
2
Select Your Organization
Ensure your organization is selected in the dropdown. You may see the fiddler organization, but this is reserved for system use and should not be edited. Here we are using the idpexample organization.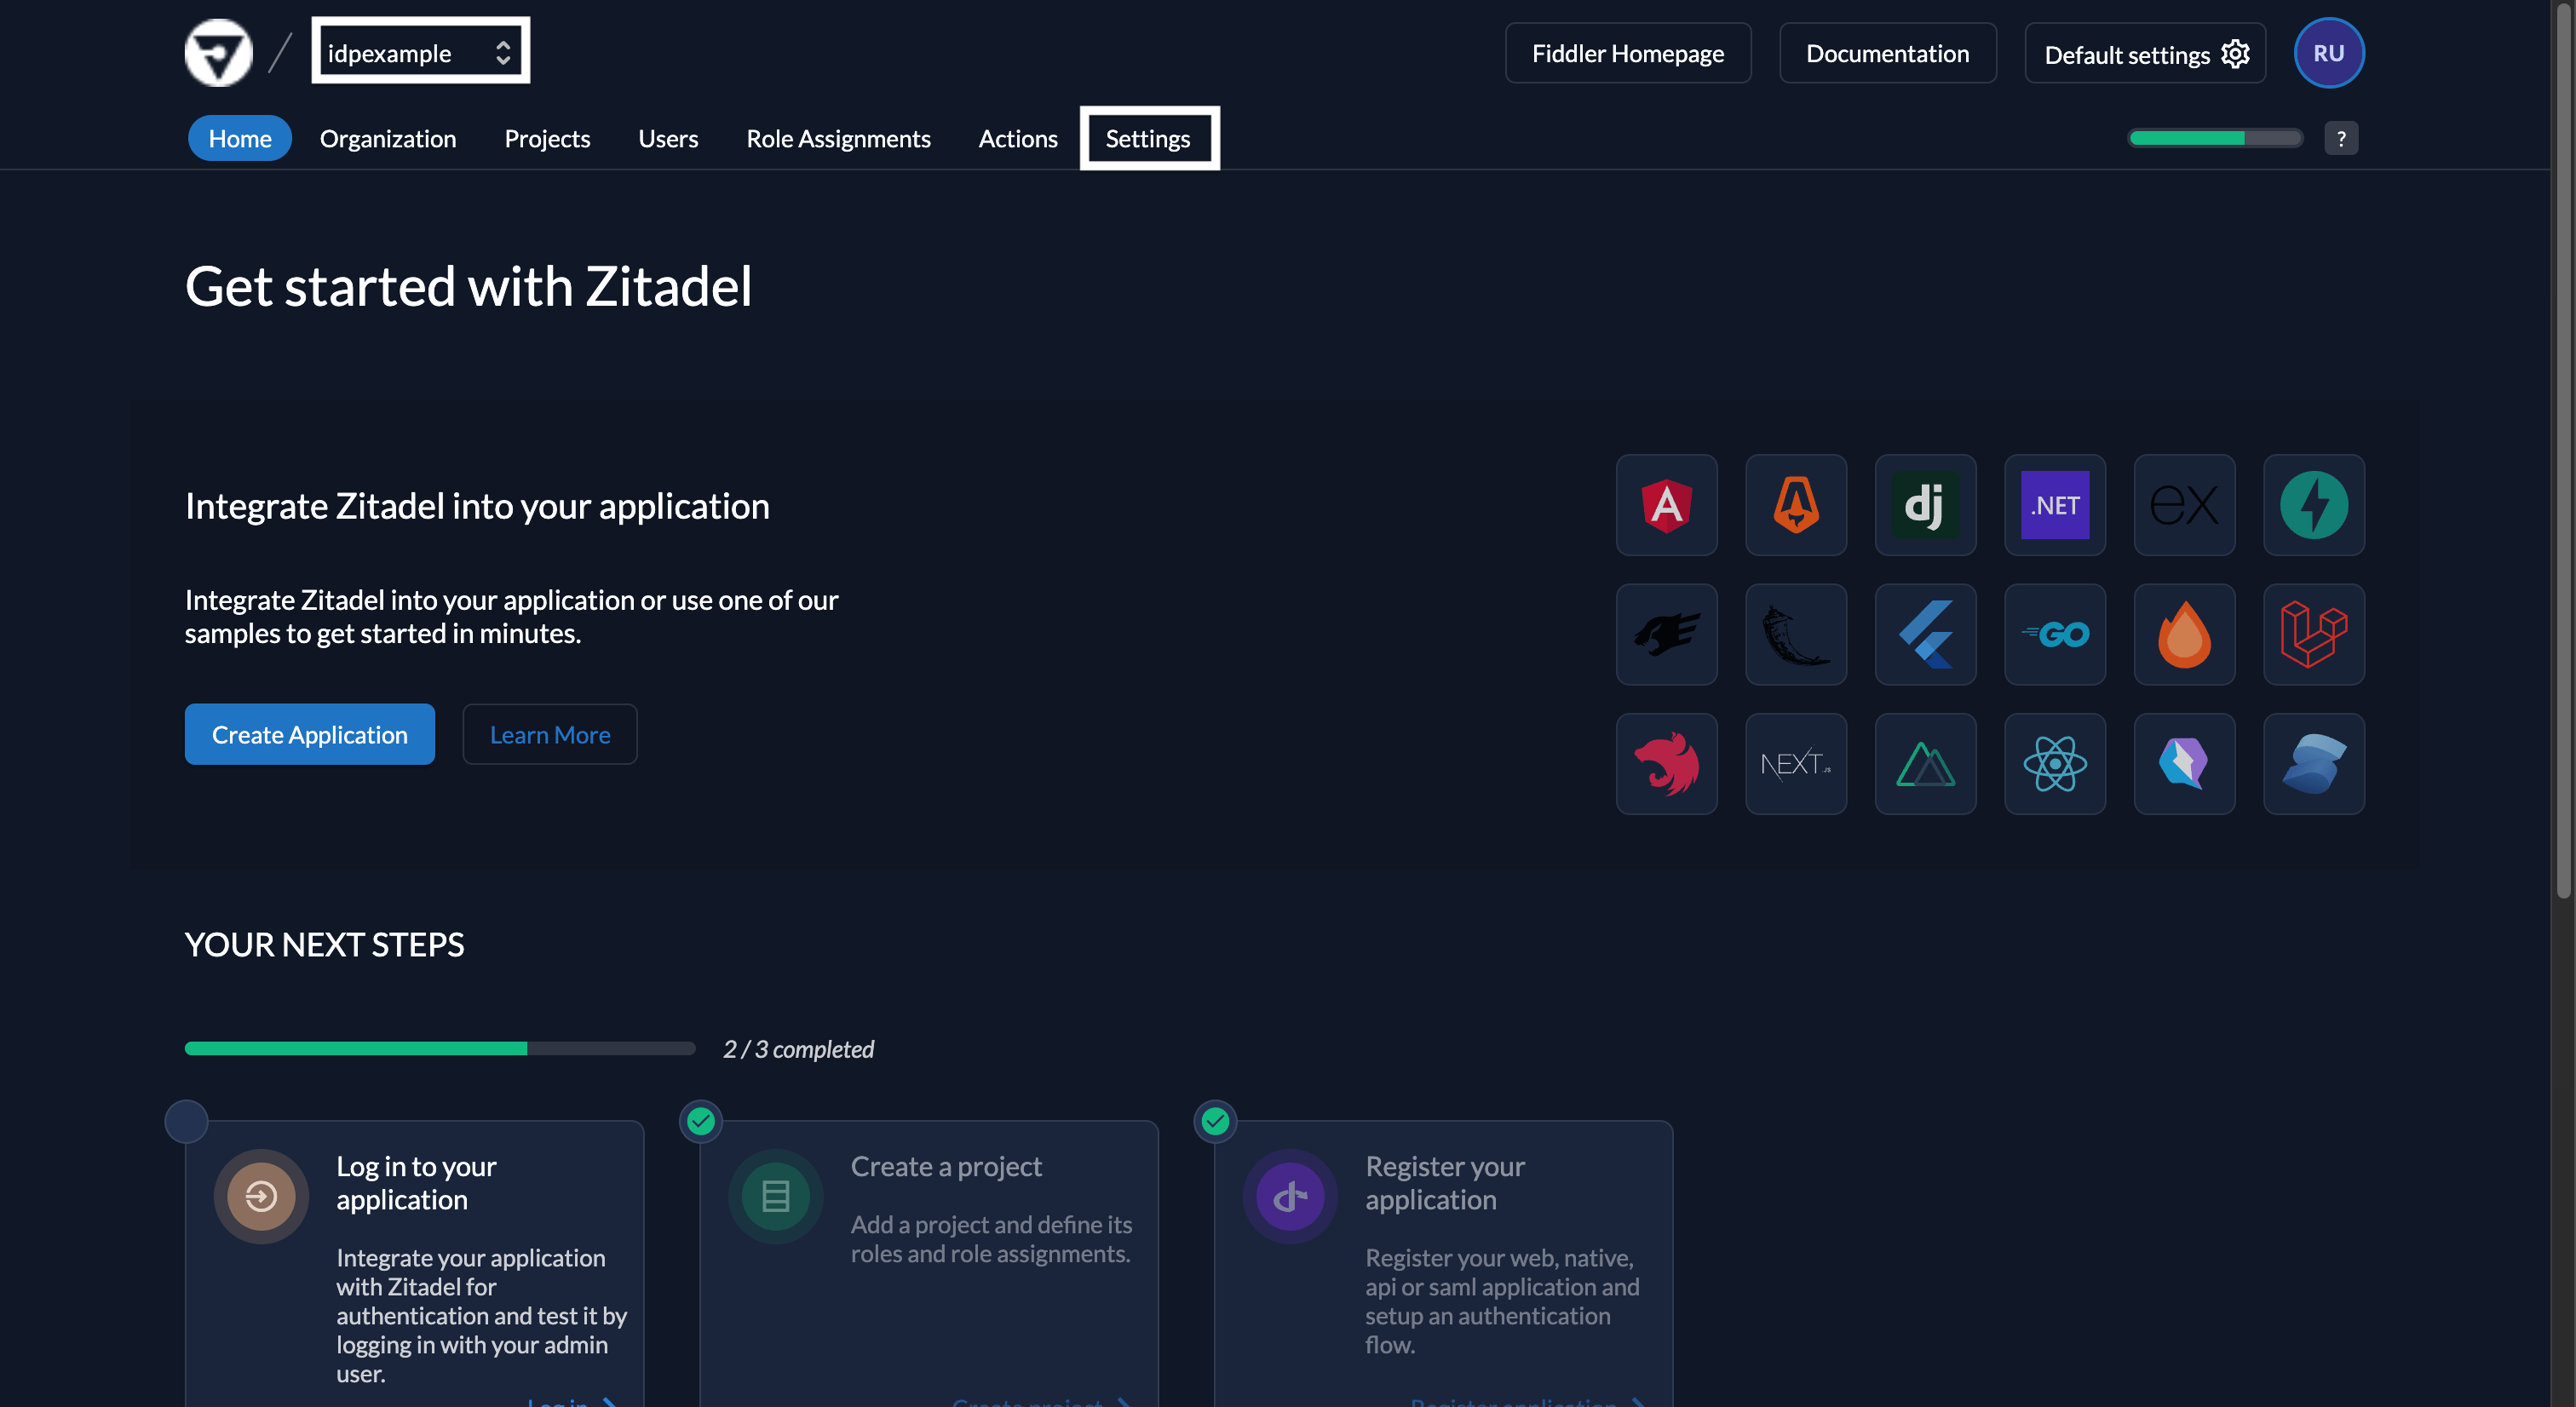
3
Navigate to Identity Providers in Settings
Select Settings tab from the top menu and then select Identity Providers from the left navigation menu.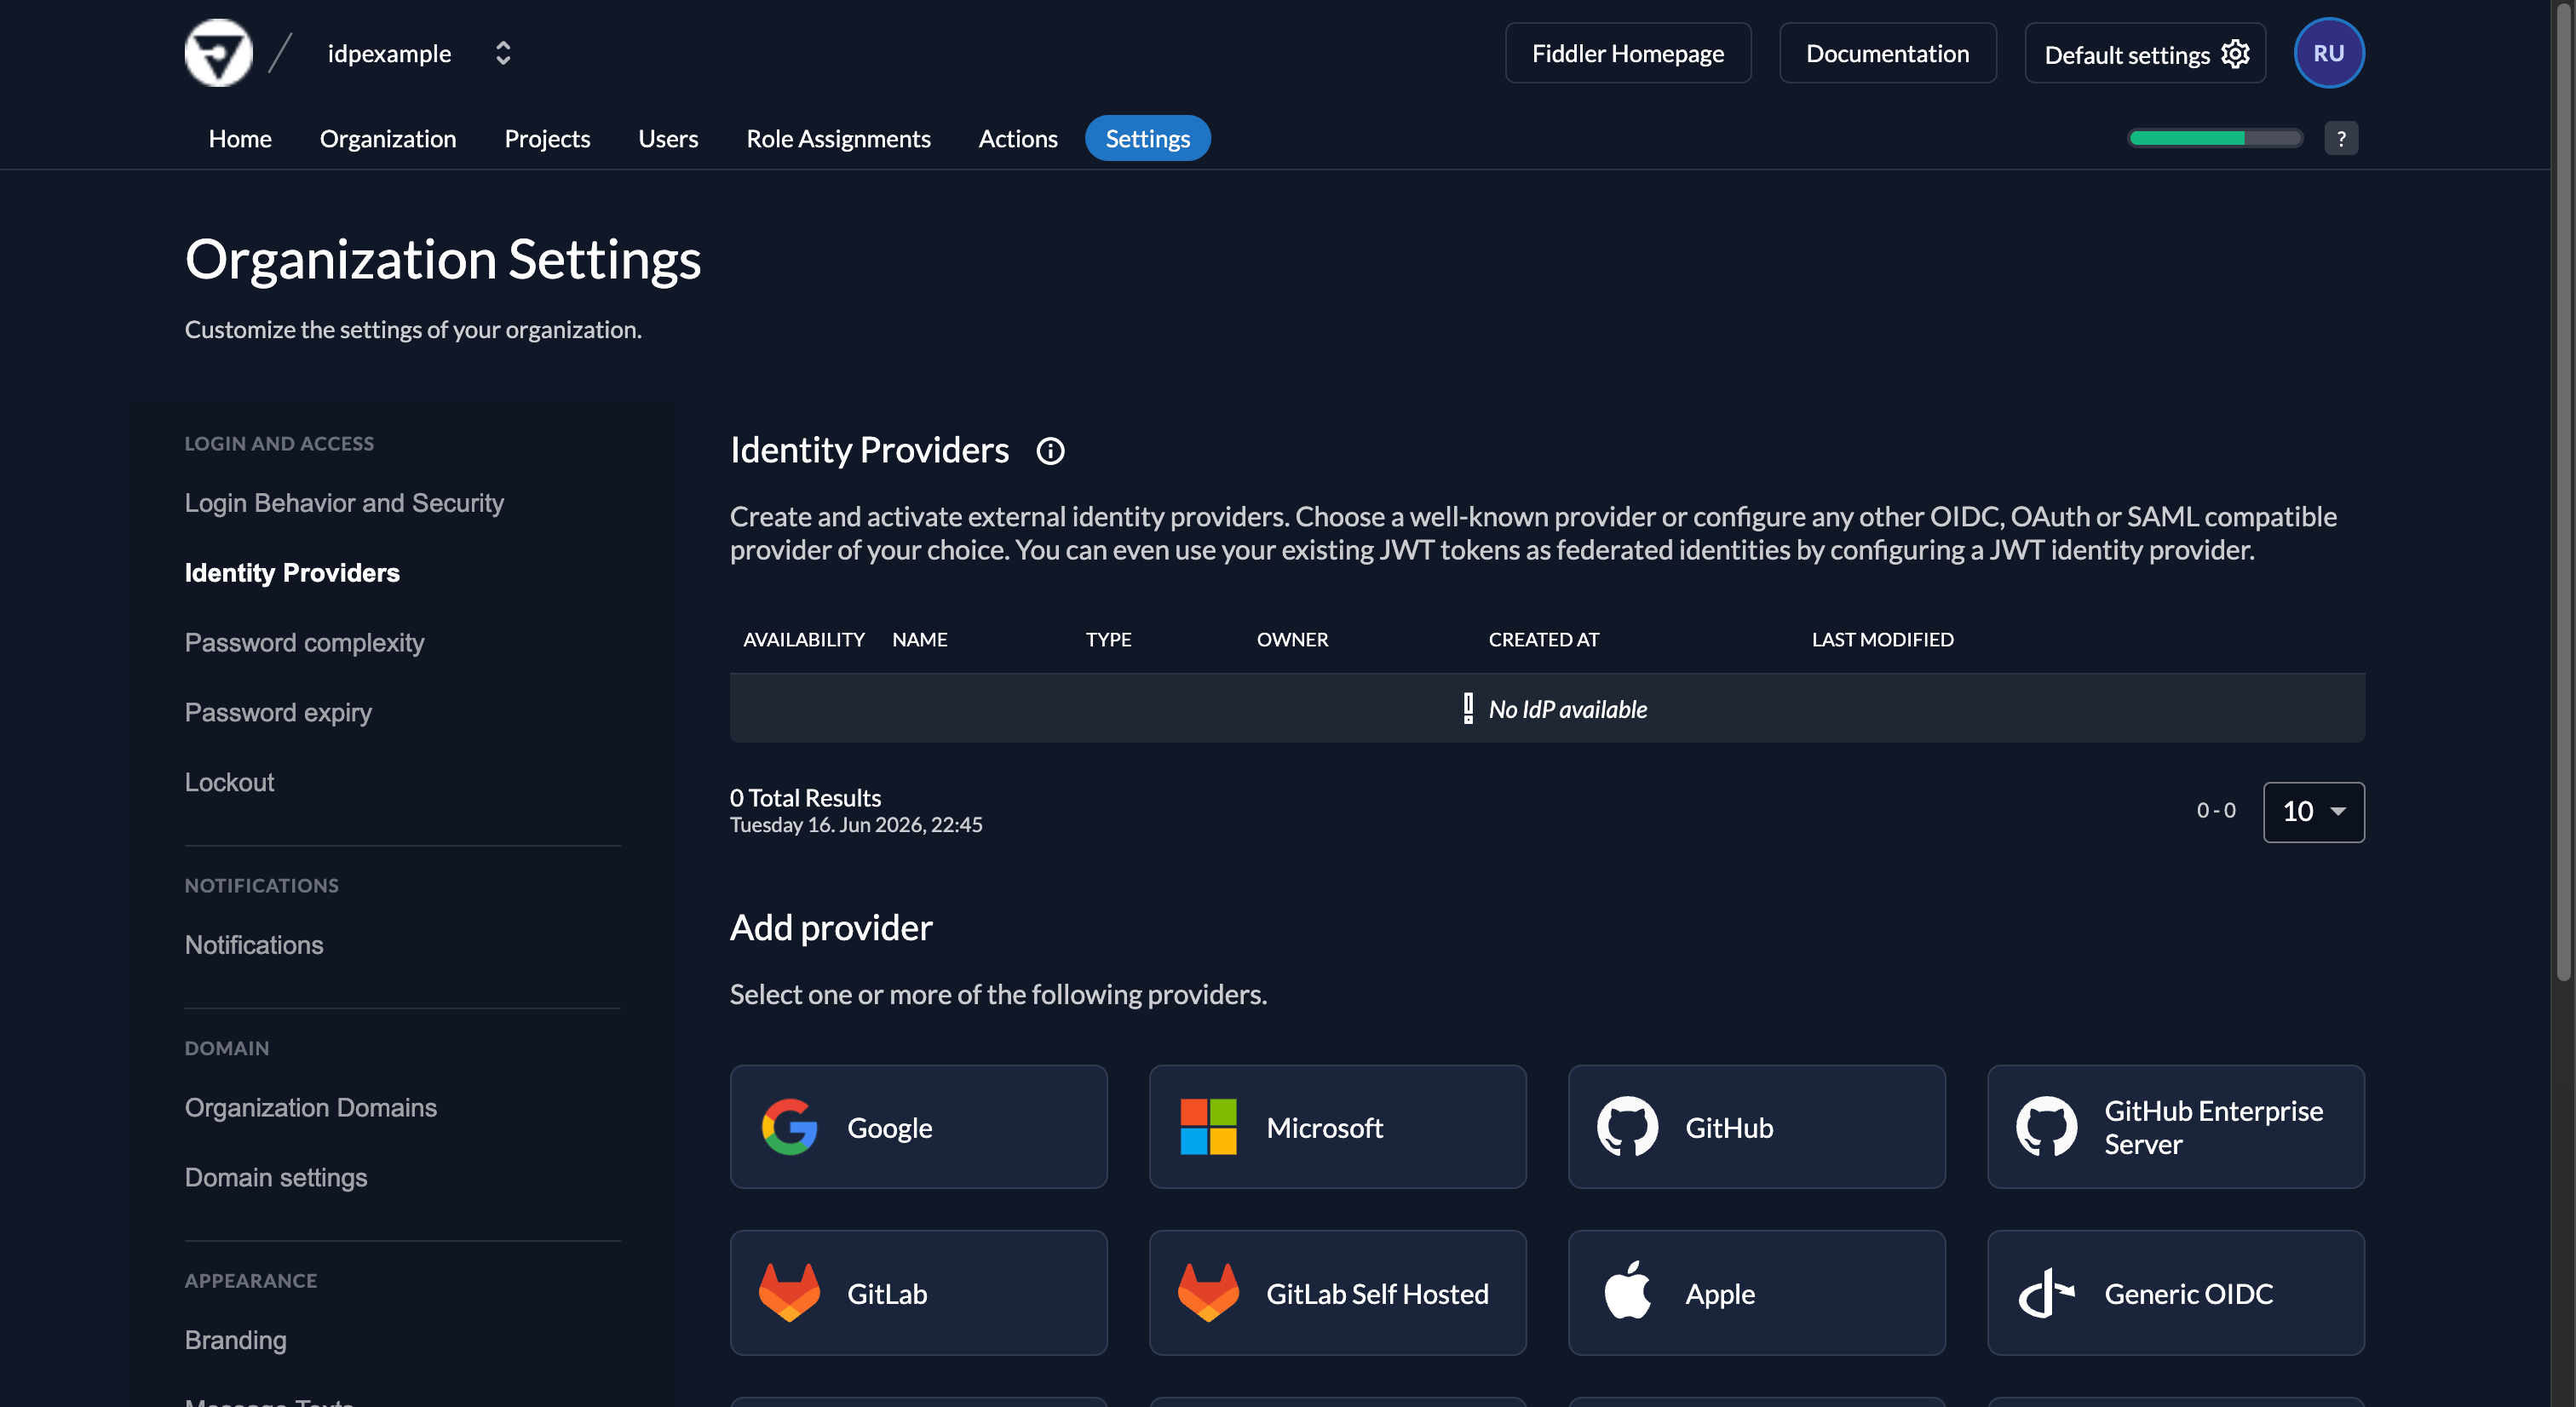
4
Add a New OIDC Provider
- Select the Generic OIDC option in the Add provider section, which brings up the OIDC Provider form.
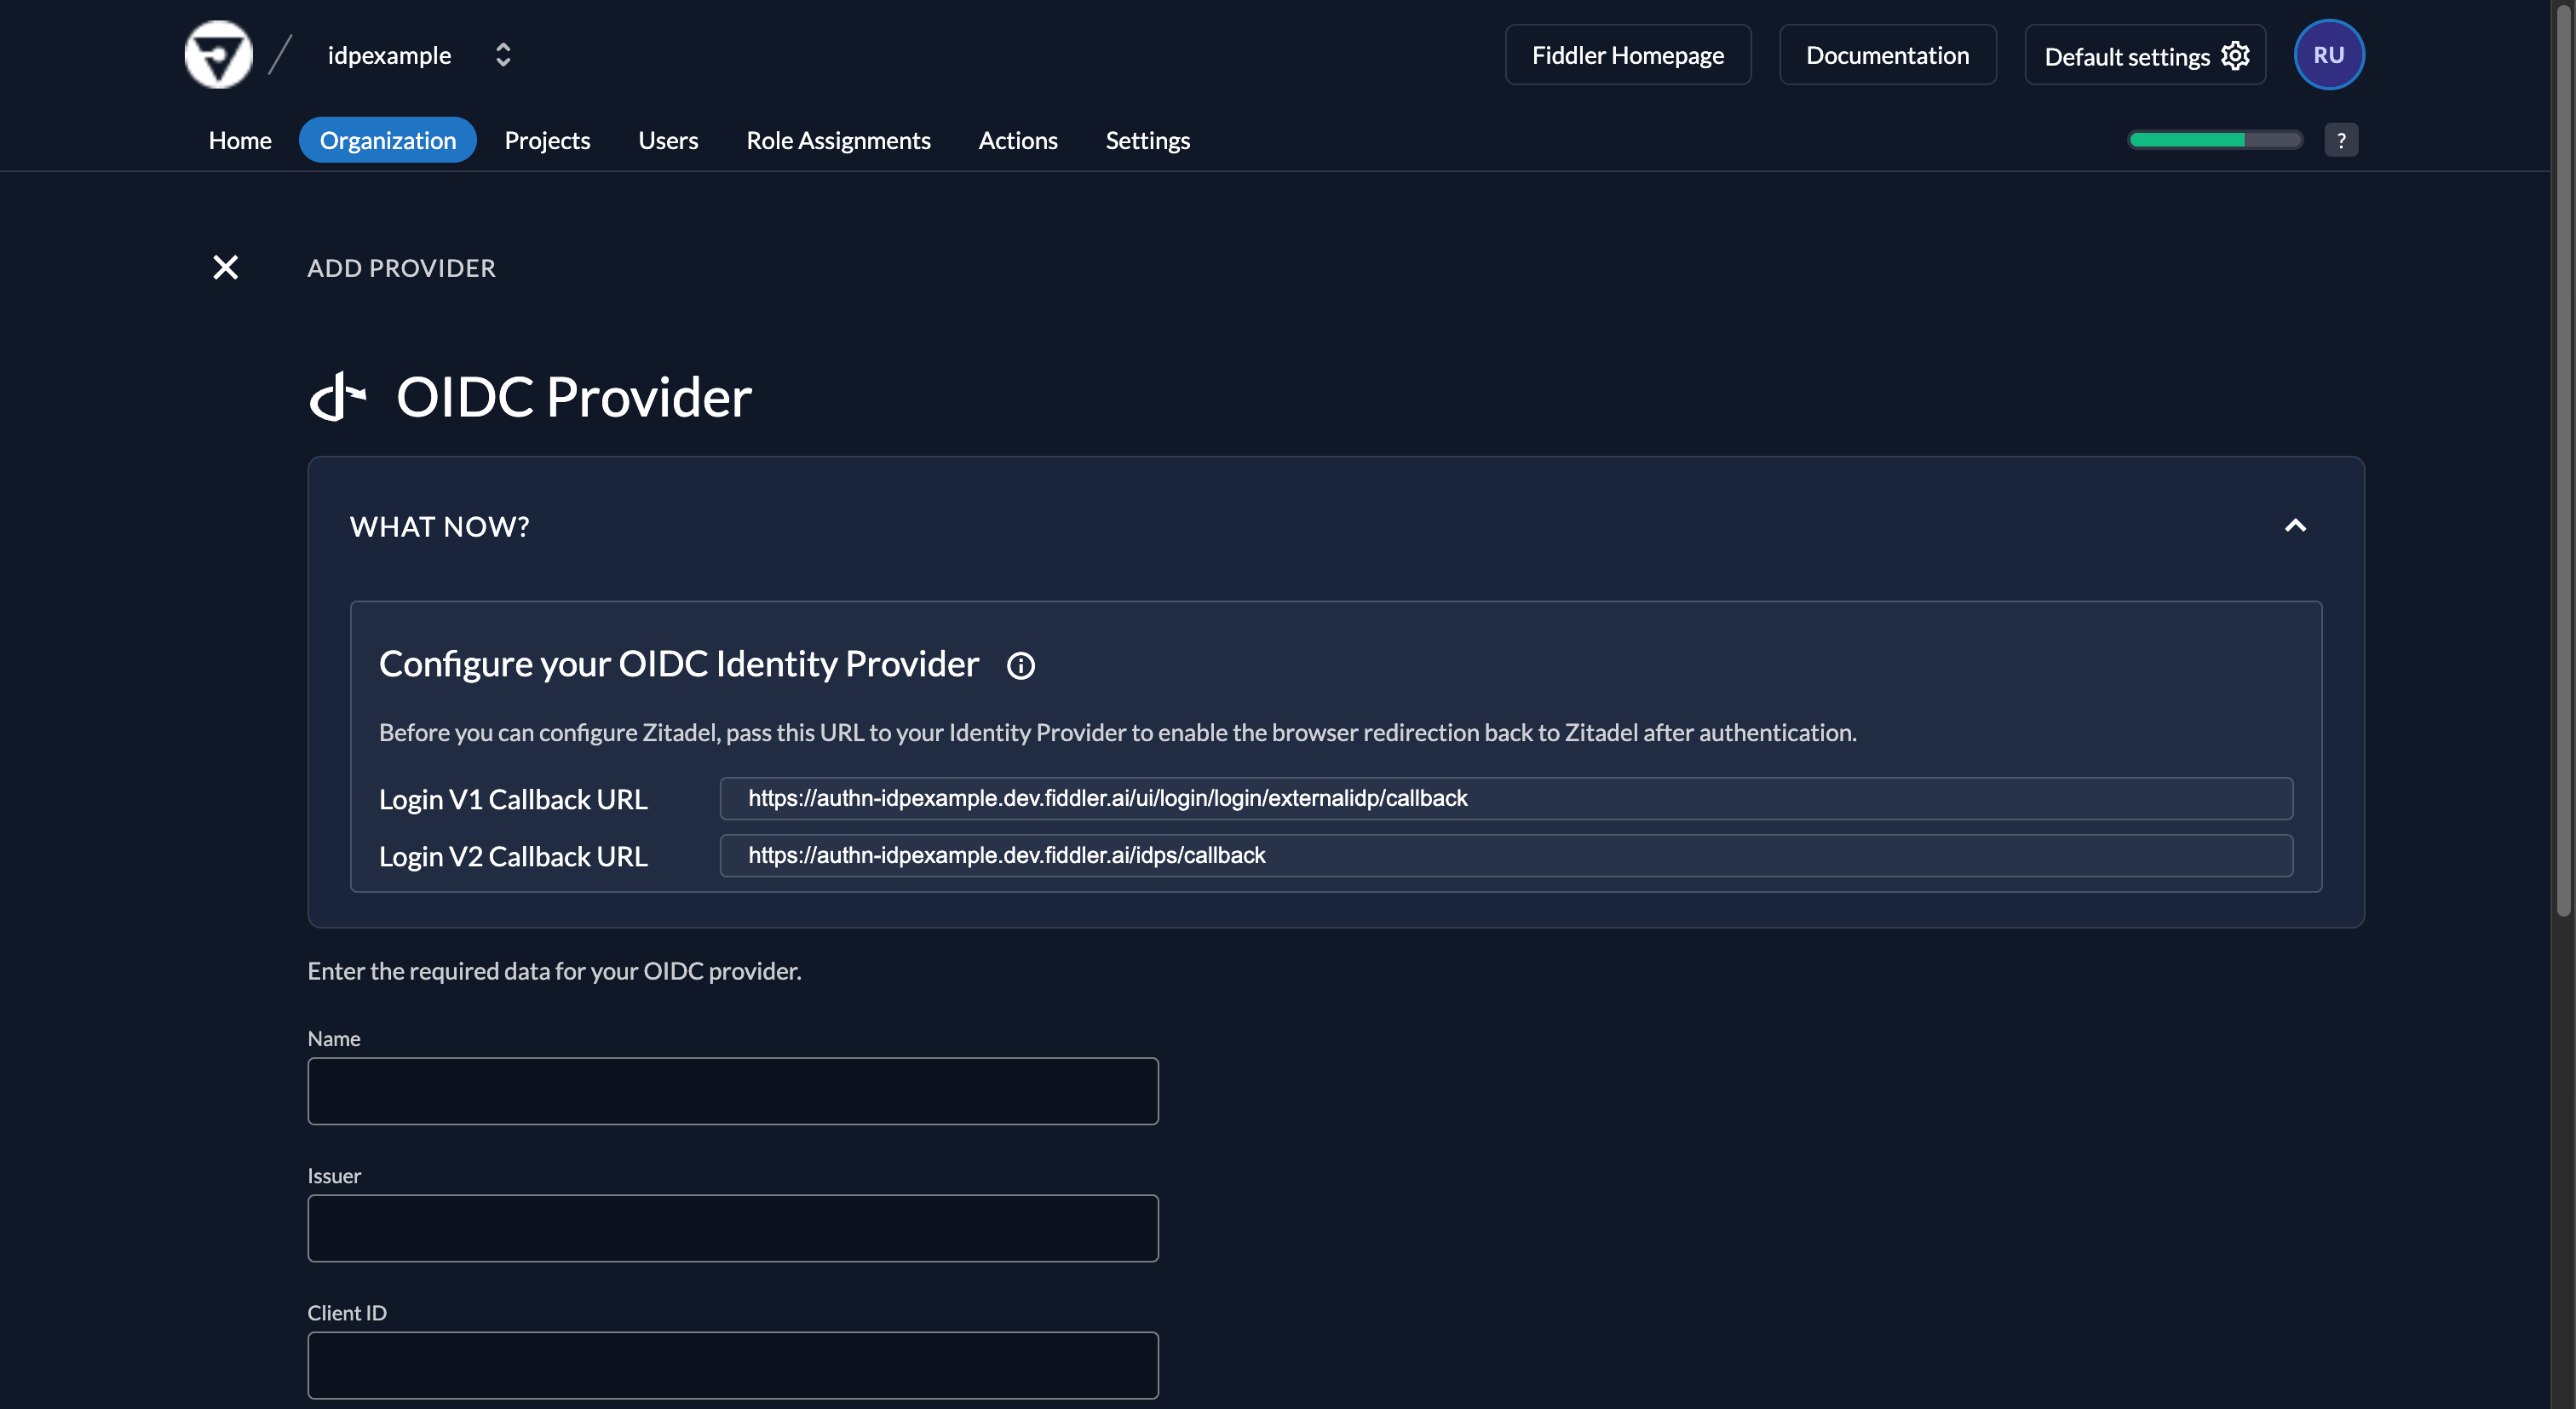
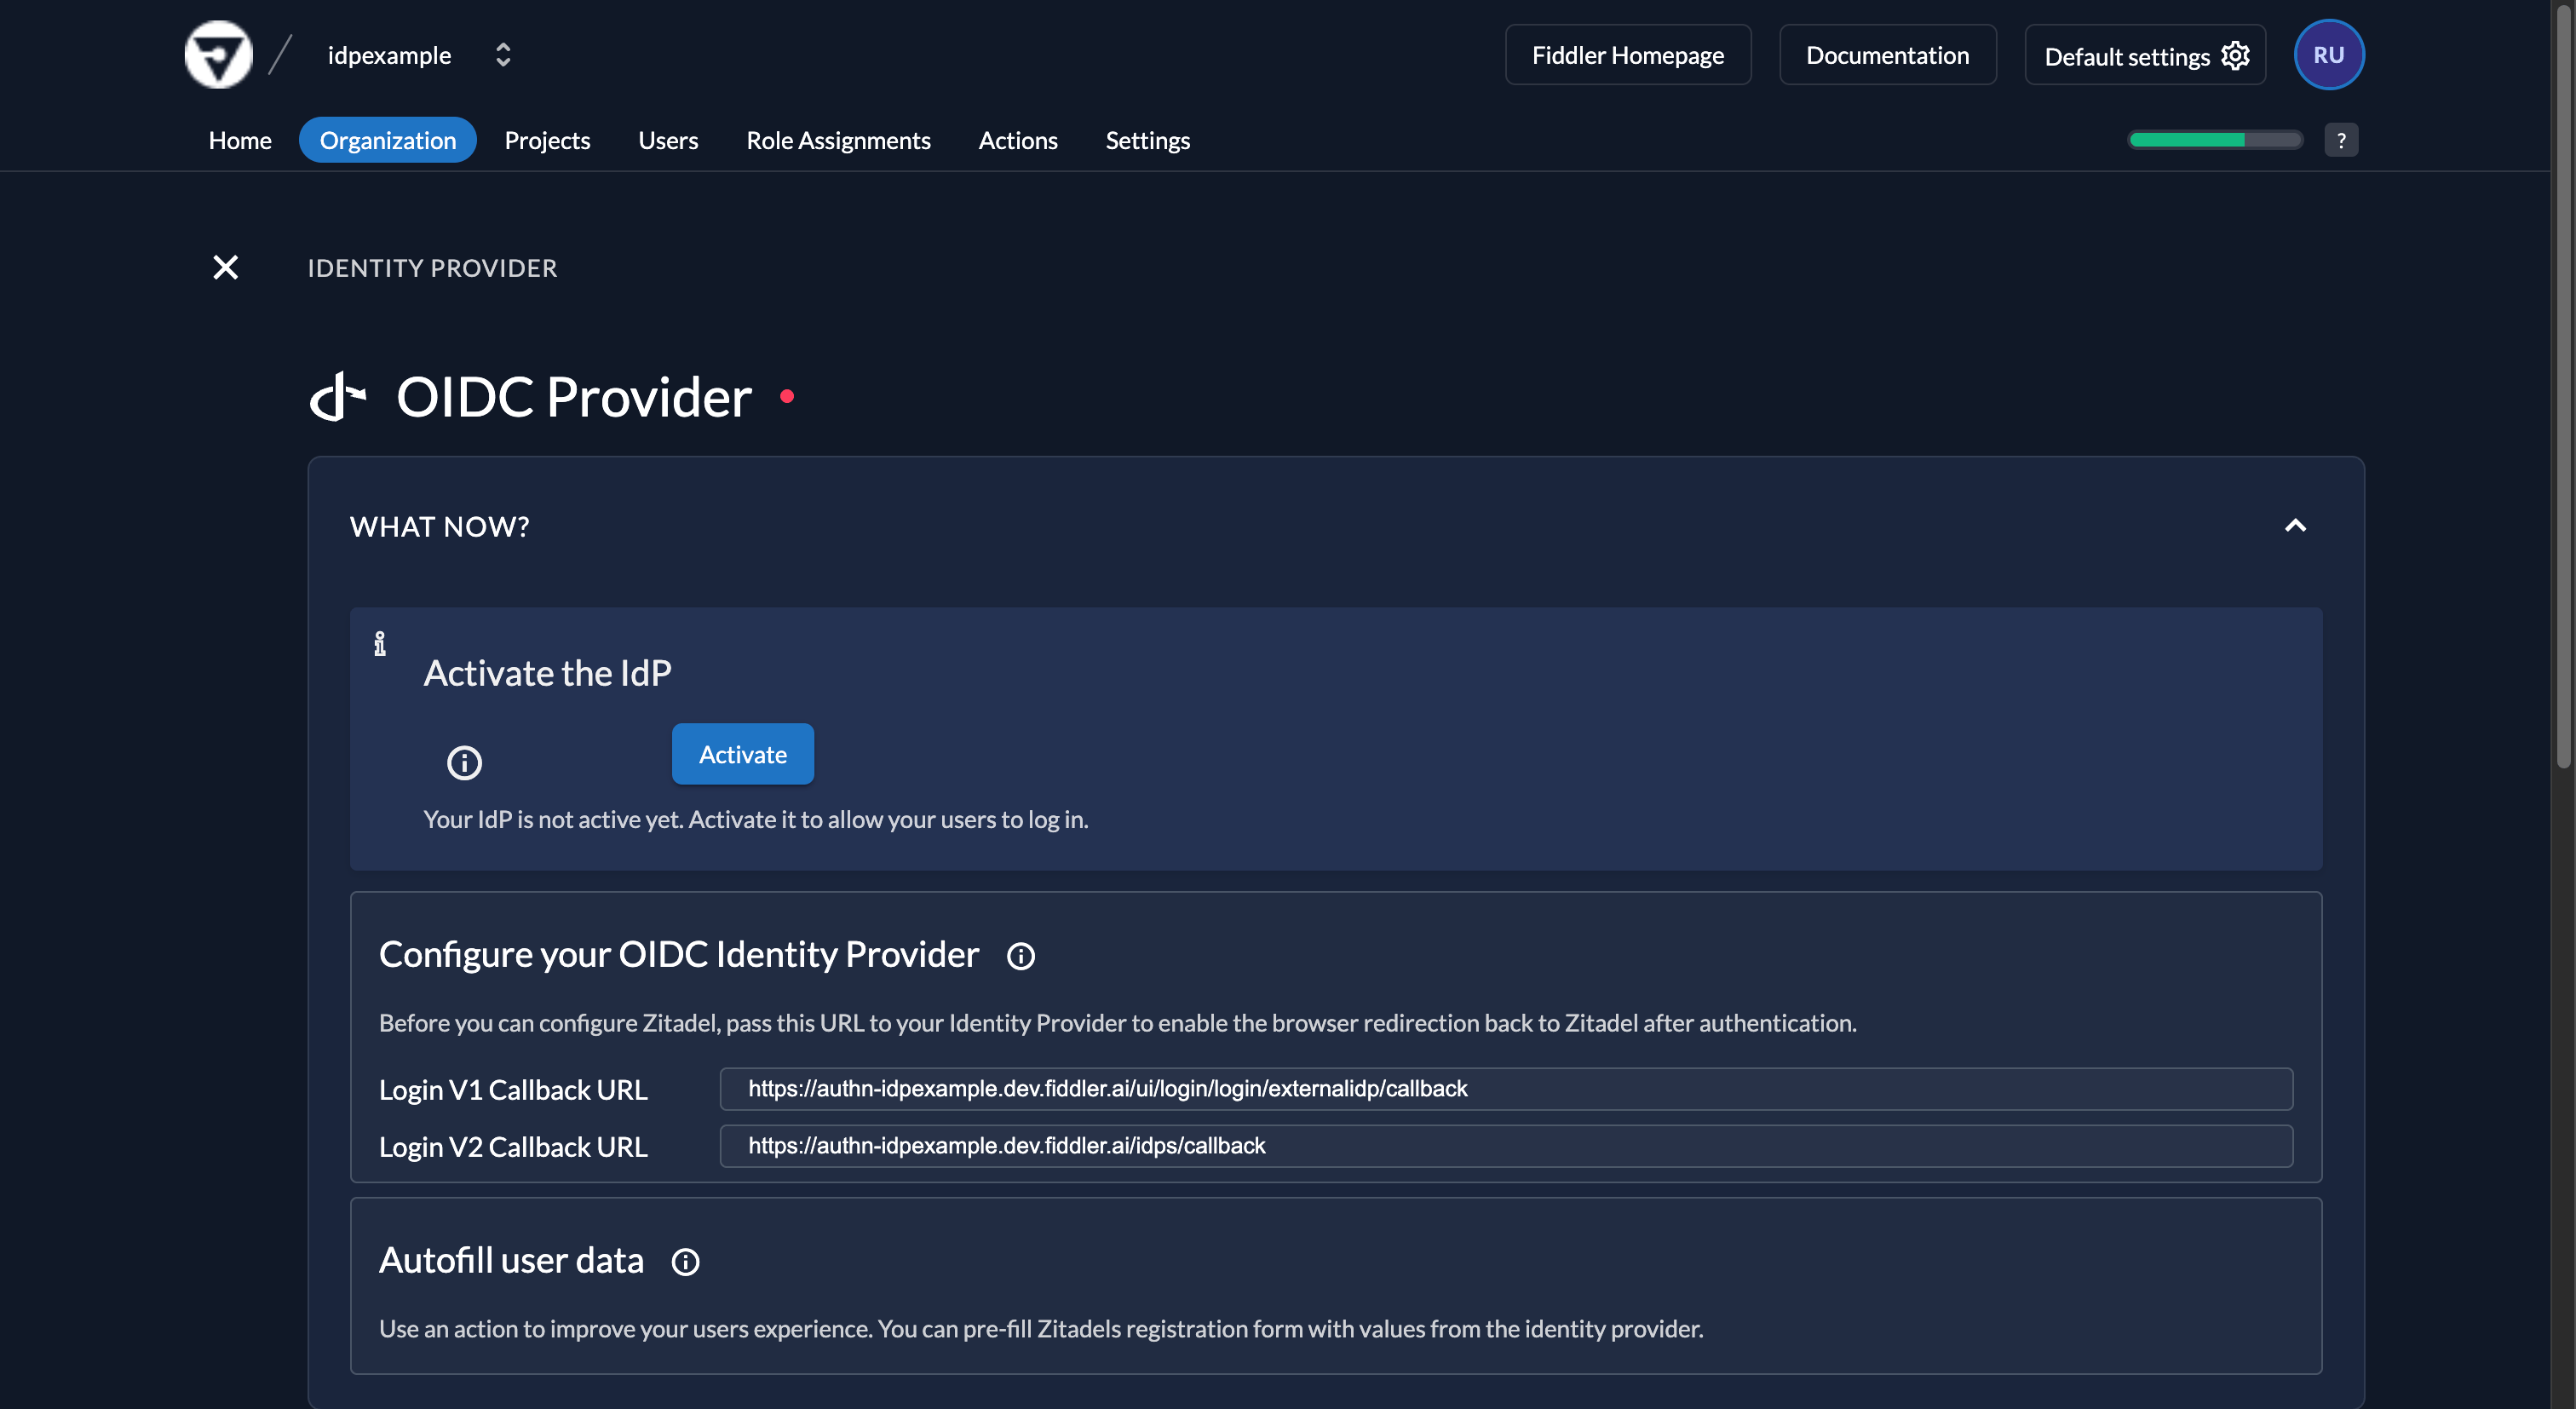
-
Note the callback URL shown in the form — it corresponds to the redirect URIs you registered in Okta earlier, so no further changes are needed in Okta.
5
Configure the Identity Provider in Fiddler
-
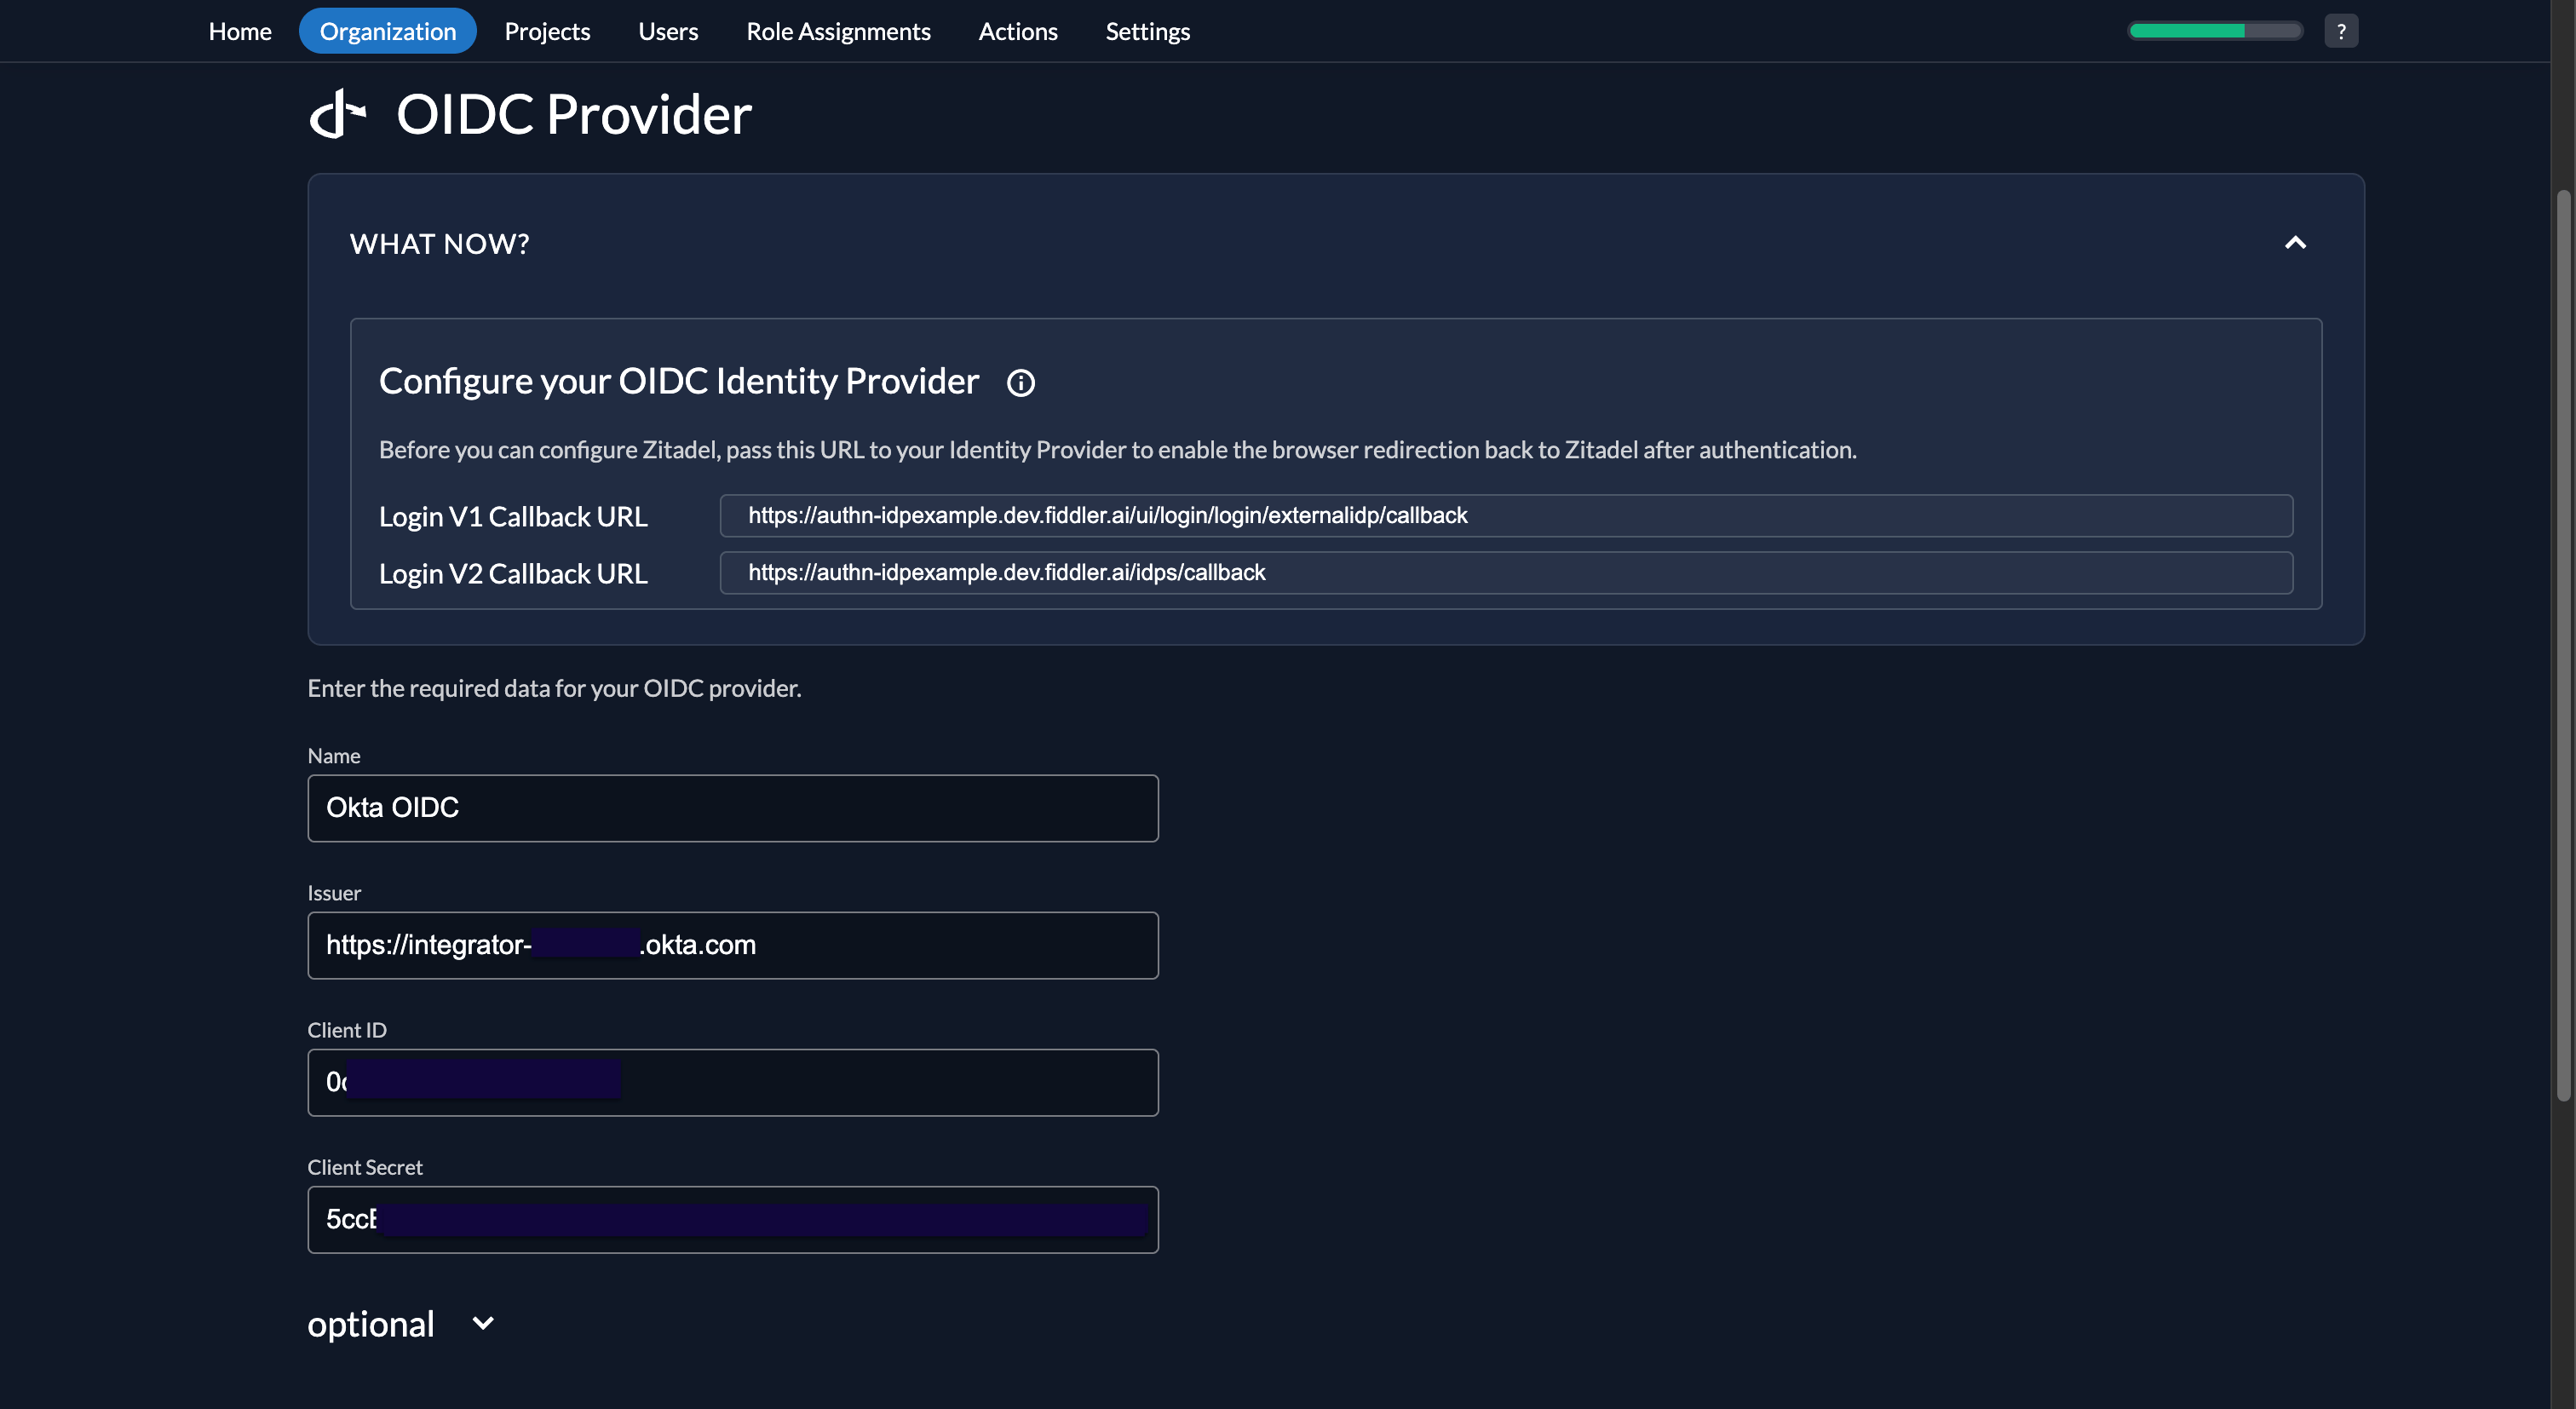
In the OIDC Provider form, enter the following values:
- Enter a name in the Name text box. This name is displayed on the SSO login button on the Fiddler sign-in page, so choose one your users will recognize.
- In the Issuer text box, paste the Issuer URL copied from the Okta admin console.
- In the Client ID and Client Secret text boxes, paste those values copied from the Okta admin console.
6
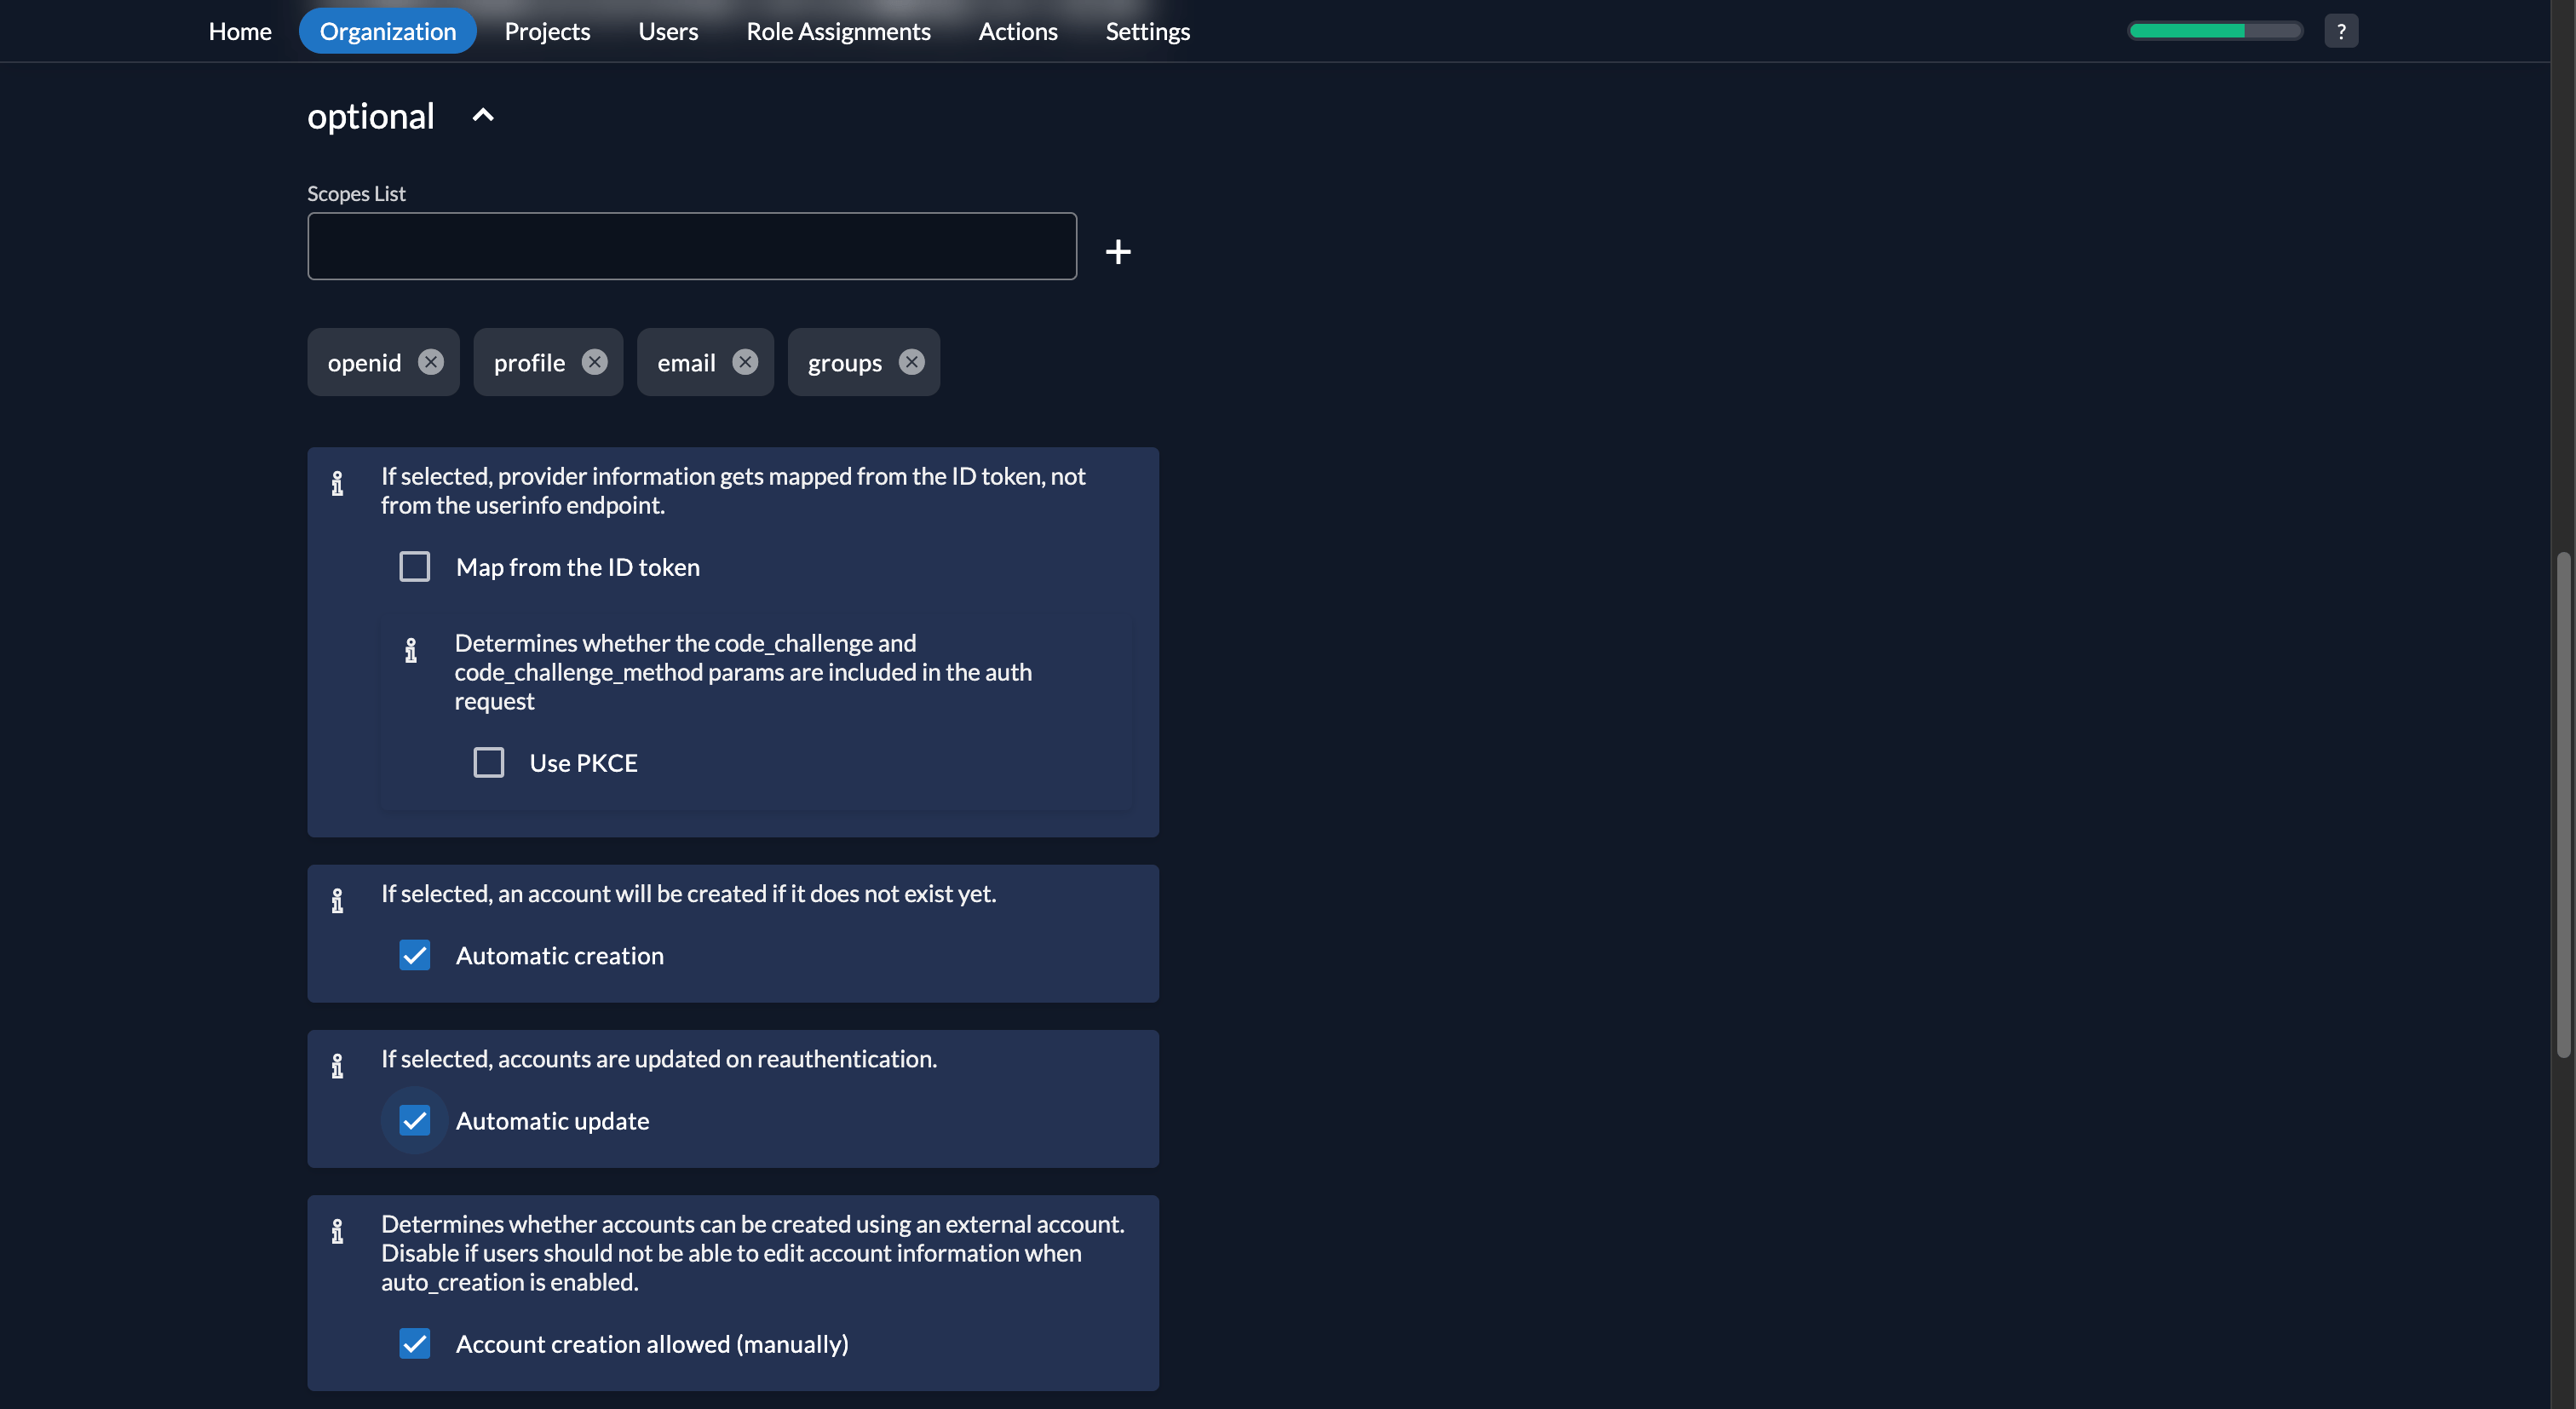
Configure Additional Parameters
- Expand the optional section.
-
Add the text
groupsto the Scopes List text box and ensure it is listed along withopenid,profile, andemail. -
Ensure the Automatic create and Automatic update checkboxes are selected.
-
Set the Determines whether an identity will be prompted to be linked to an existing account dropdown to Check for existing Username.
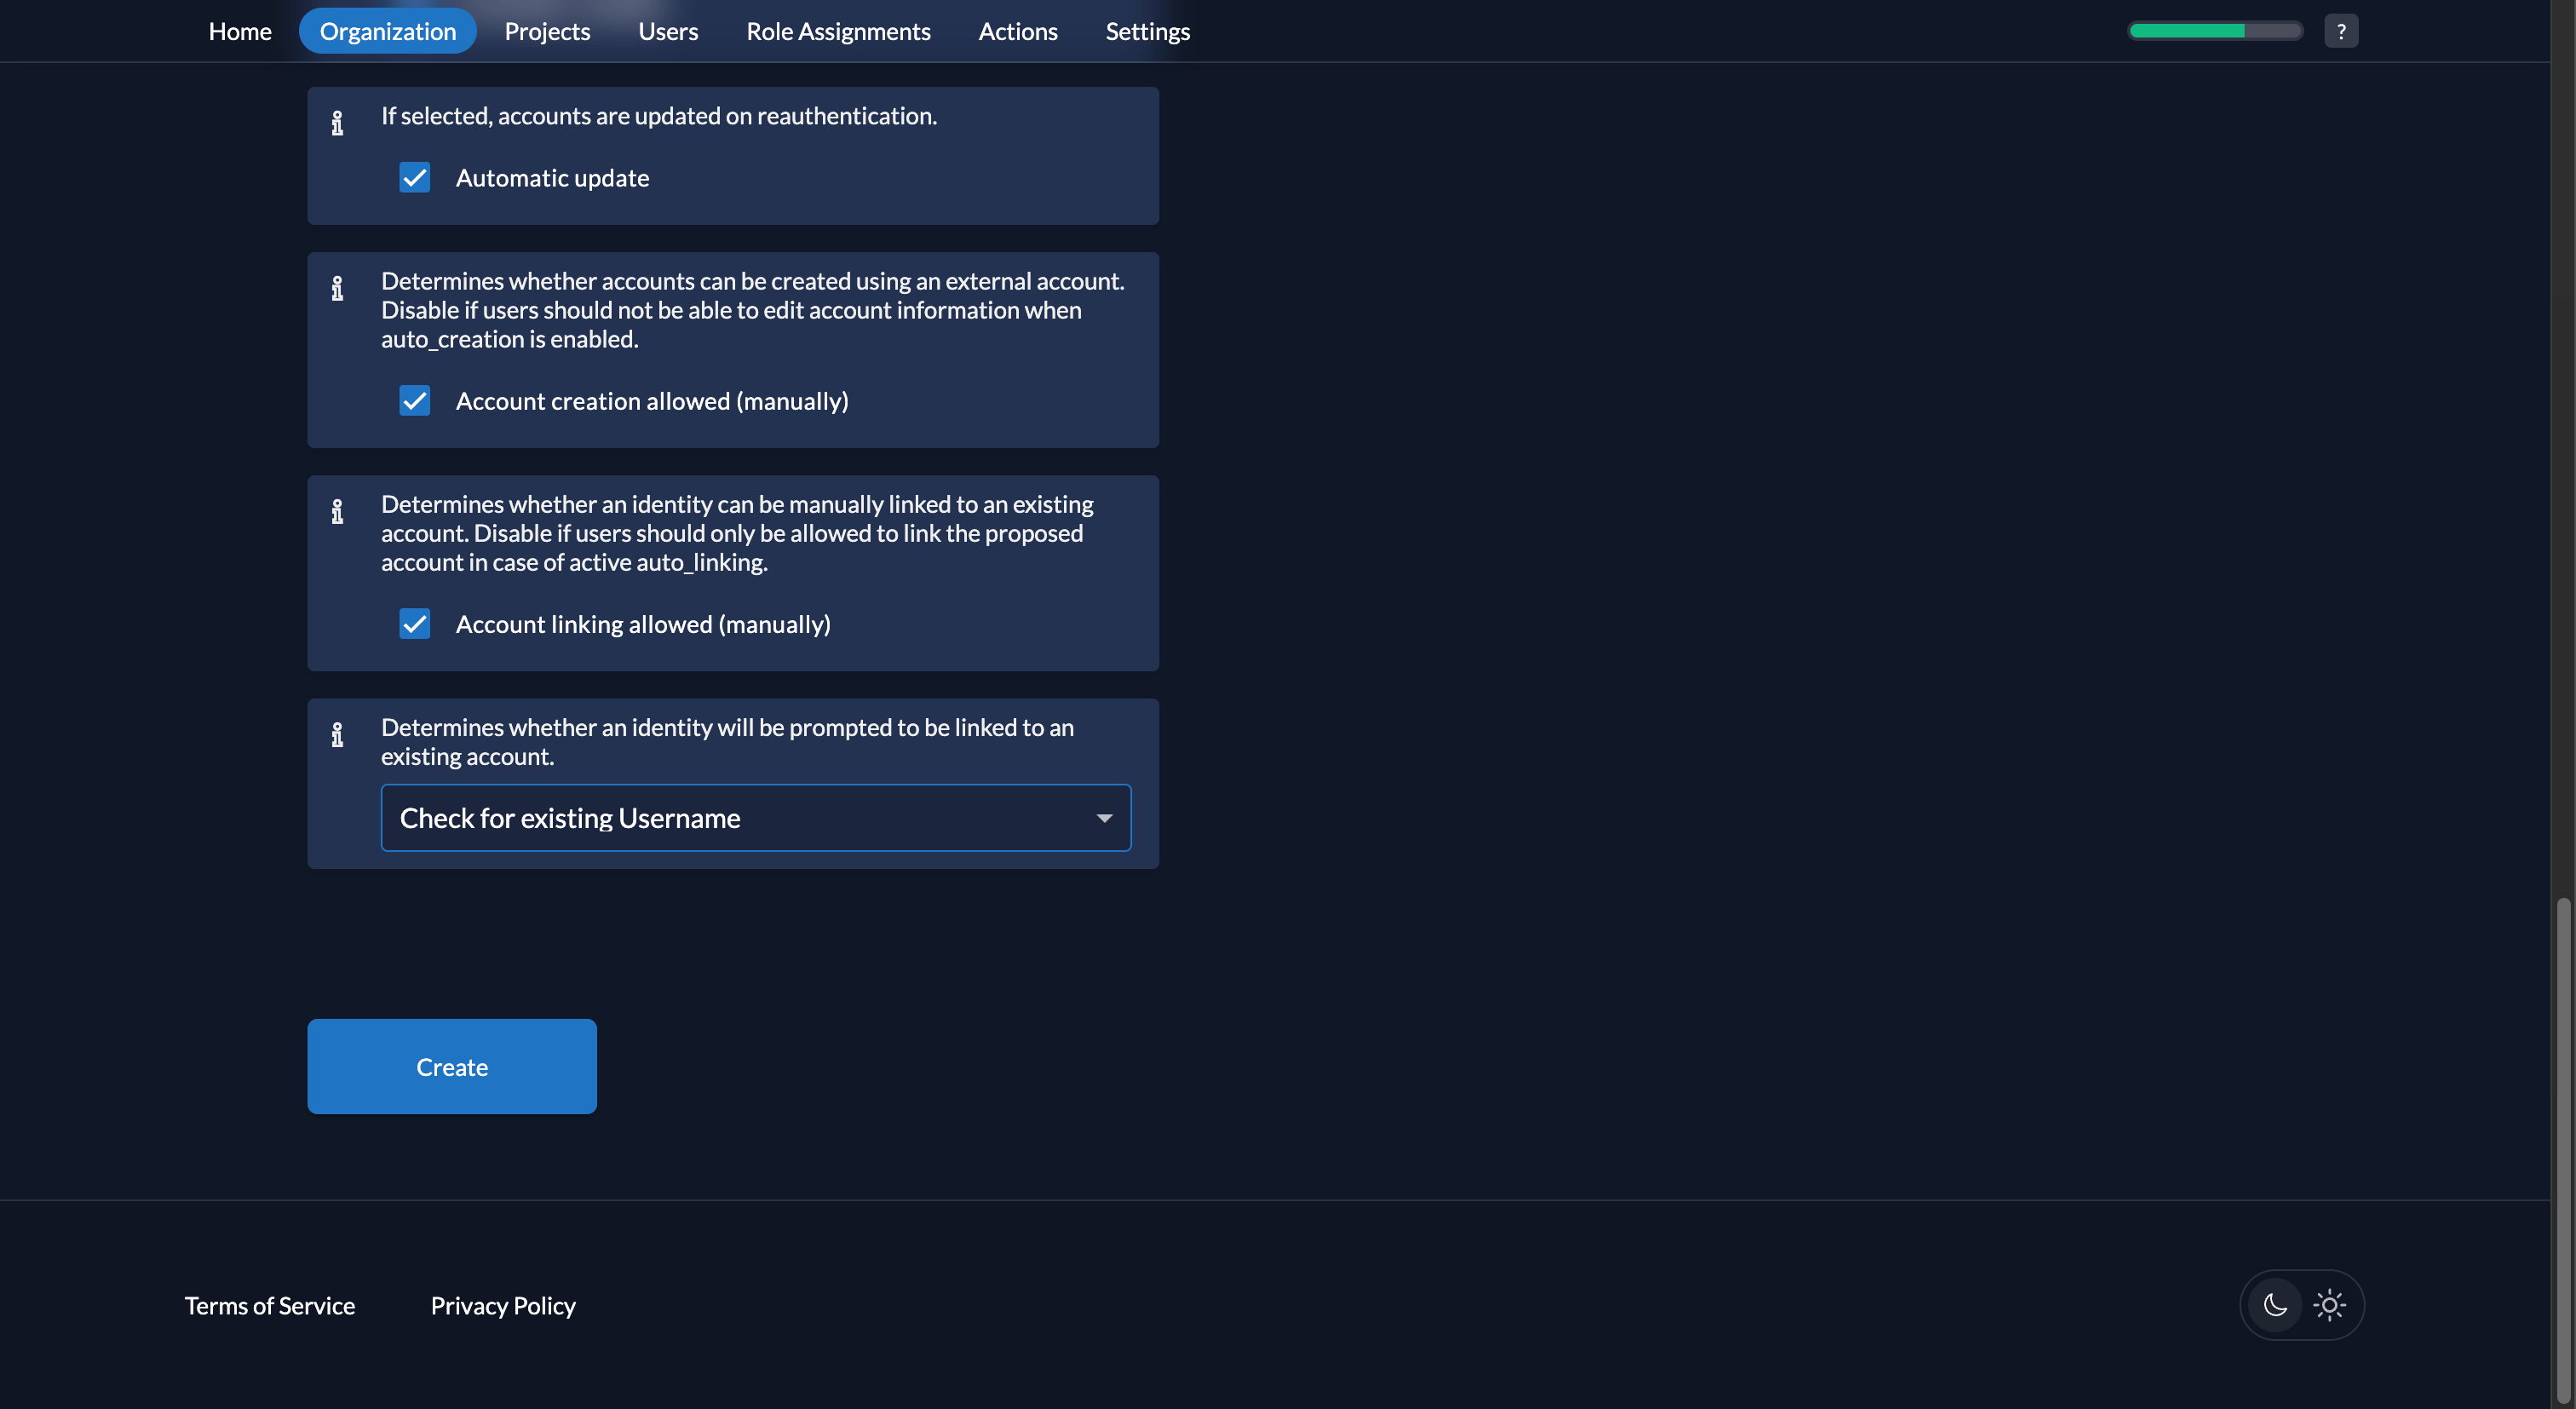
7
Save the Configuration Changes
Select the Create button and then select the Save button. You will be returned to the Organization Settings page.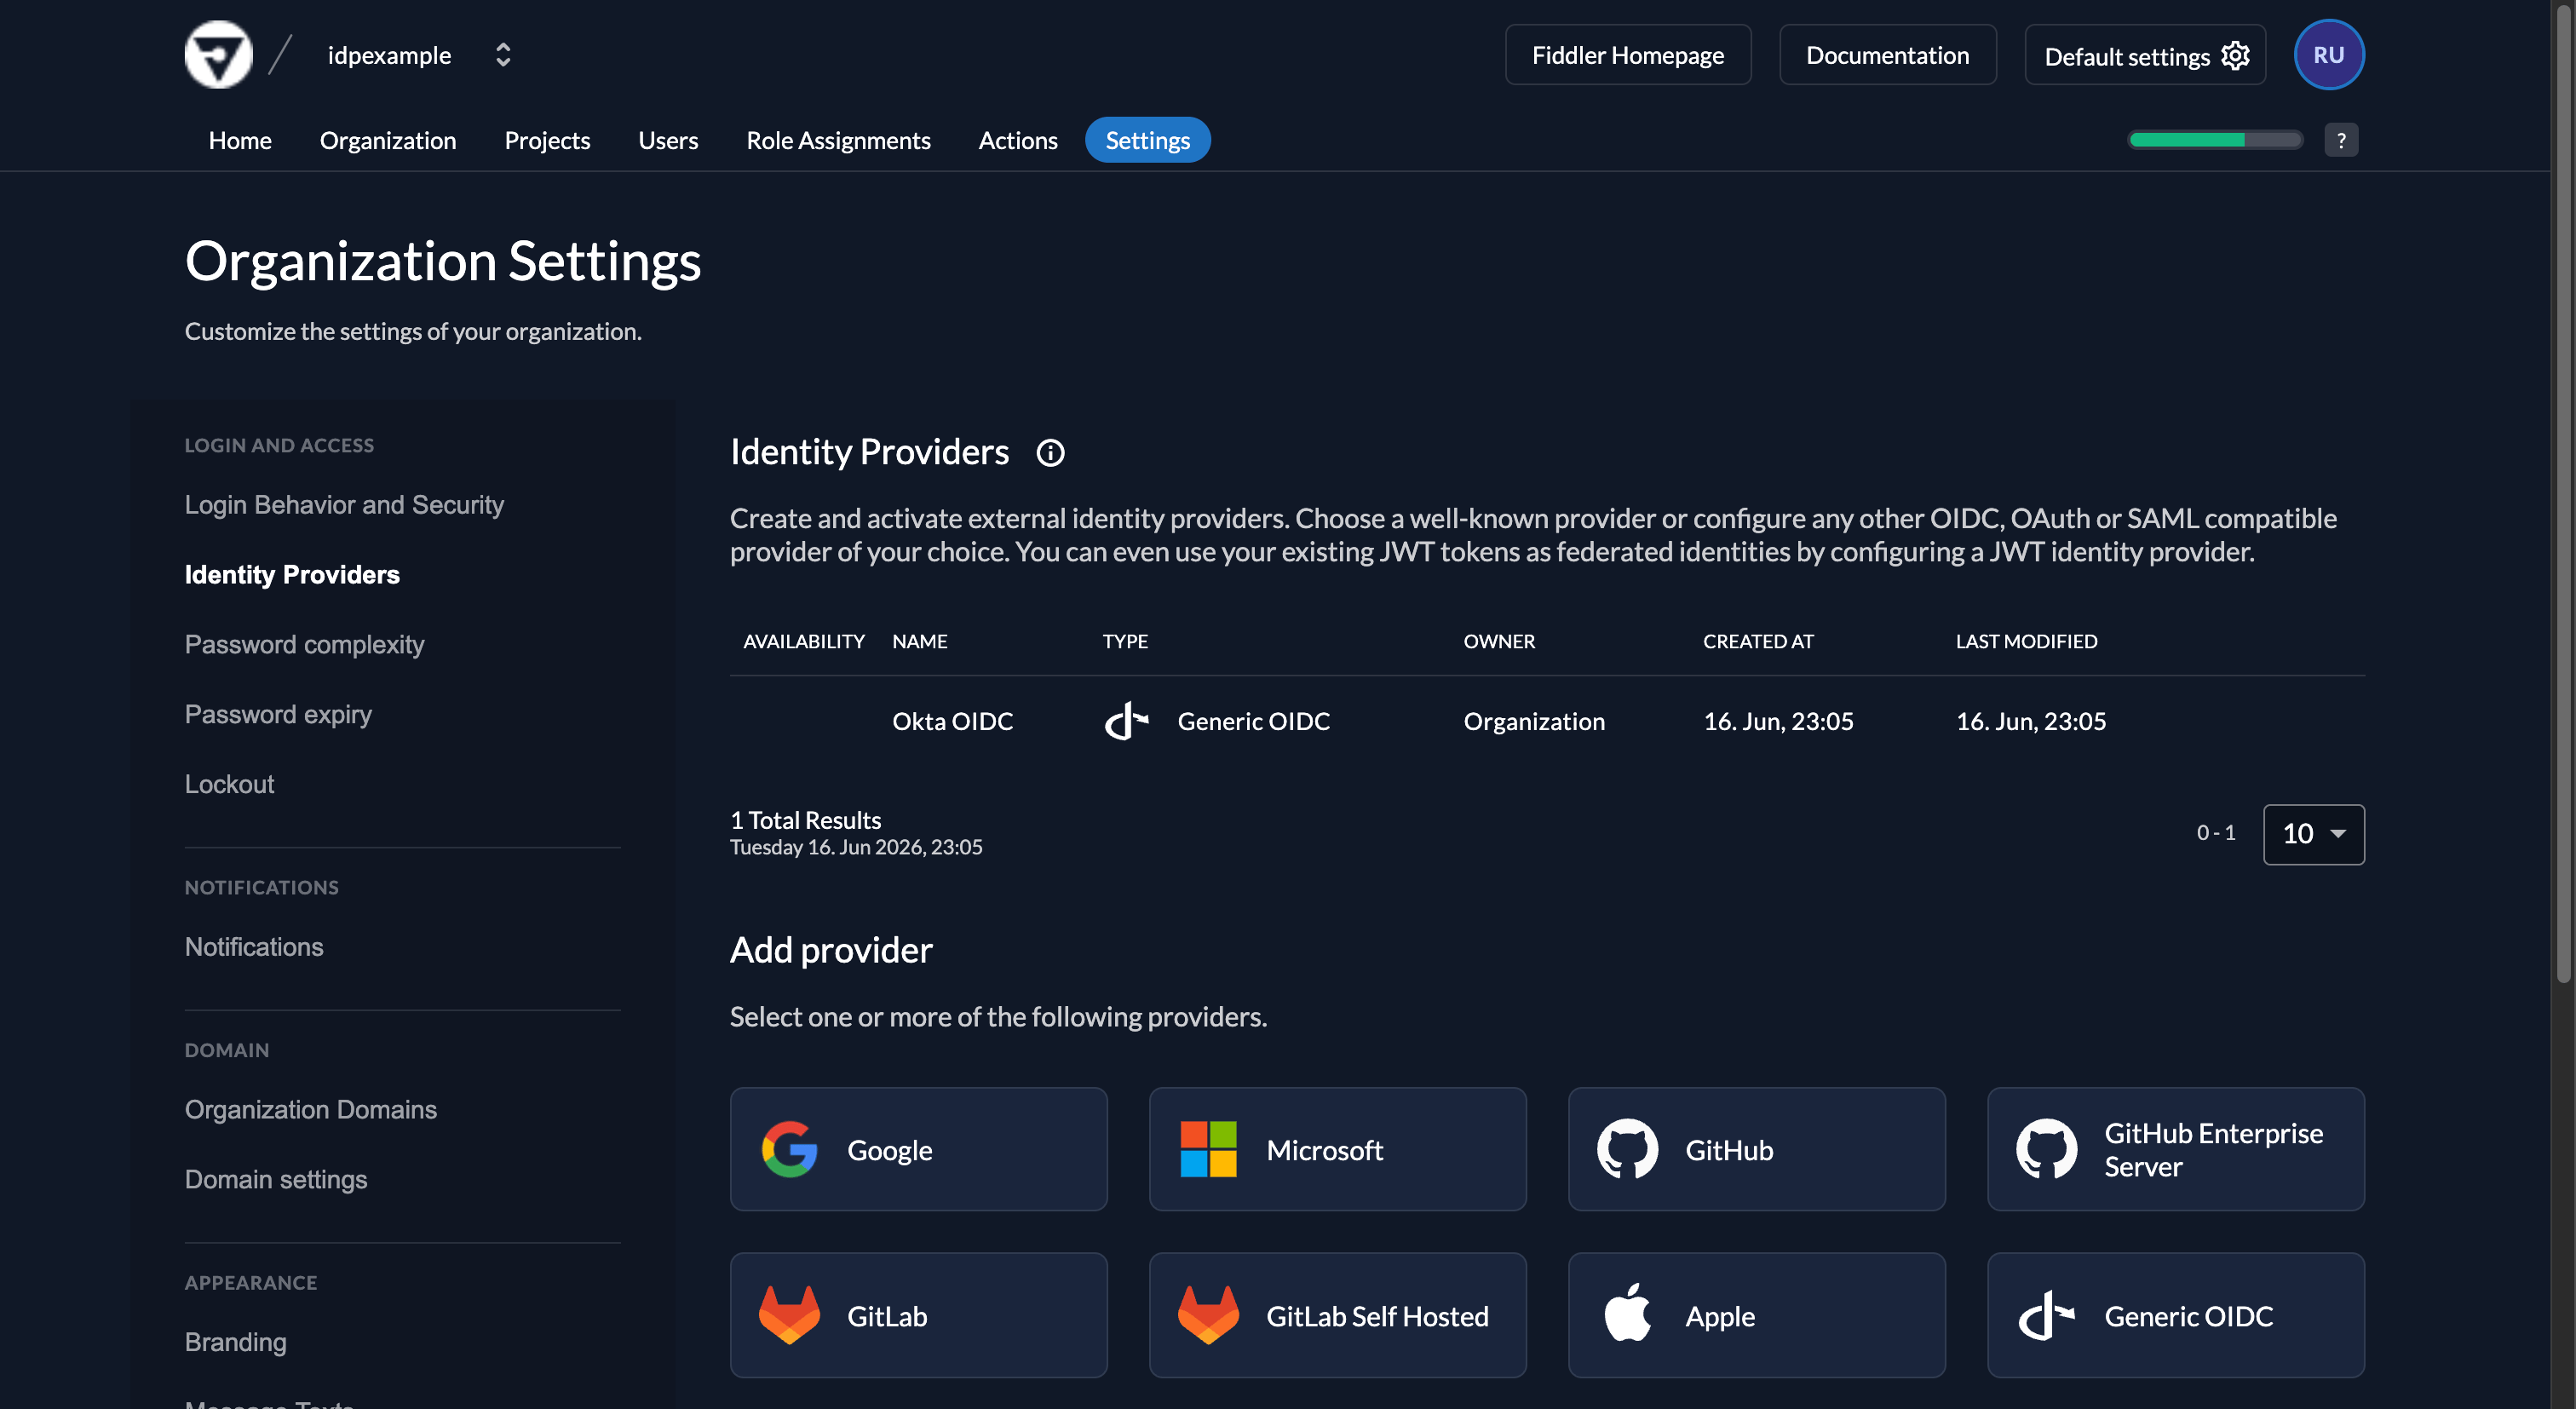
8
Activate the Okta OIDC IdP
-
Select your IdP from the list and select the Activate button on the identity provider page.
-
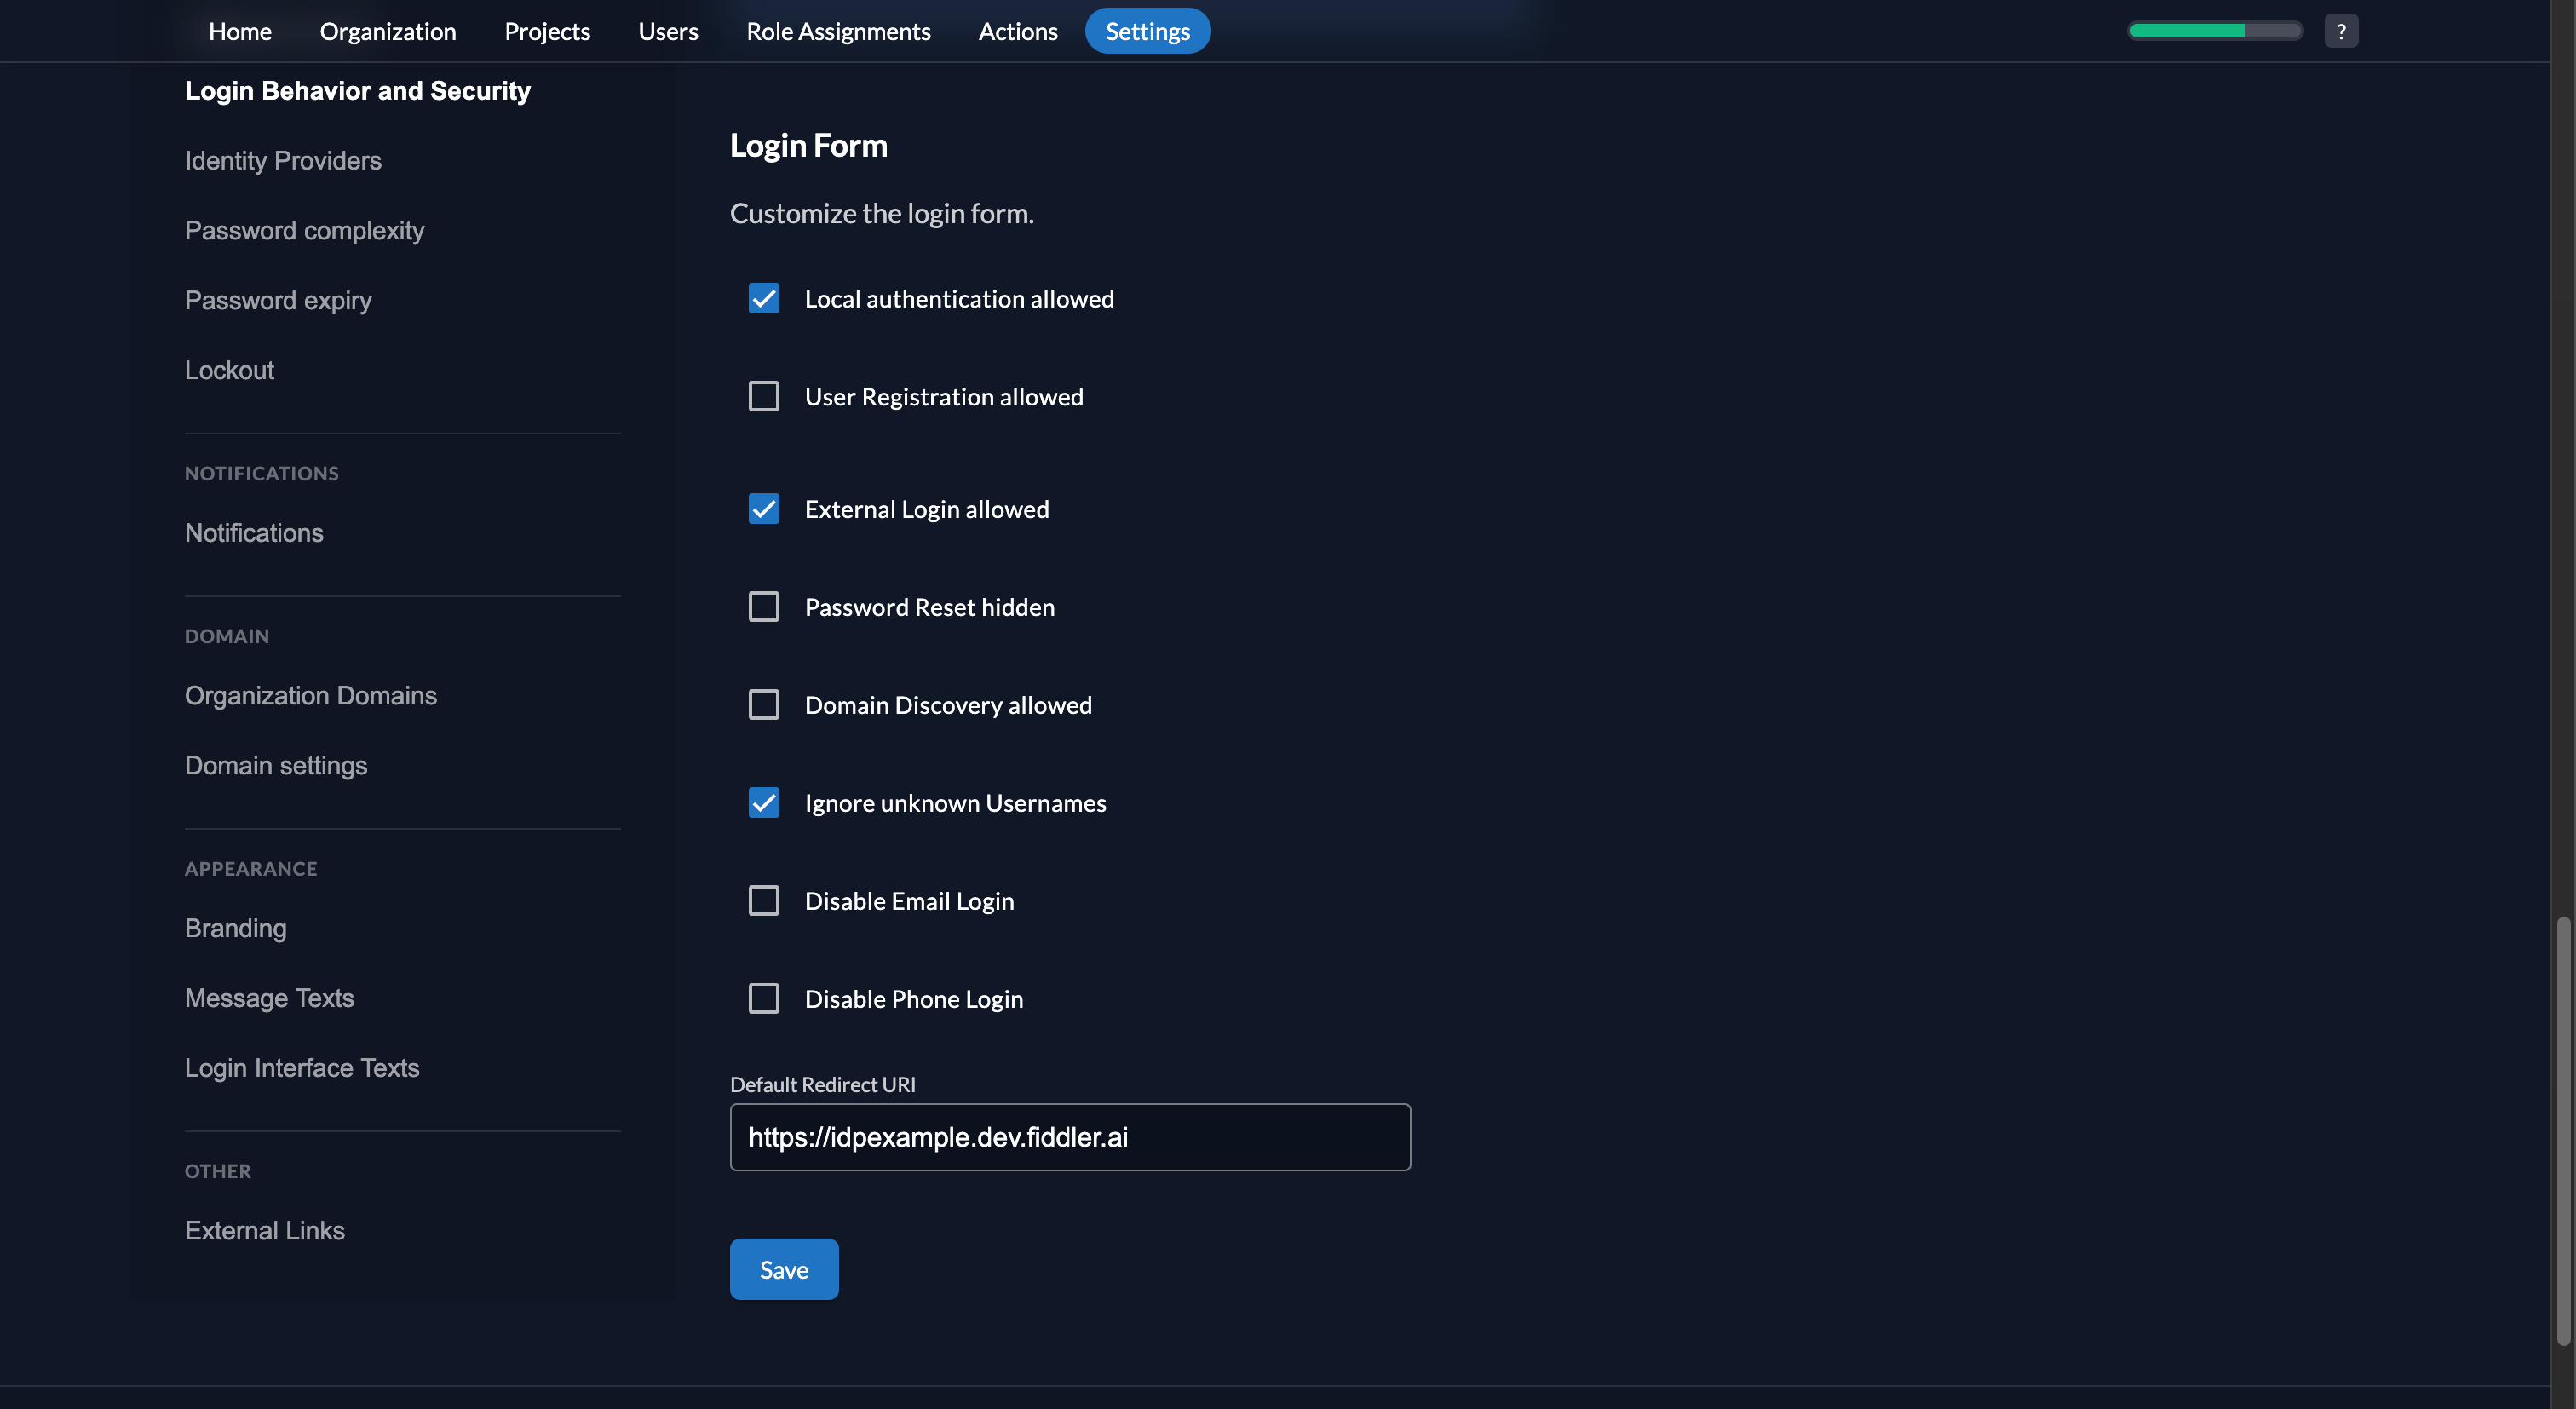
Close the settings and then select Login Behavior and Security from the left nav menu and ensure the External login allowed checkbox is selected.
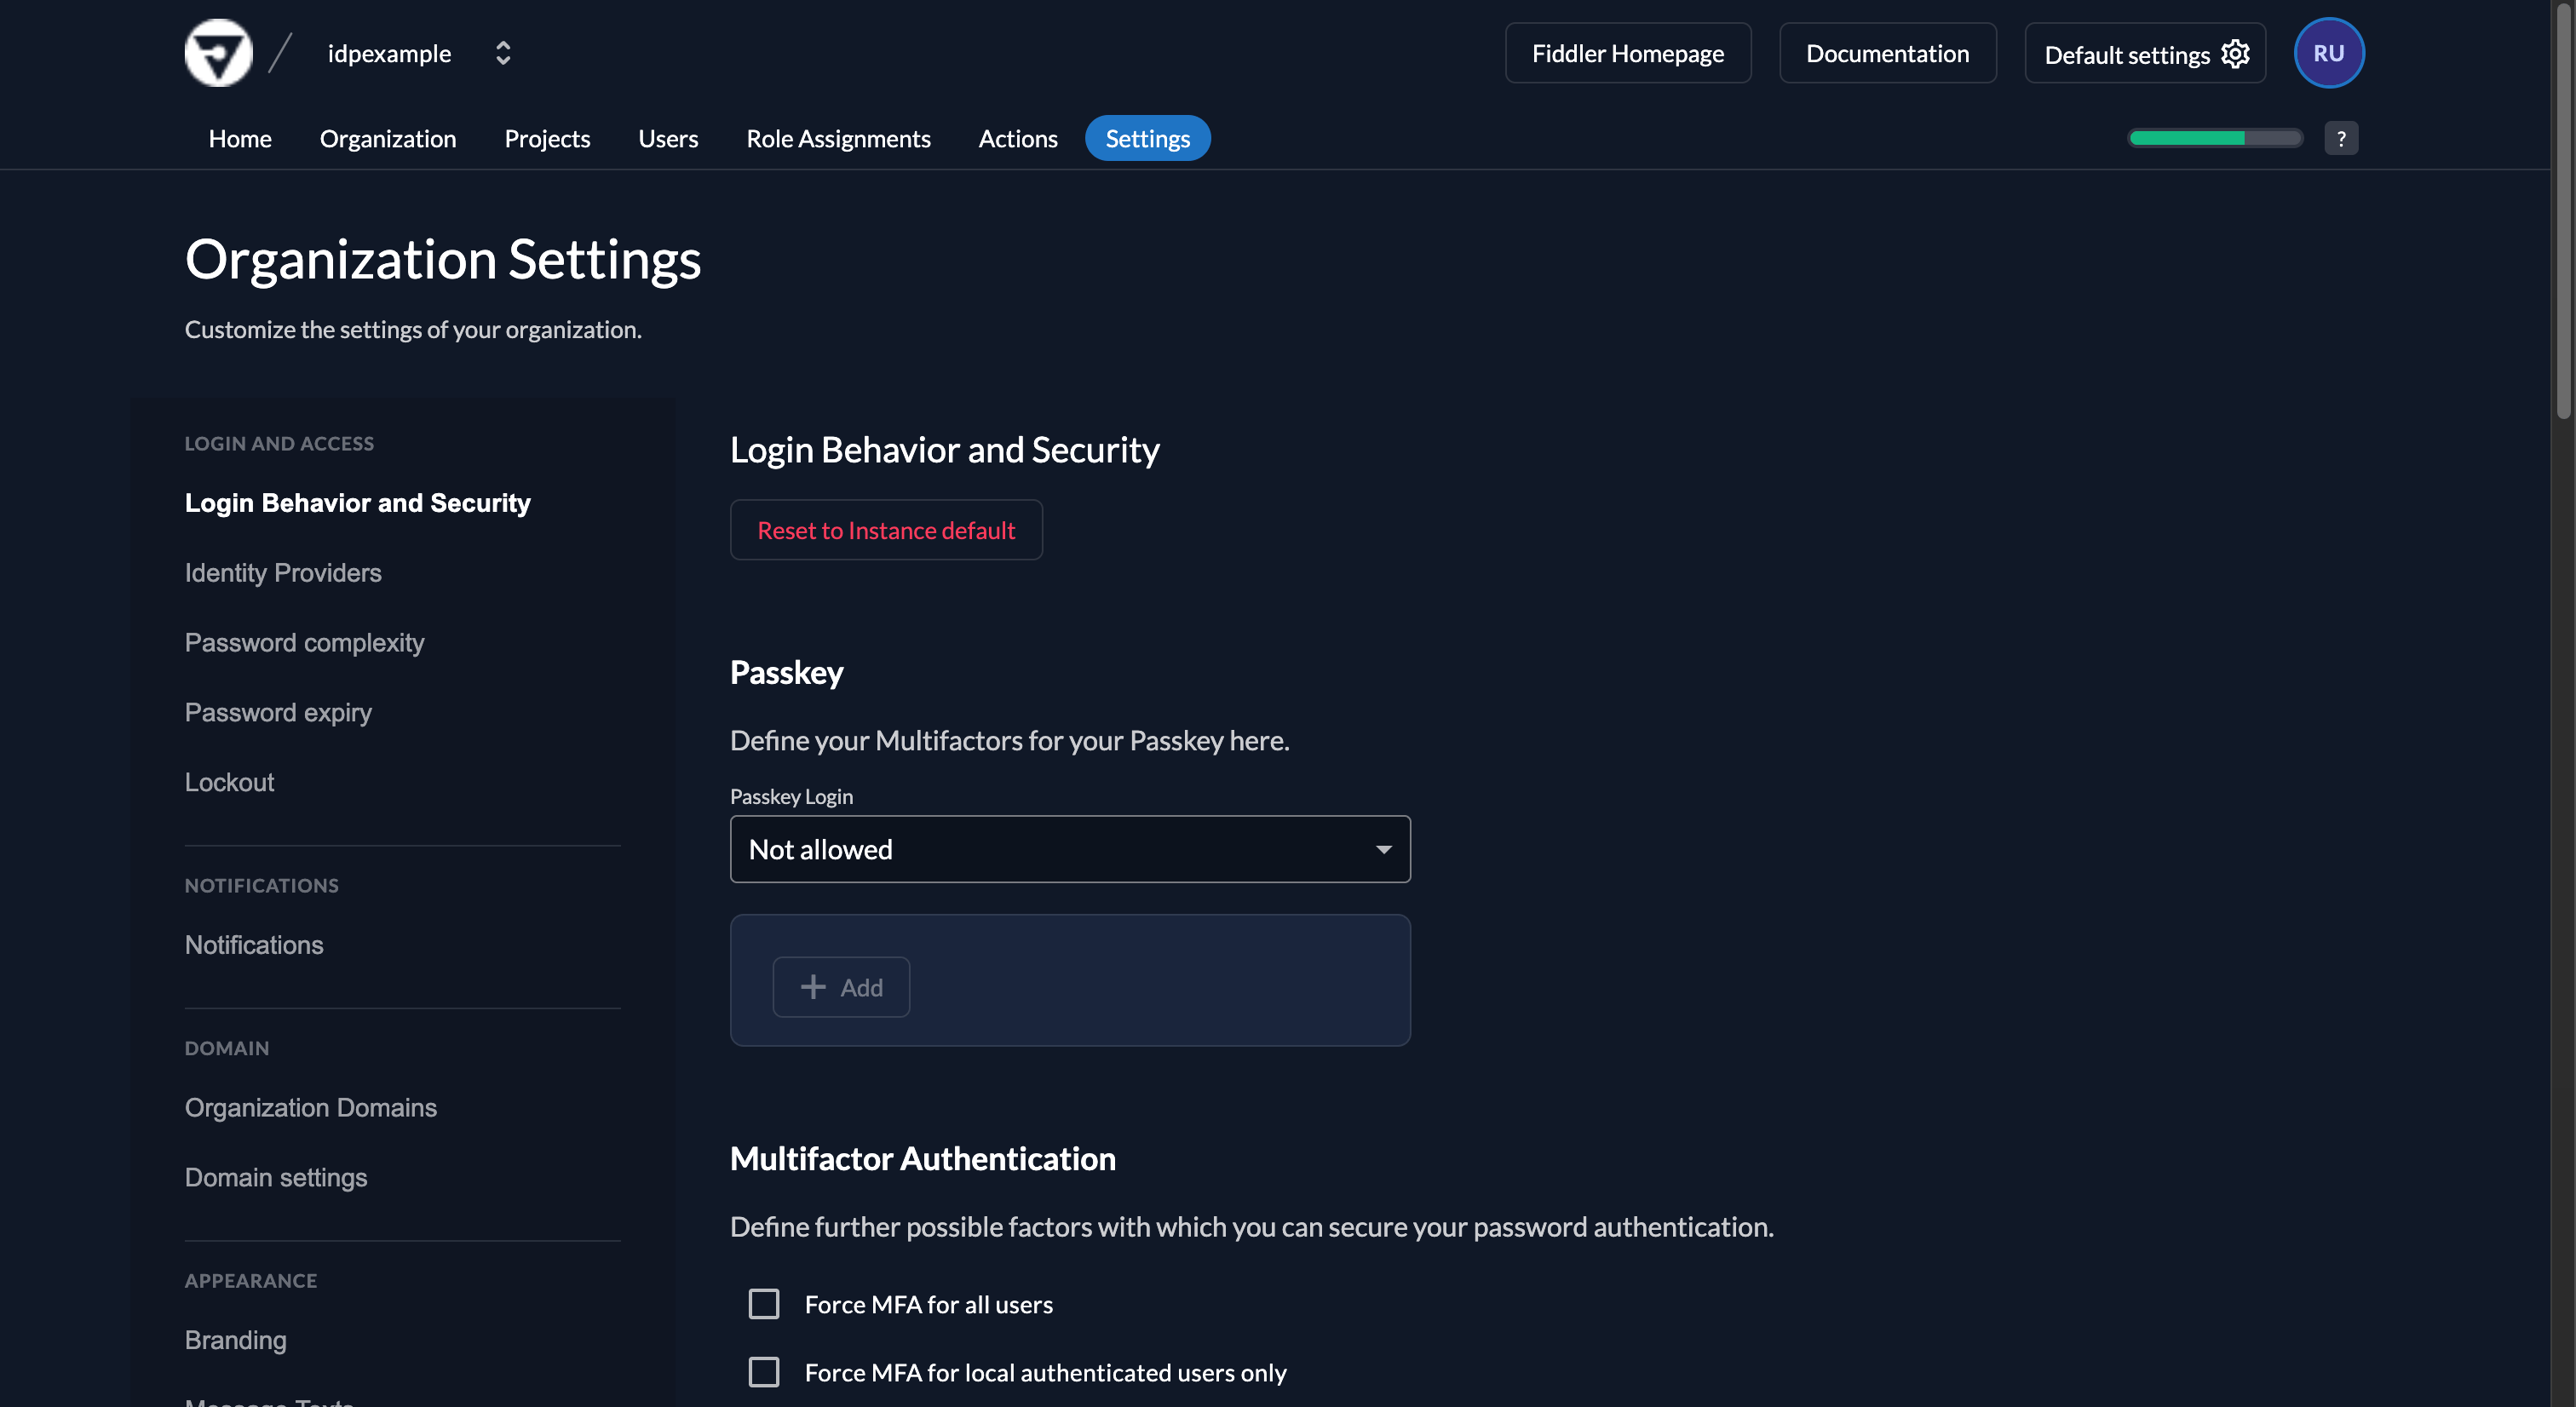
-
Select the Save button.
9
Create a Custom Action
Select the Actions tab from the top menu.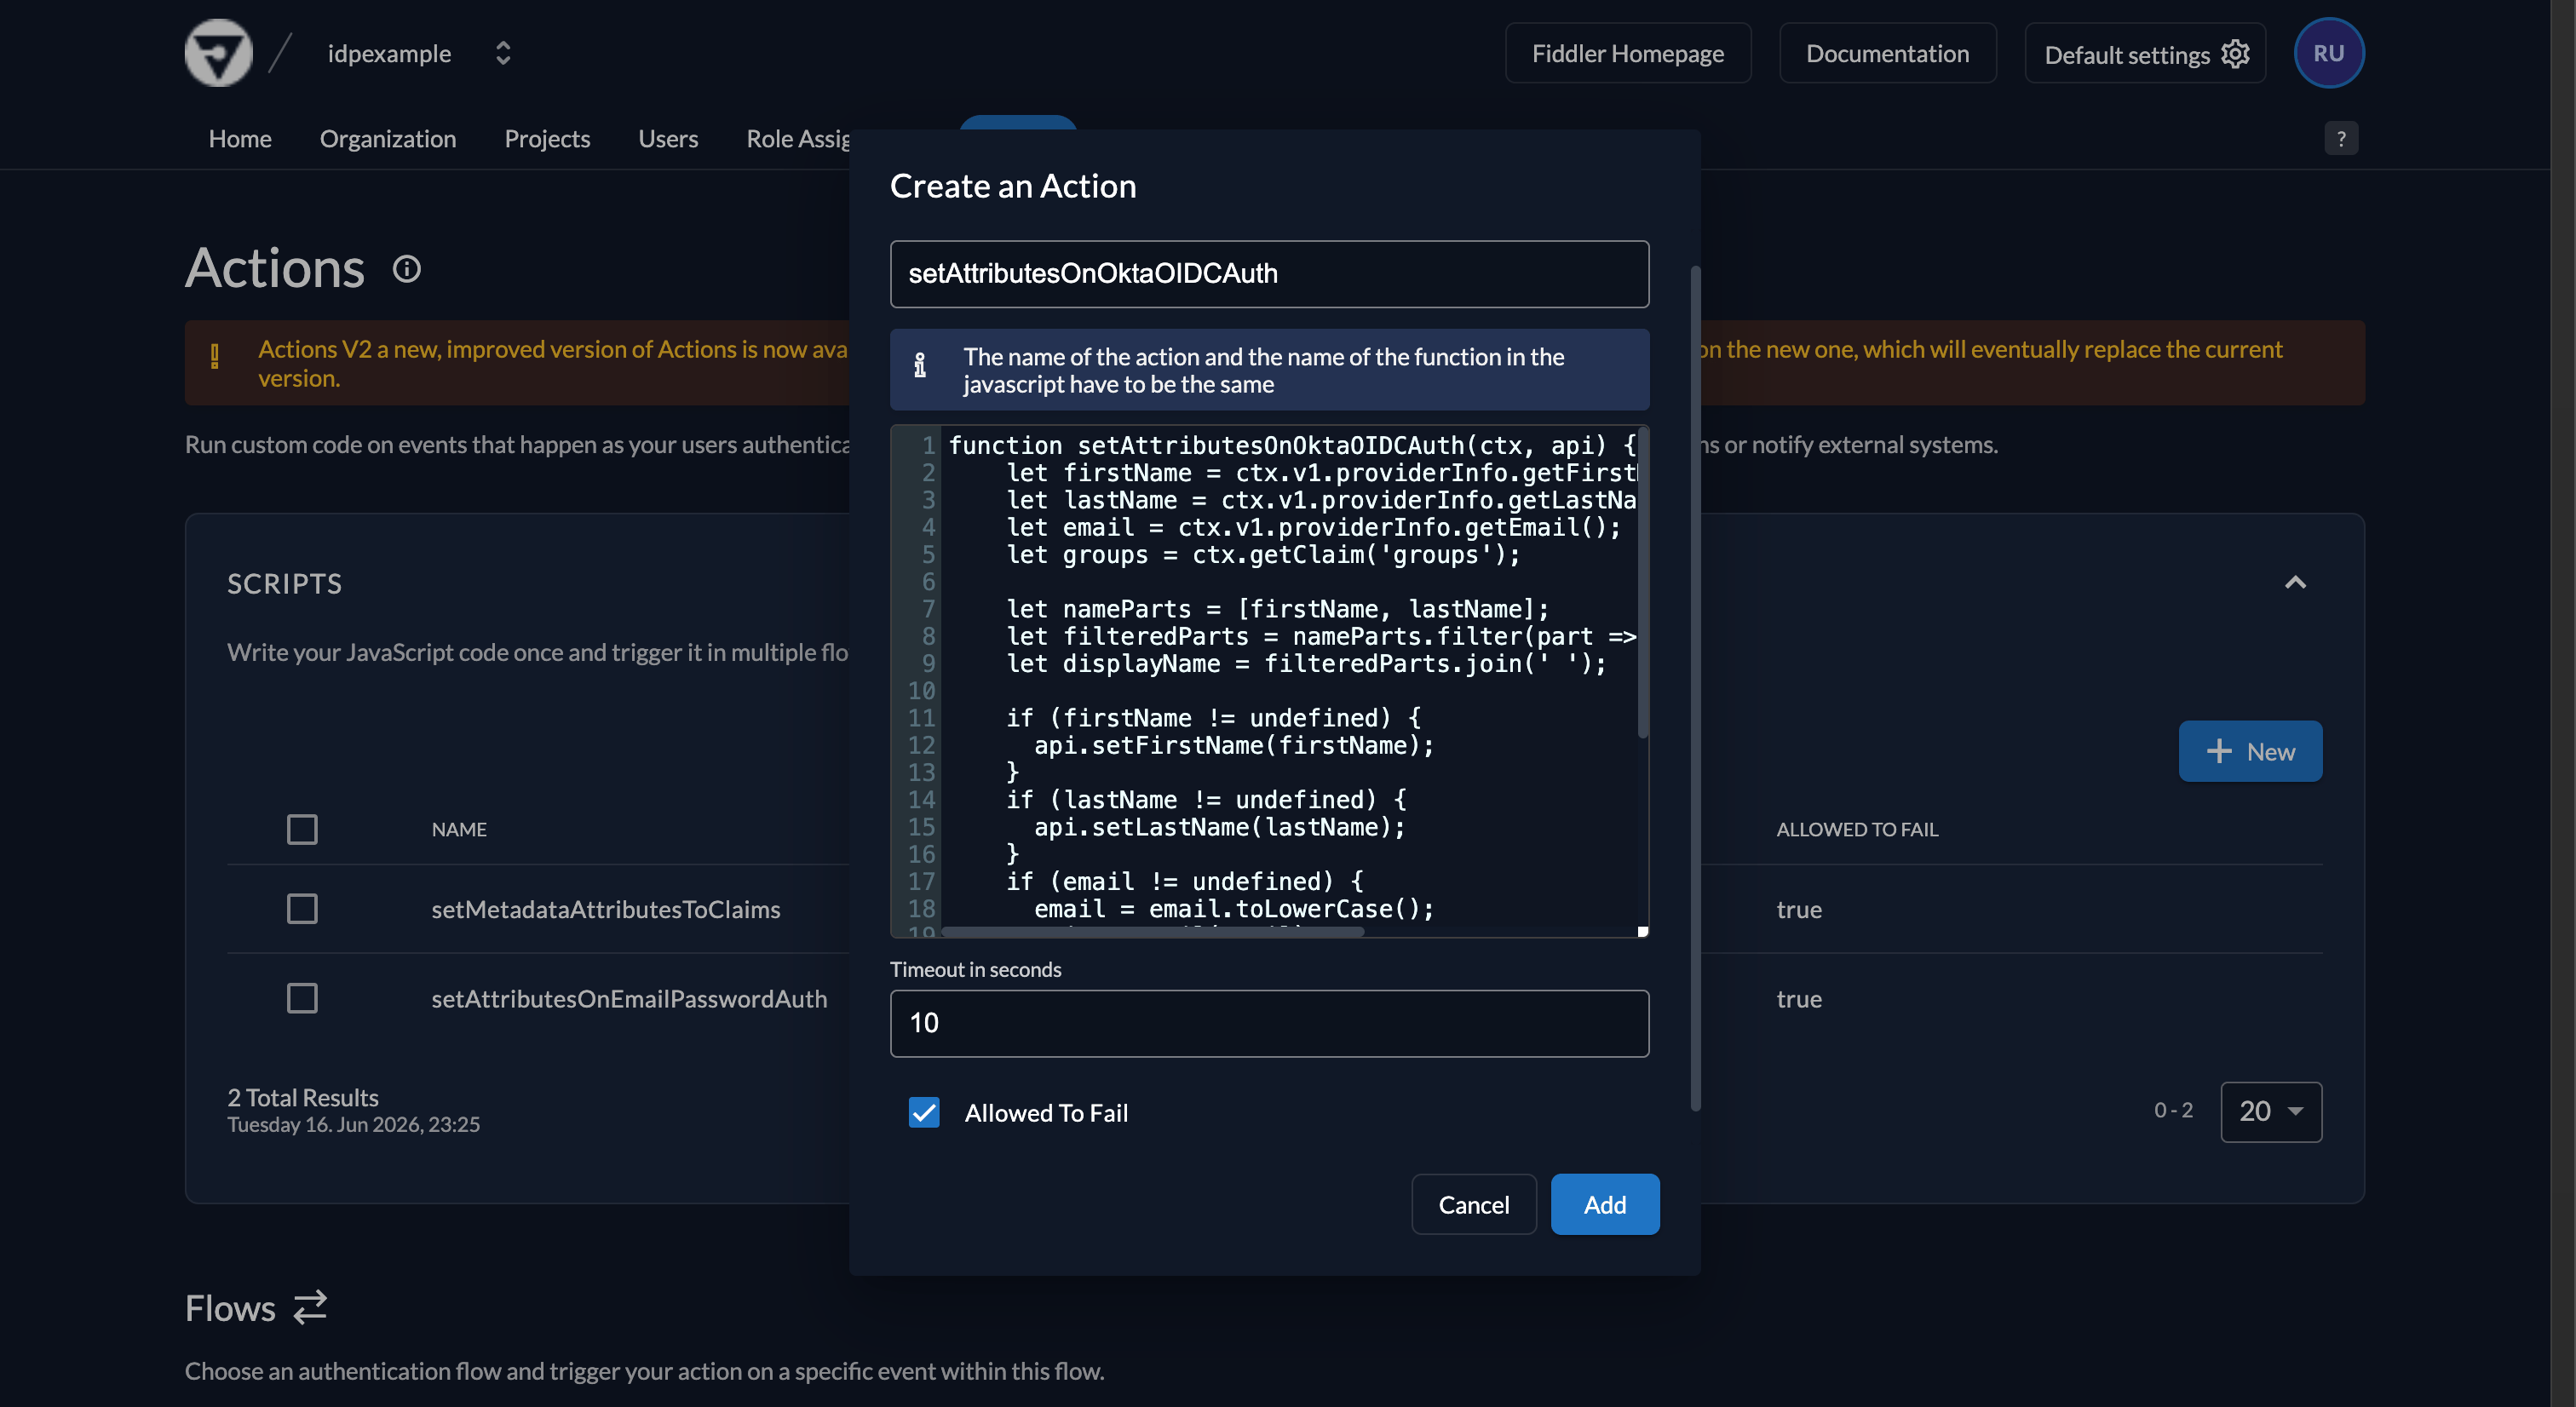
- Select the New button in the Scripts section to create a new action script.
- Copy the Okta OIDC Action Script below and paste it into the script text area.
- Enter
setAttributesOnOktaOIDCAuthin the Name text box. - Select the Add button.
Okta OIDC Action Script10
Configure the Action Trigger
Scroll down to the Flows section.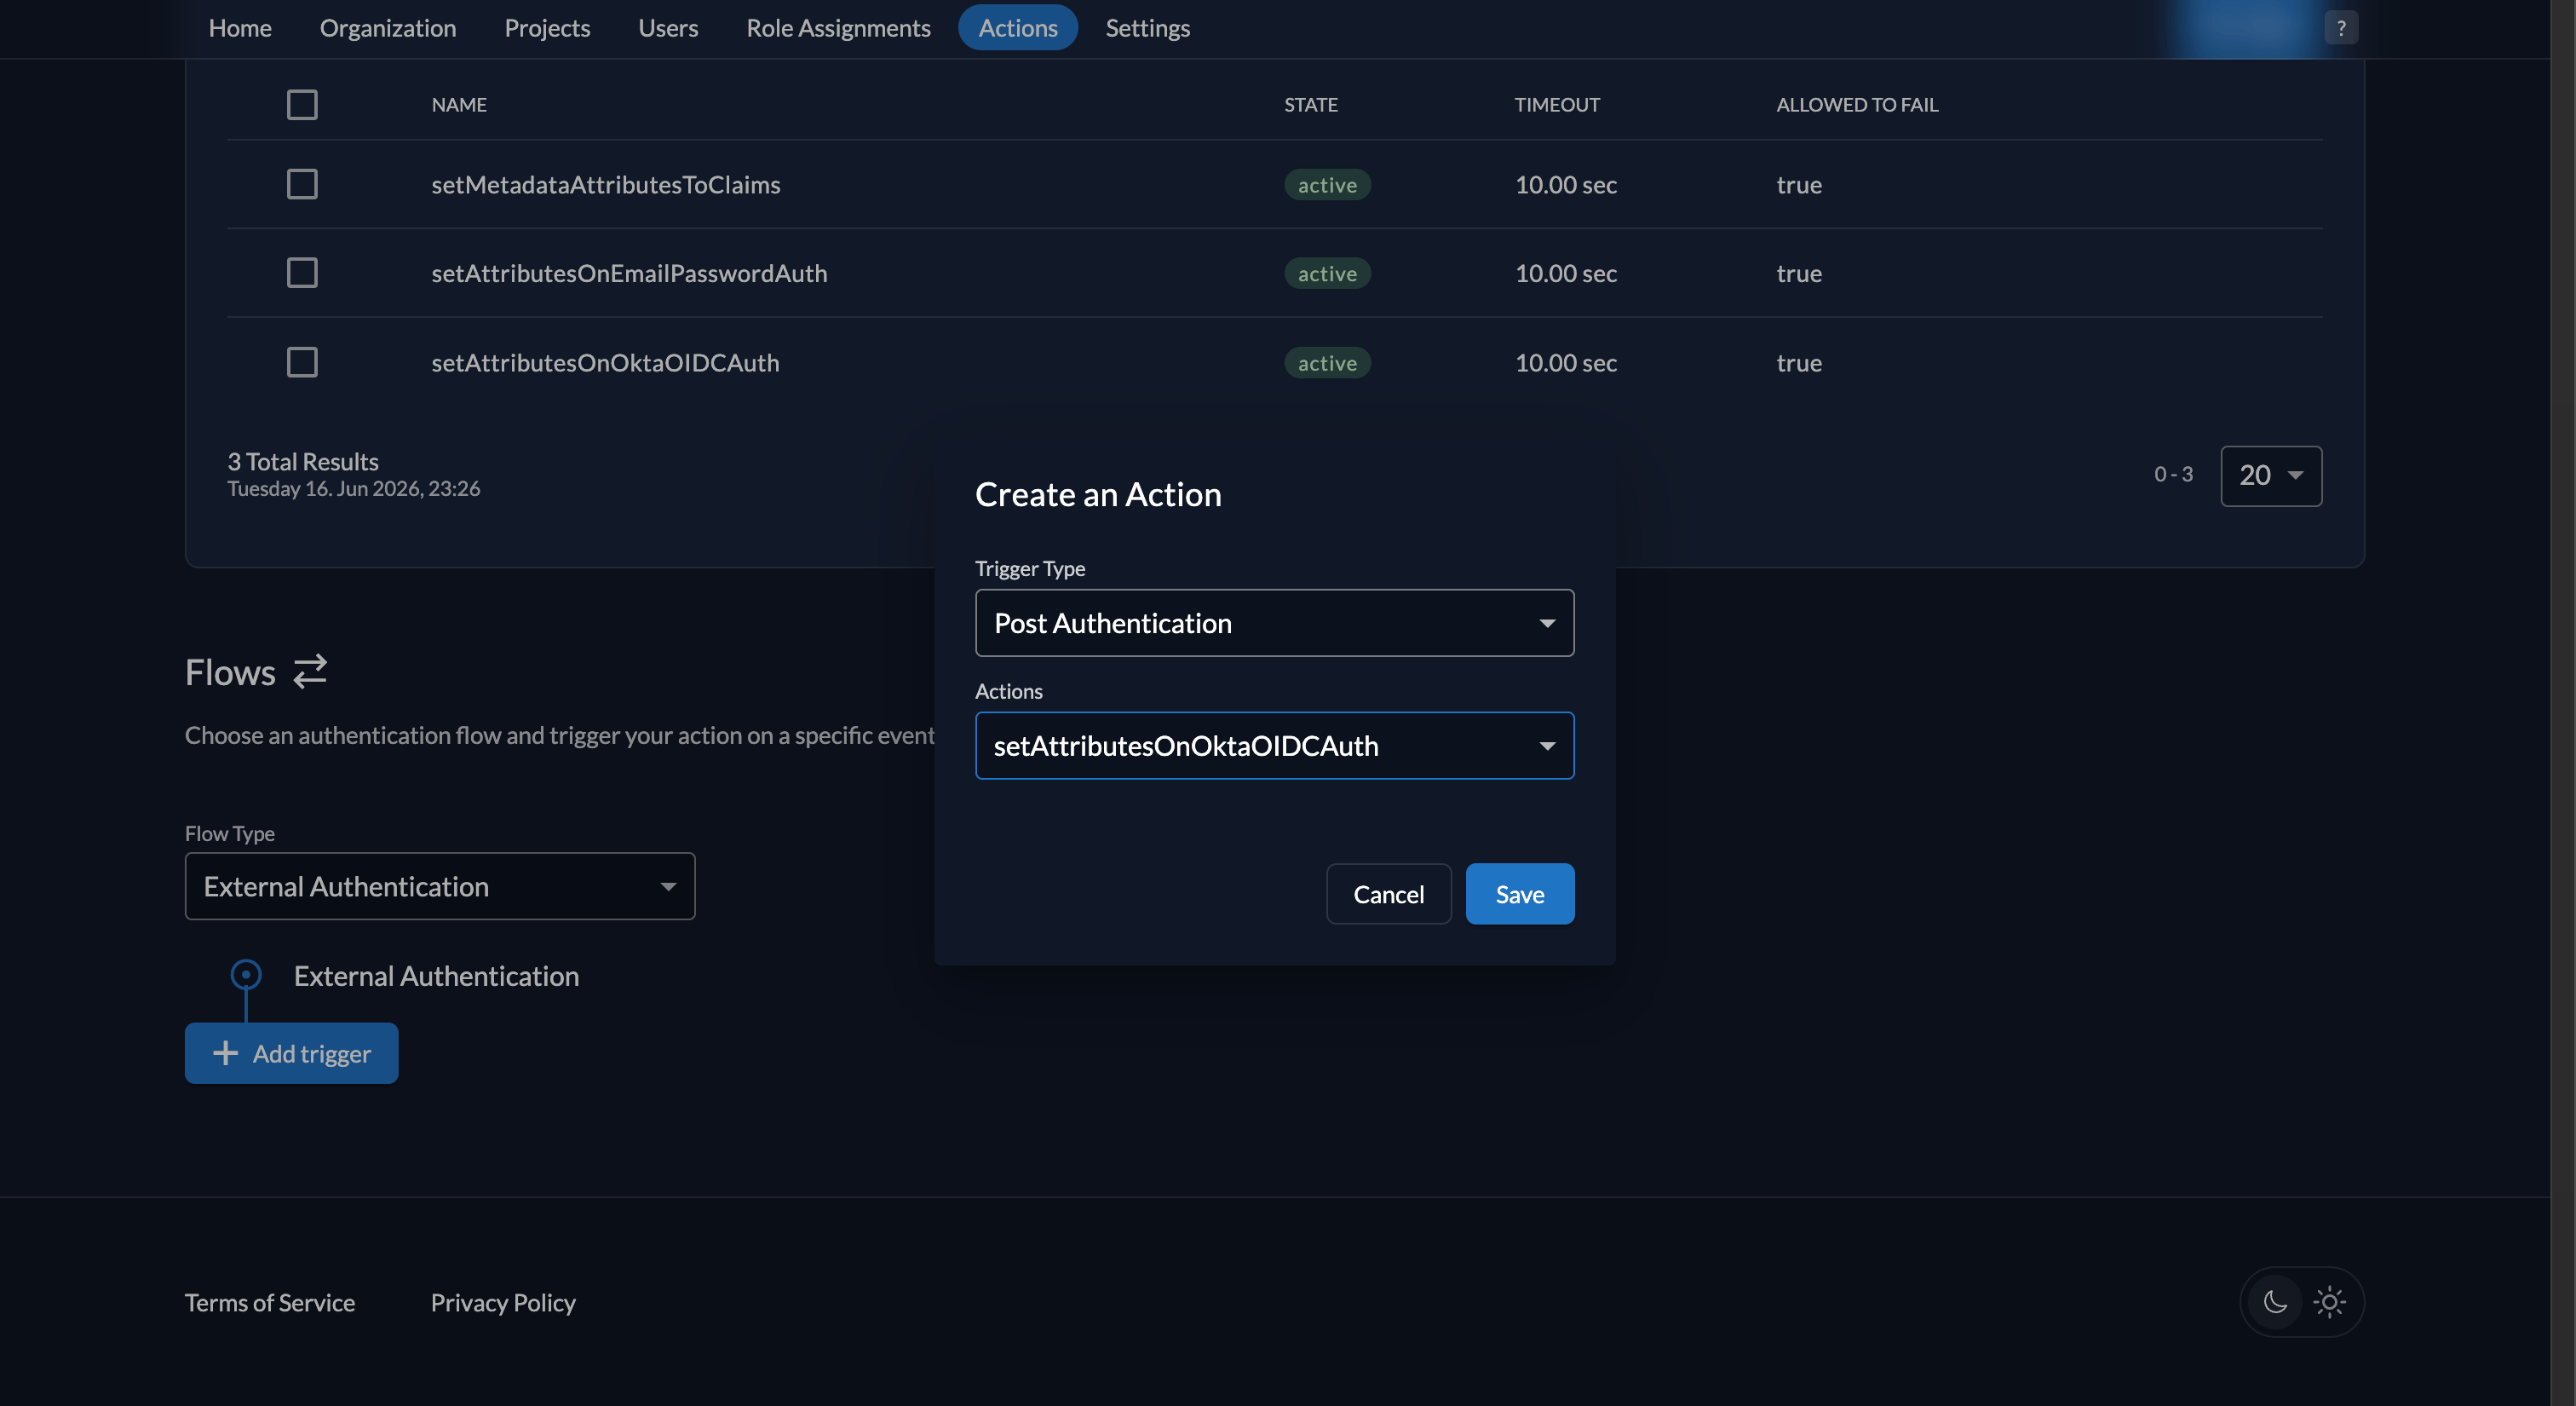
- Select the External Authentication option for the Flow Type dropdown.
- Select the + Add trigger button.
- Select the Post Authentication option for the Trigger Type dropdown.
- Select the setAttributesOnOktaOIDCAuth option for the Actions dropdown.
- Select the Save button.
11
Set the Organization SSO Authentication Type
Add an organization metadata key so Fiddler can correctly identify and process this SSO connection. Set this once during setup.
-
Go to the Metadata section and select Edit.
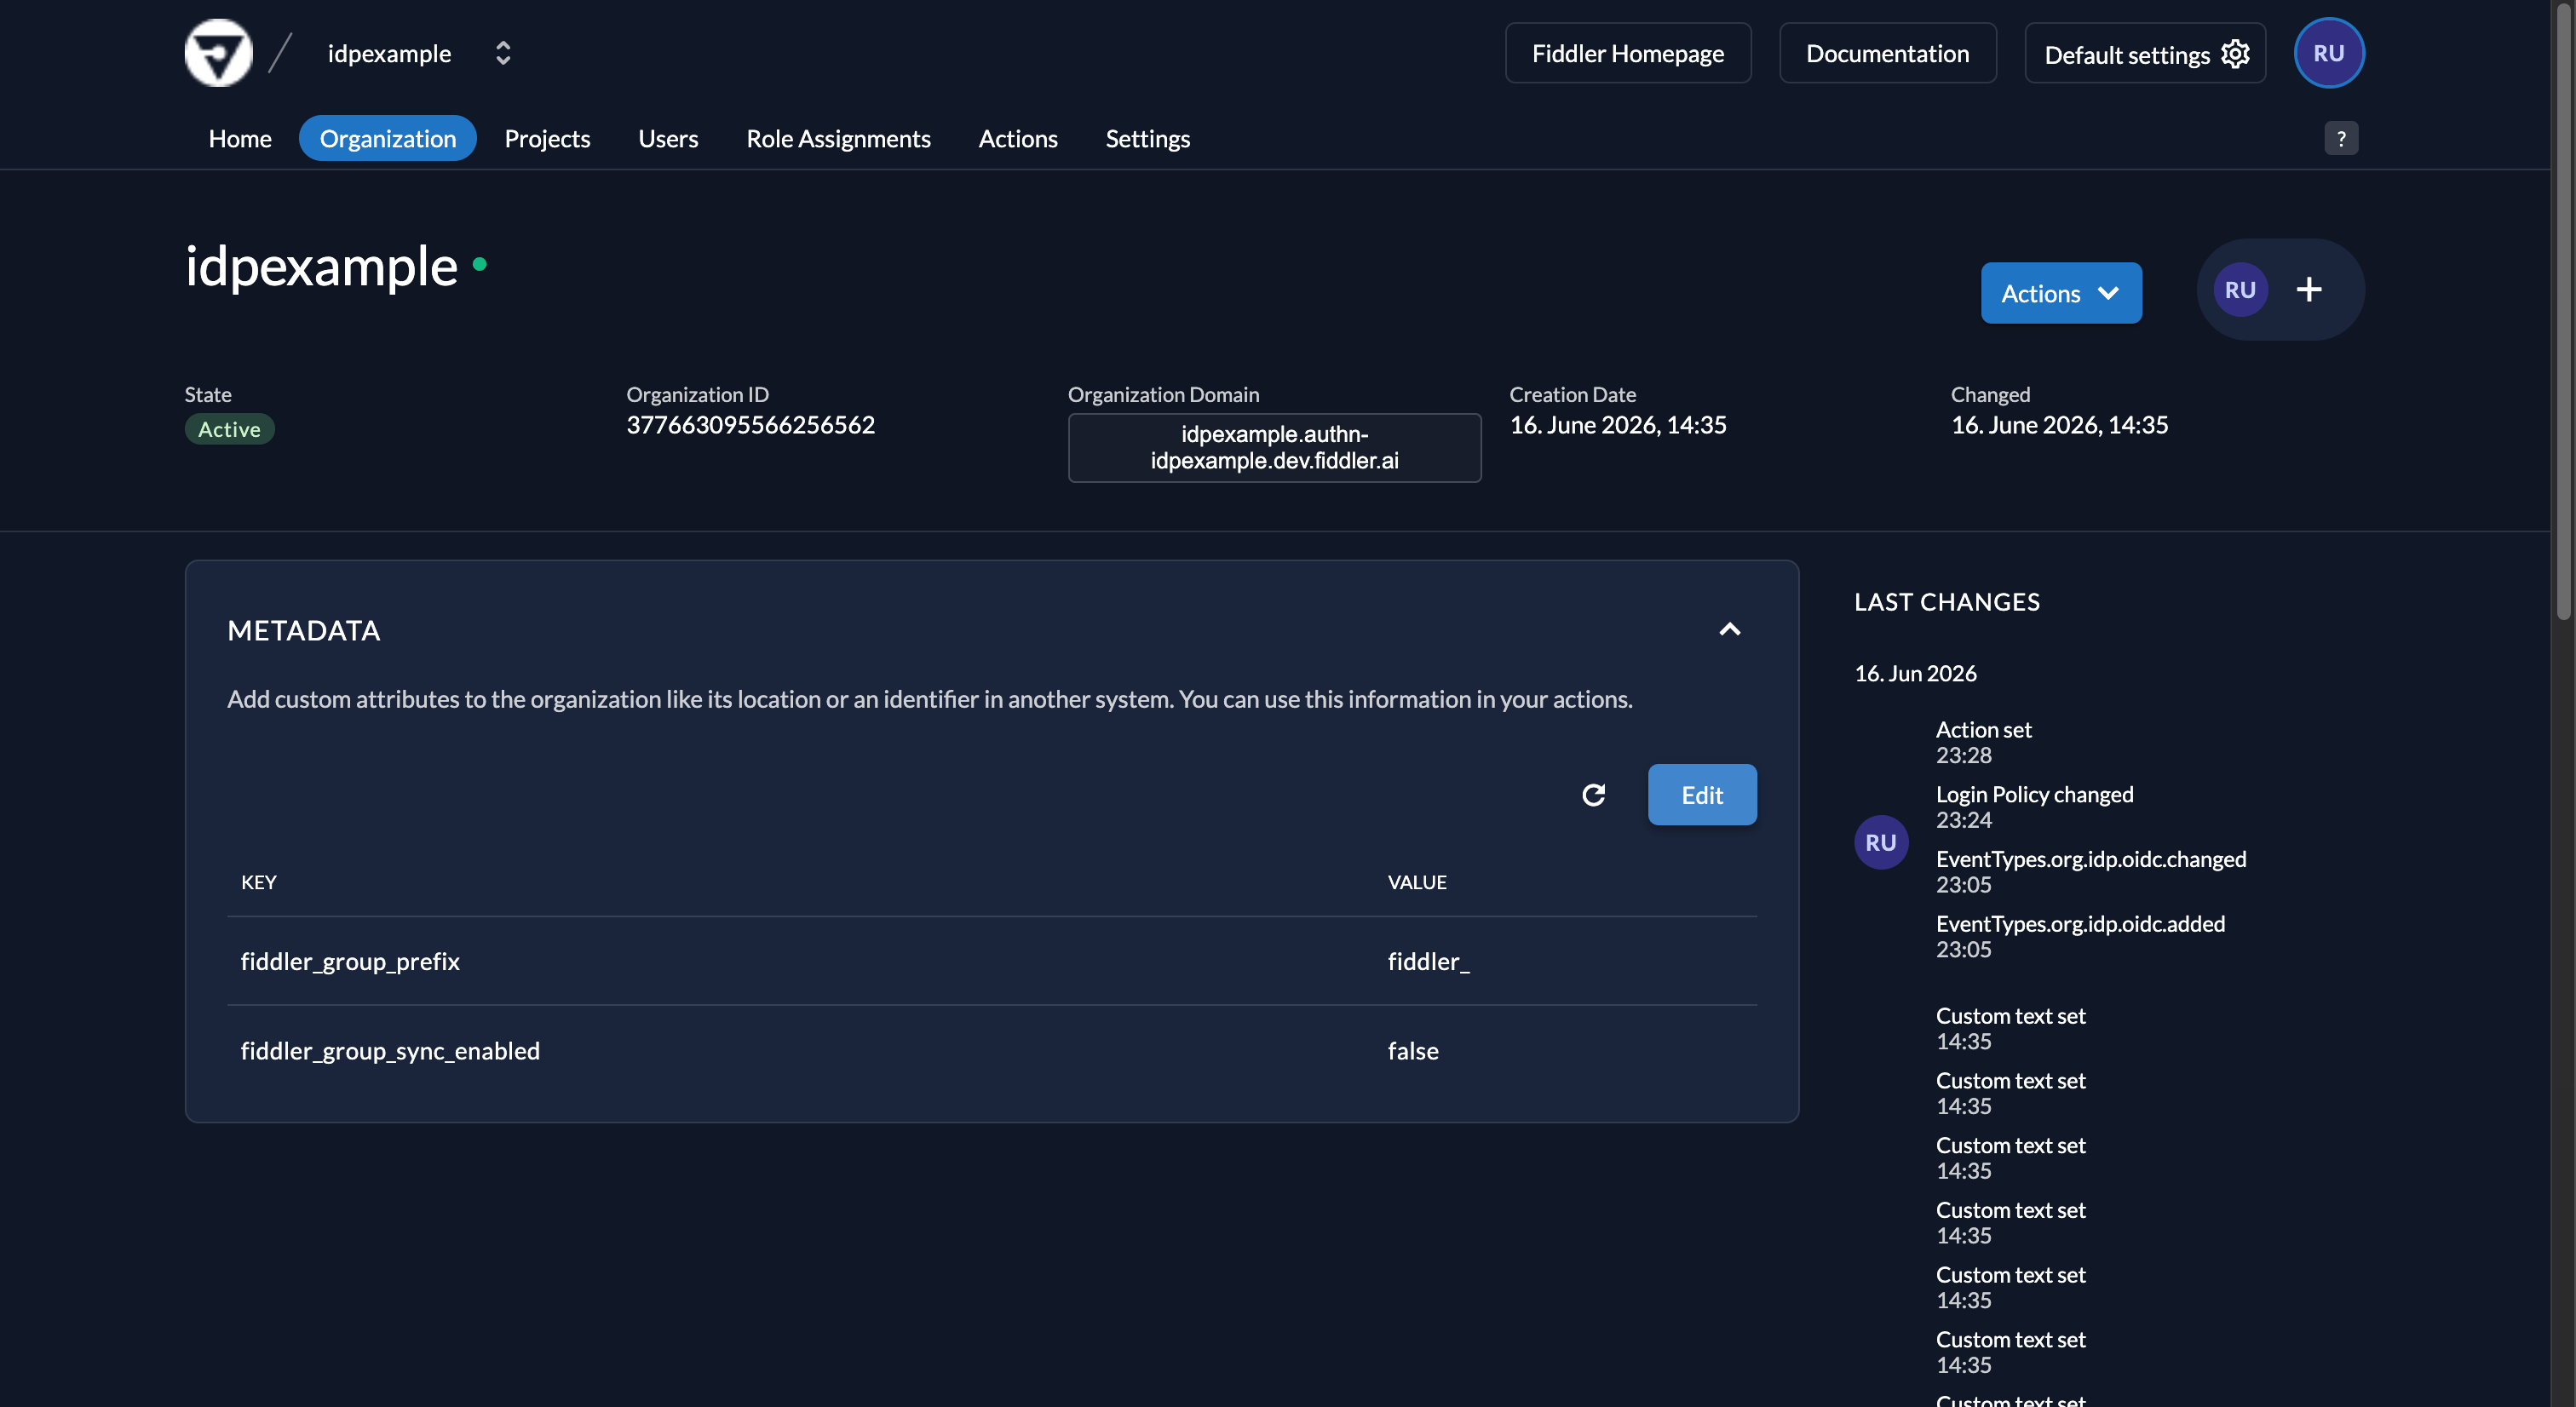
-
Select the Add button, then enter the key
fiddler_sso_authentication_typewith the valueSSO:OKTA:OIDC.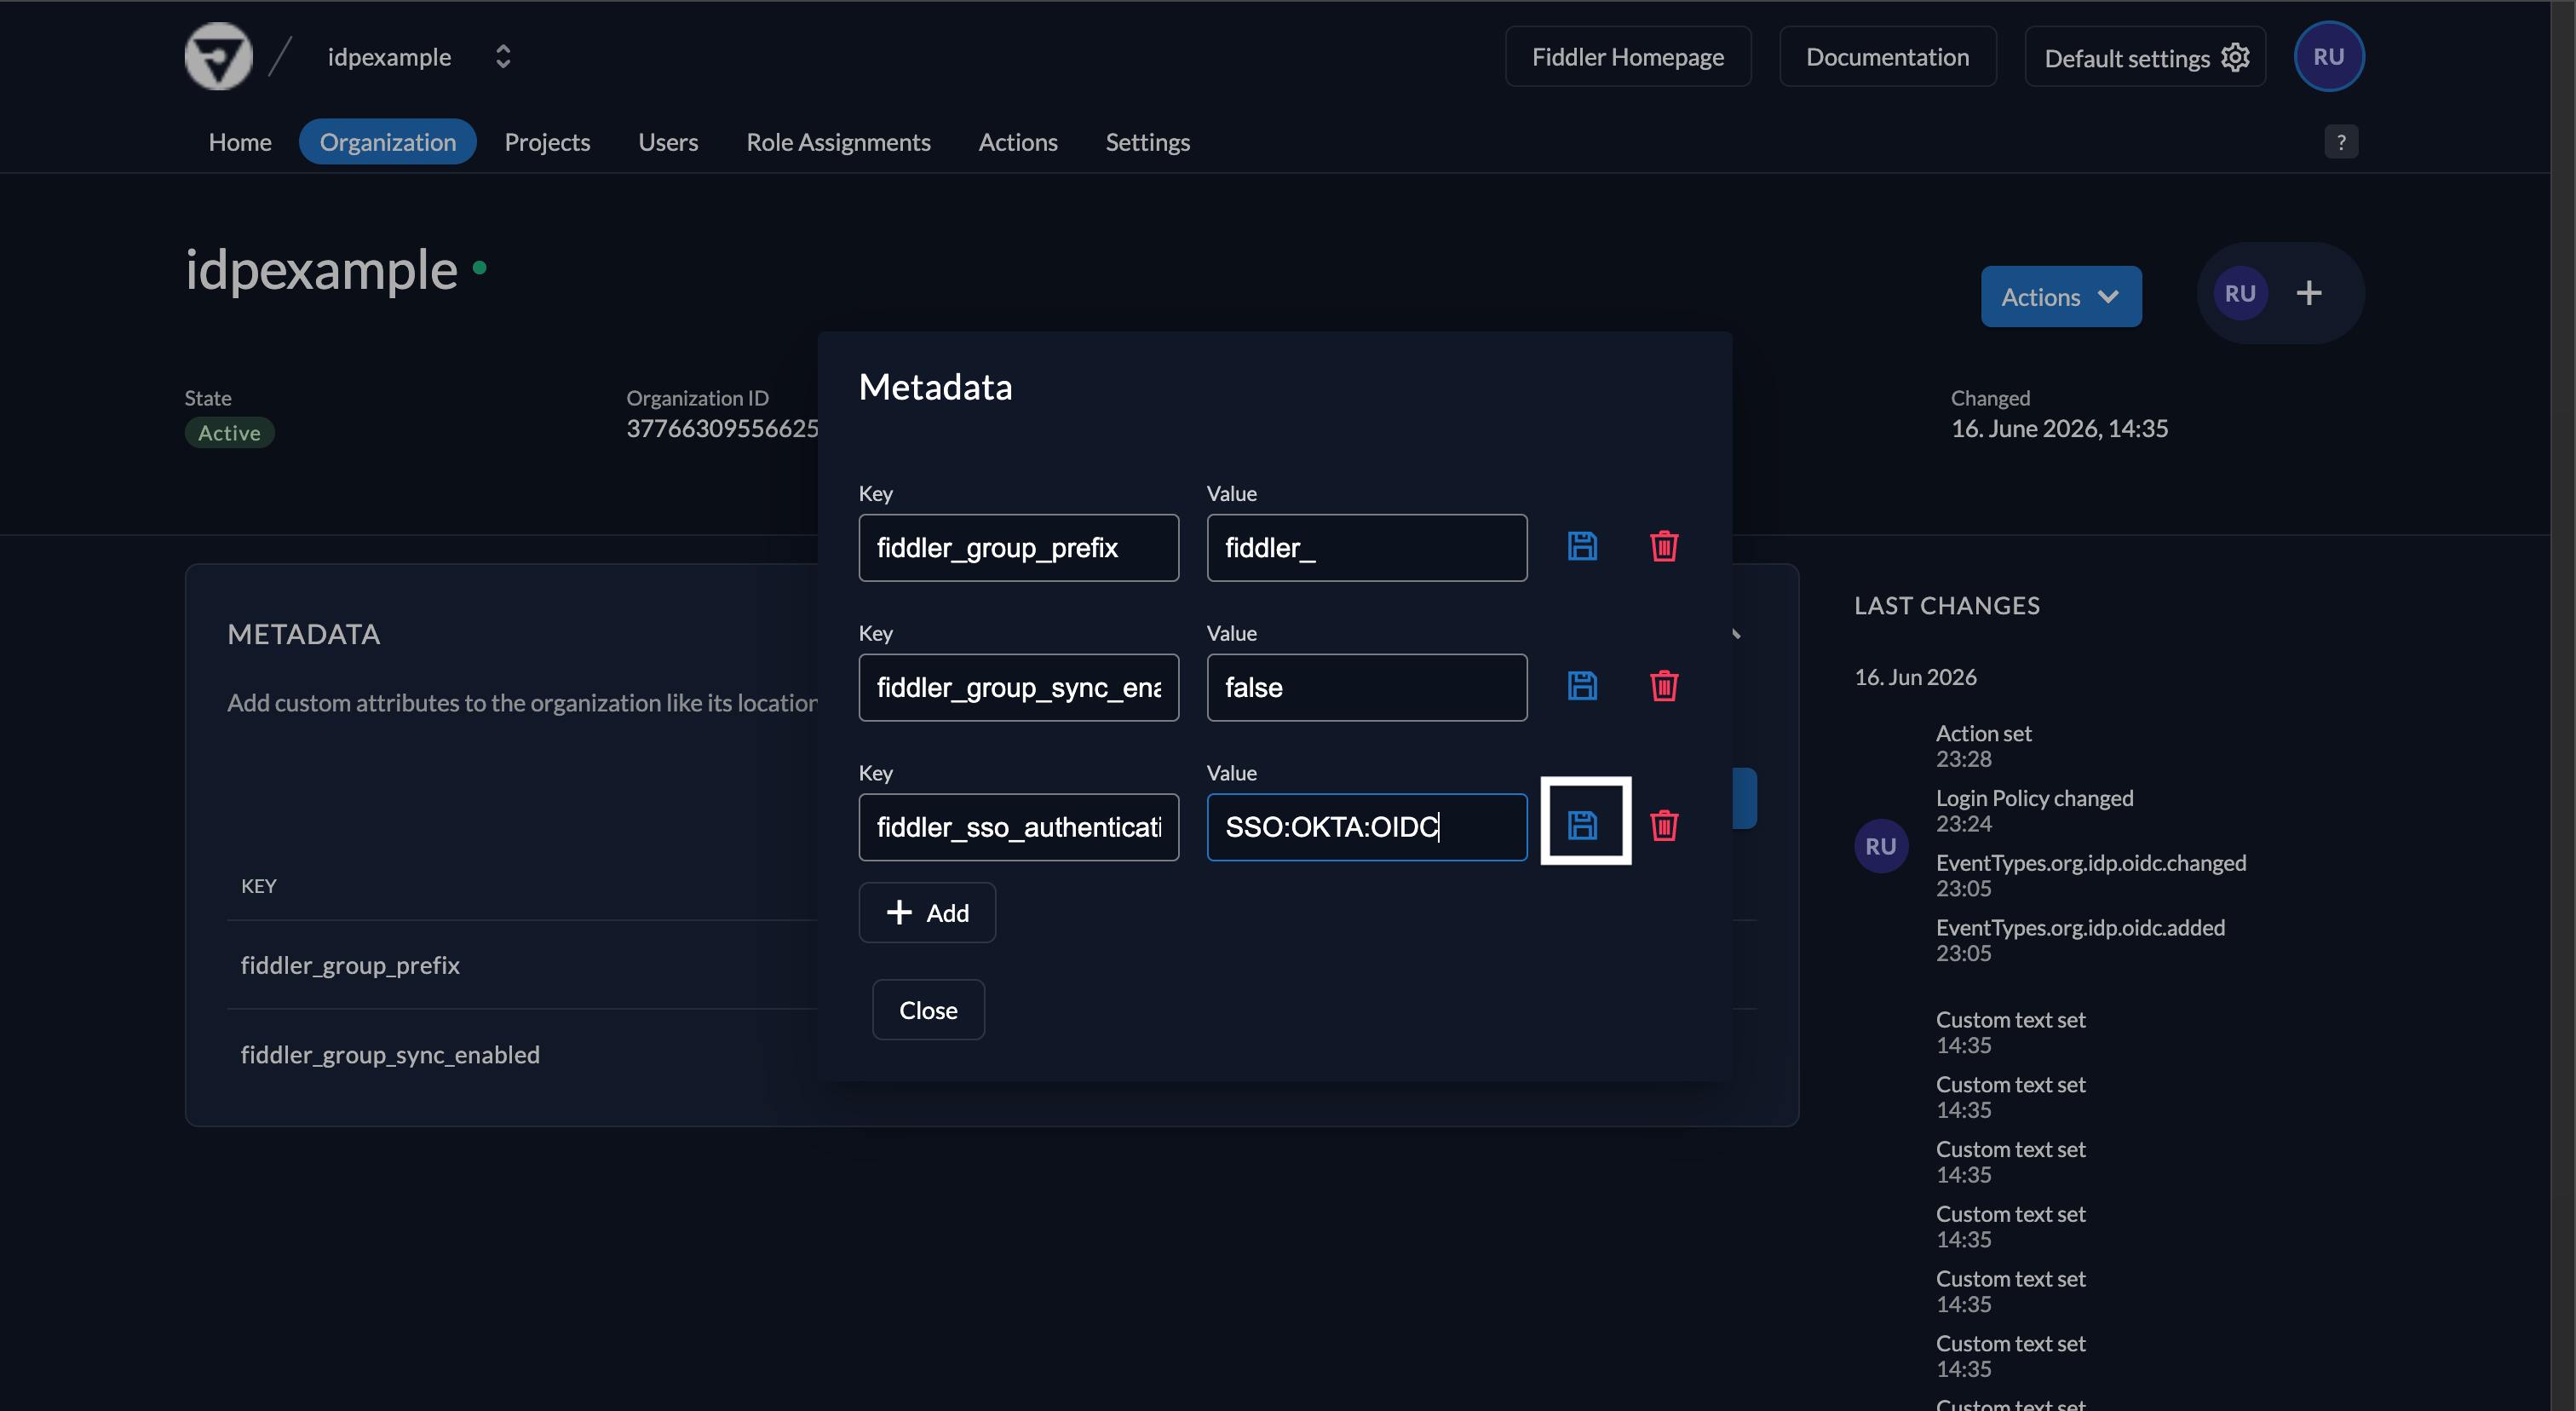
- Select the Save button next to the new entry.
12
Validate the Integration
Before validating, ensure your Okta user account is assigned to the new Okta application you created.
-
Open your Fiddler URL (e.g.
https://idpexample.dev.fiddler.ai). -
Ensure you see the Fiddler sign-in page and that it displays an SSO login button labeled with the name you configured (e.g. Okta OIDC).
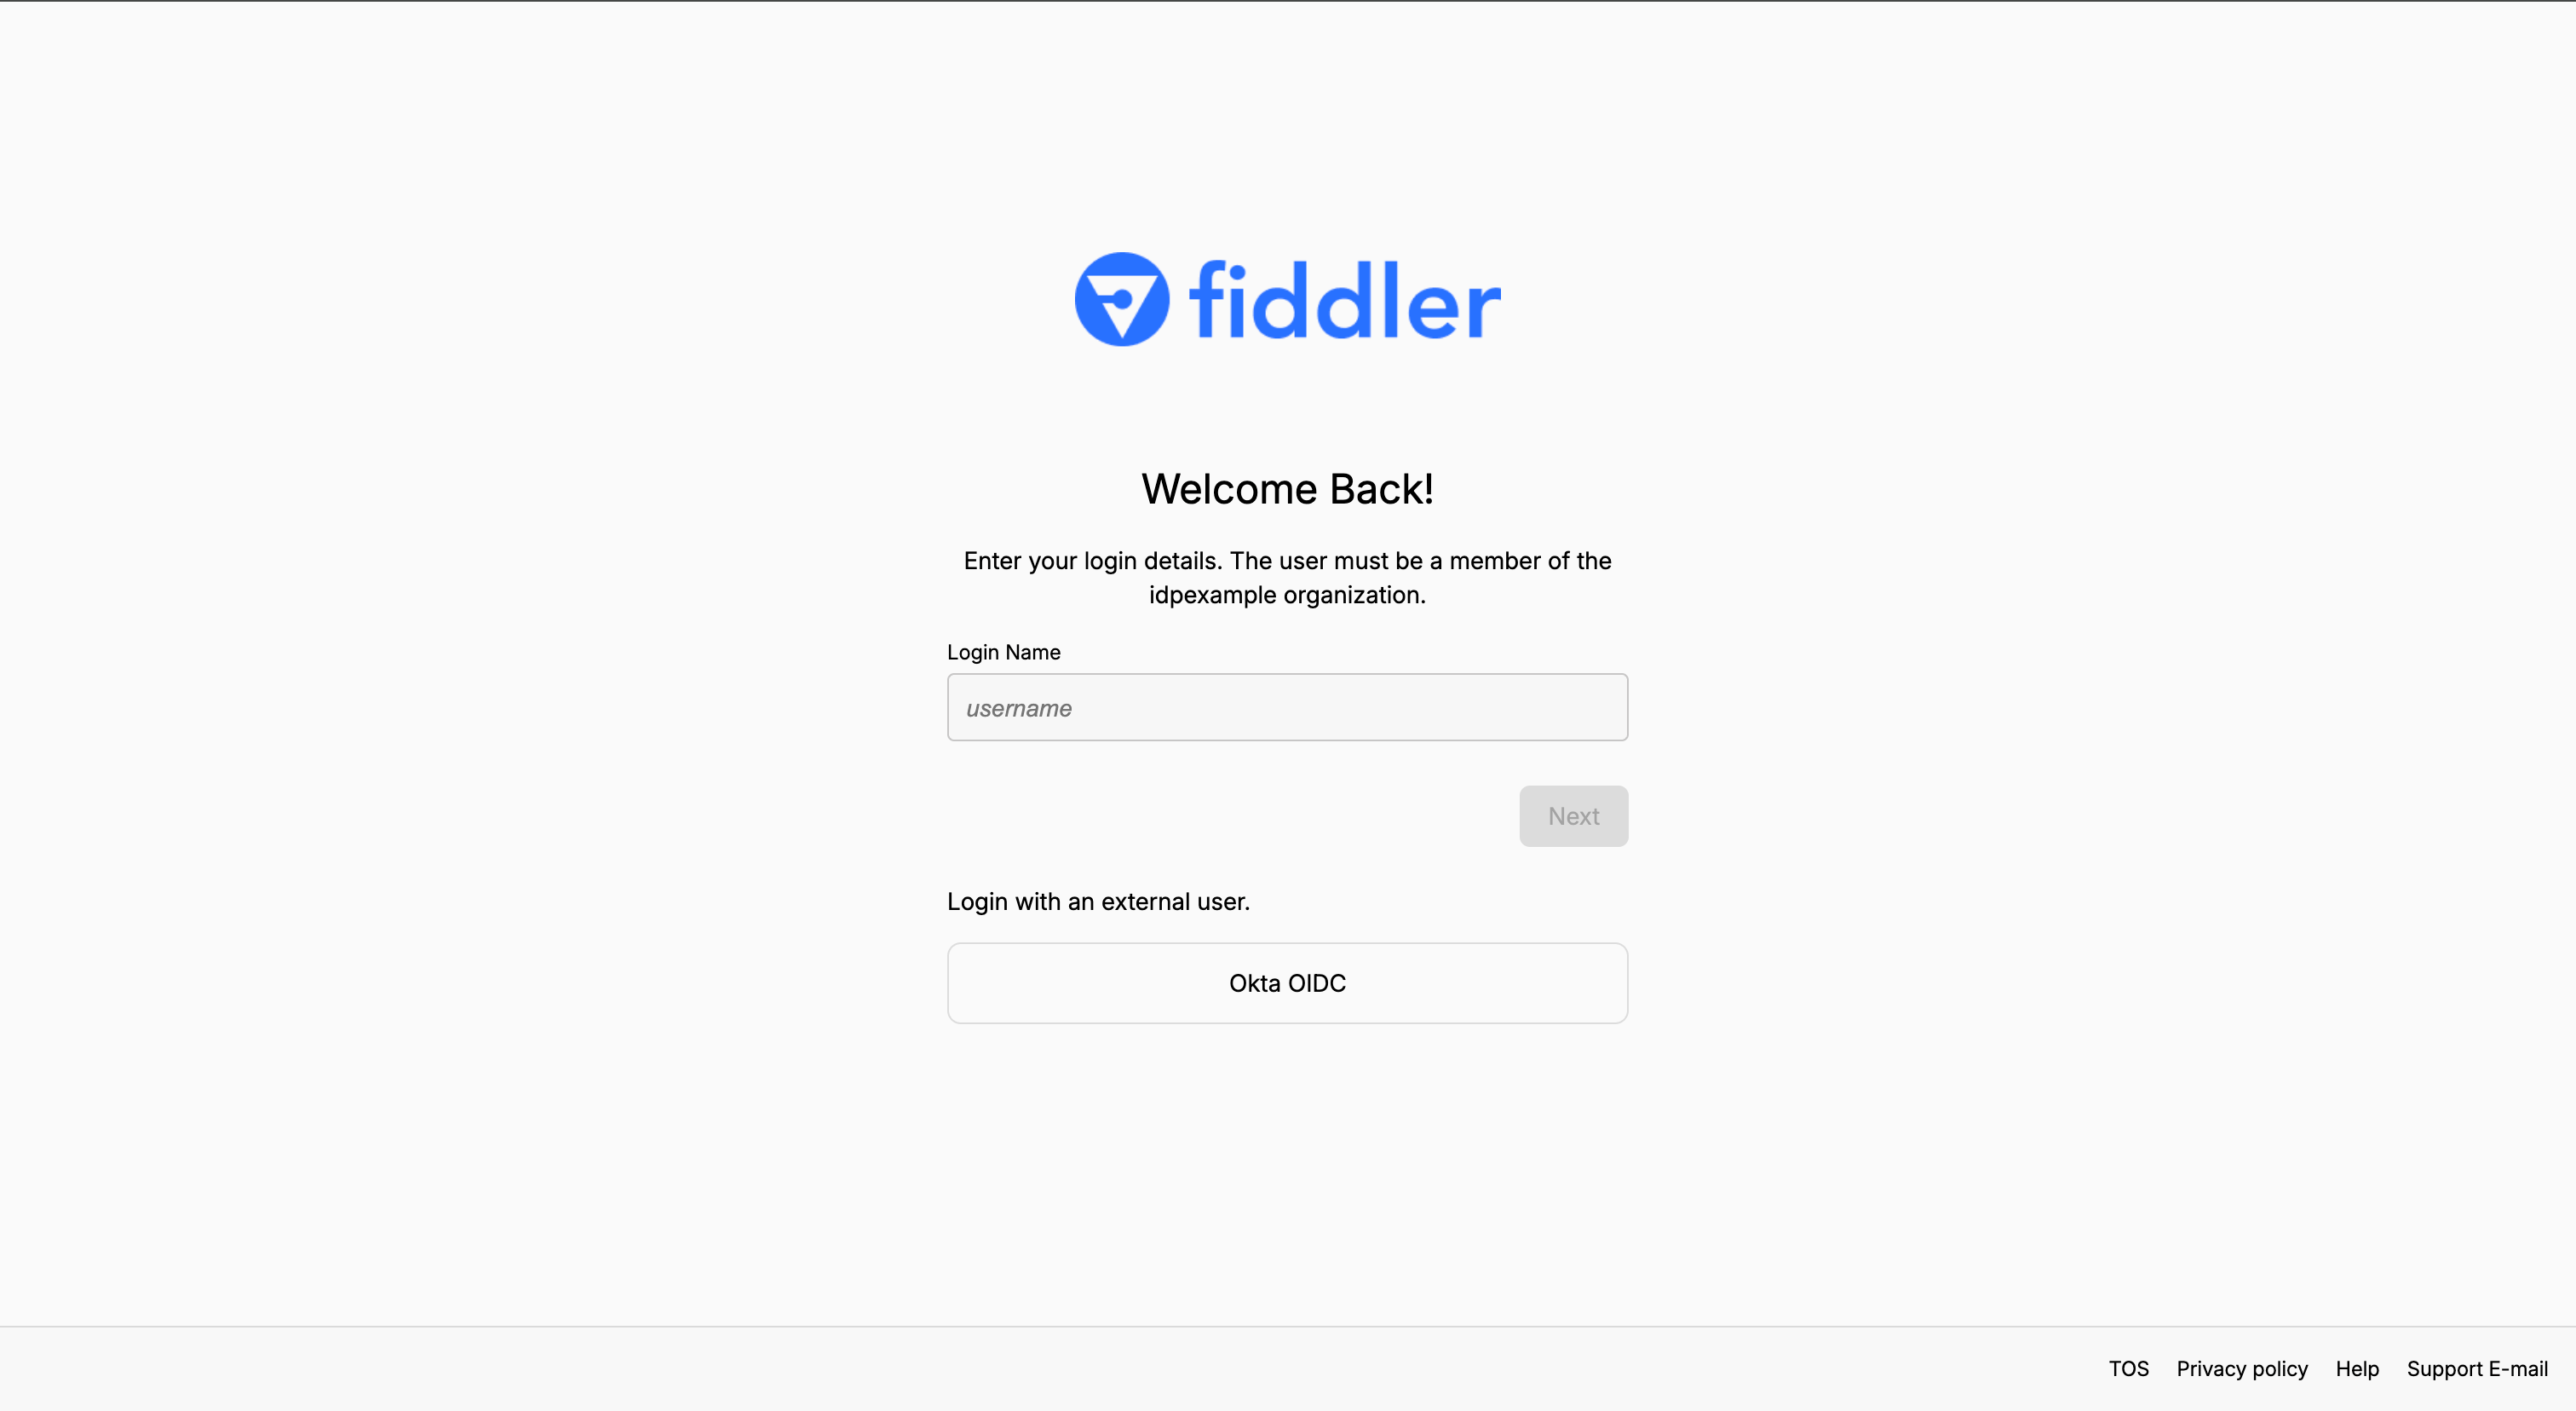
-
Select the button and confirm that the Fiddler application loads.
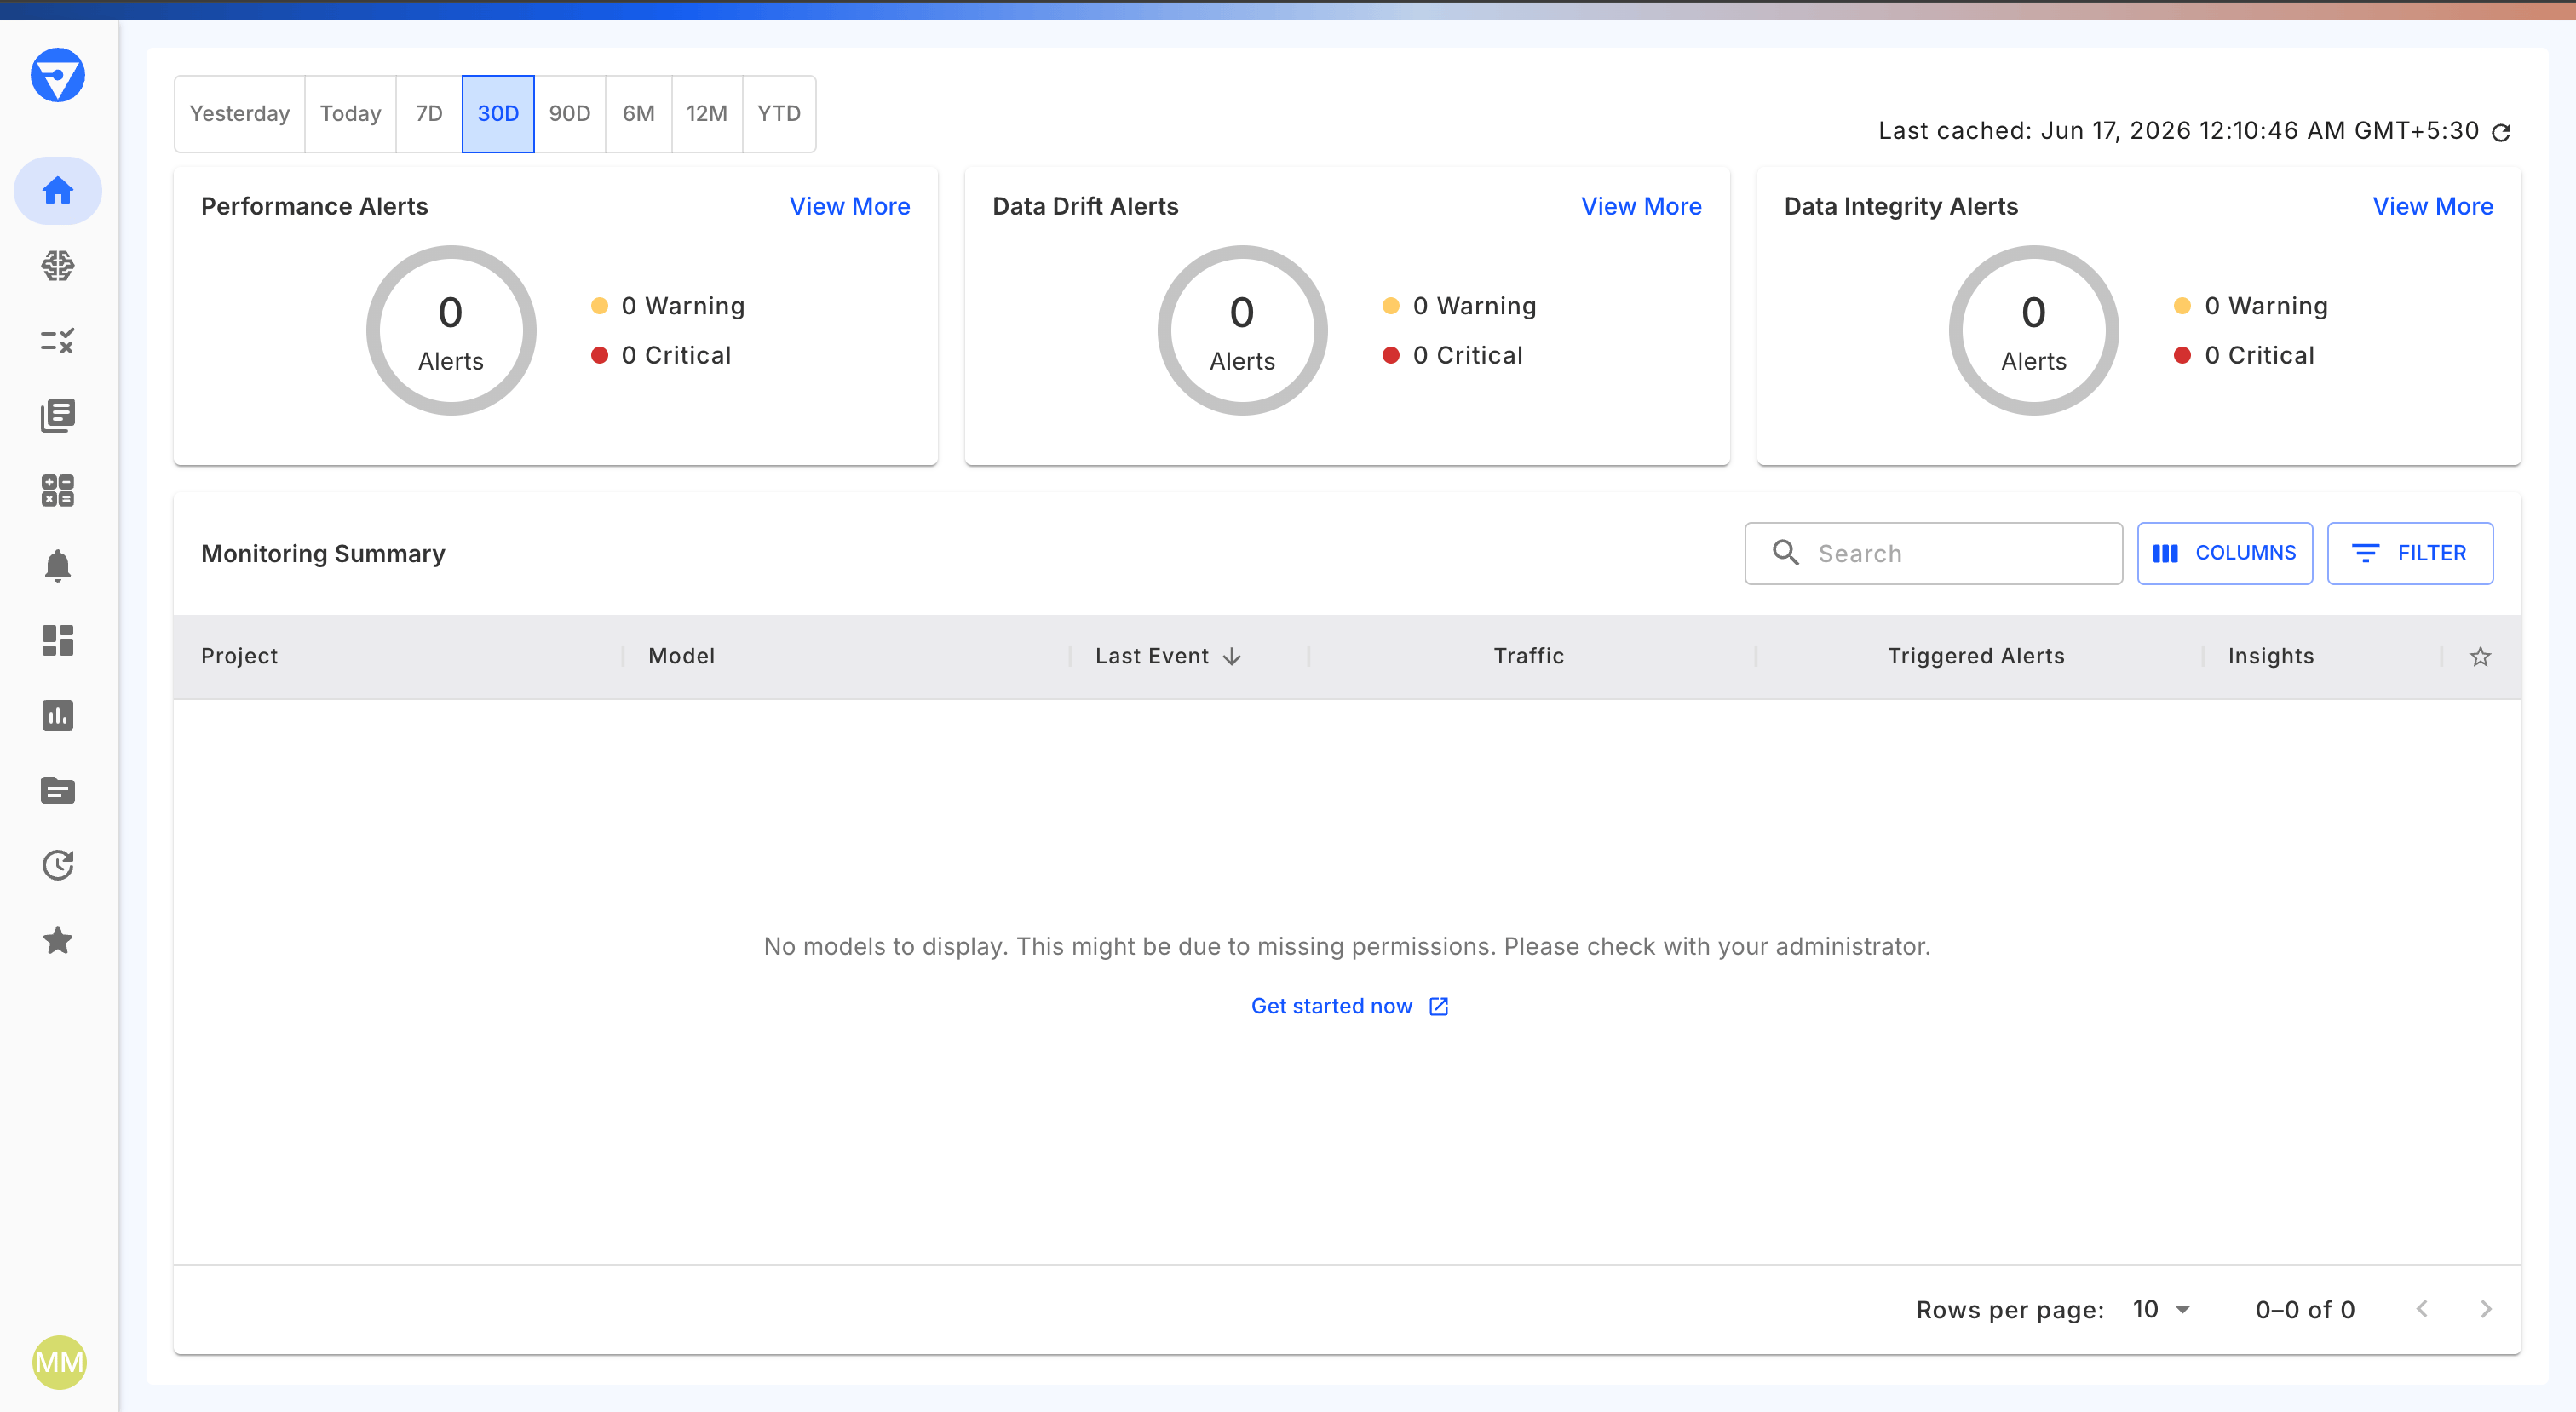
The first user to sign in to the Fiddler application is automatically assigned the Fiddler Org Admin role; subsequent members are Org Members by default.
Getting Help
If sign-in fails, check the Okta System Log (Reports → System Log) for the failed attempt and its reason. For Fiddler-side issues, see the SSO Authentication Guide. If the issue persists, contact your Fiddler representative with the specific error message.Important Notes
- Data Storage: Fiddler stores the following profile attributes from Okta: first name, last name, display name, email address, and group memberships (used to map users to Fiddler teams).
- API Access: For programmatic API access, users create an API key from the Credentials tab in Fiddler’s Settings page.
- Single Authentication Method: Users can only authenticate via either SSO or email authentication, not both.
Next Steps
After successful integration:- Train Users: Provide guidance on accessing Fiddler through Okta SSO.
- Configure Teams: Map your identity provider groups to Fiddler teams — see Mapping AD Groups to Fiddler Teams.
- Test Group Sync: Verify automatic group synchronization is working as expected.
- Monitor Usage: Review authentication logs and user access patterns.